Reviving aging living fences starts with root health assessment. Check for firm, light-colored roots and proper soil moisture. Combat compaction through core aeration and add organic matter to rebuild soil structure. Apply targeted nutrients based on soil tests and implement deep watering practices to penetrate 12 inches down. Prune strategically to redirect energy to roots, and address any pest or disease issues promptly. These foundation techniques will transform your boundary from struggling to thriving.
Assessing the Health of Aging Living Fences

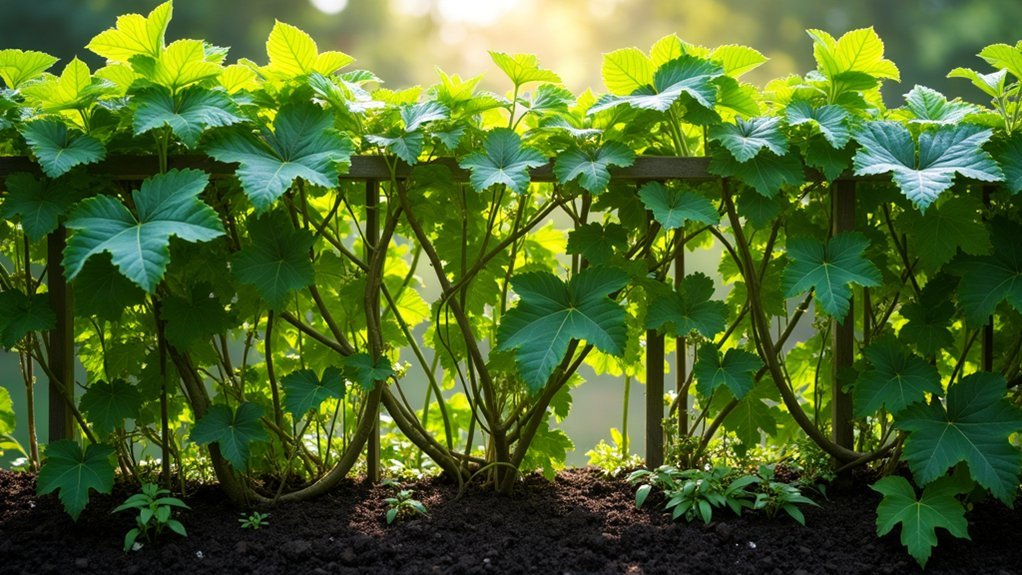
How can you determine if your living fence needs rejuvenation? Start by examining the overall vigor of your plants. Look for stunted growth, sparse foliage, or dieback—all indicators of declining health in aging living fences.
Keep vigilant for stunted growth and sparse foliage—these silent signals reveal your living fence’s desperate call for rejuvenation.
Inspect the root system carefully; healthy roots should be firm and white, not dark and mushy. Dark roots often signal decay that requires immediate attention.
Watch for pest infestations like borers or aphids that weaken your living fence structure over time. Conduct visual inspections for damage or droppings that reveal their presence.
Don’t overlook soil quality—test pH levels and nutrient availability around your fence. Poor soil conditions dramatically impact plant health.
Finally, remove competing vegetation that steals nutrients and water from your living fence, compromising its longevity and importance.
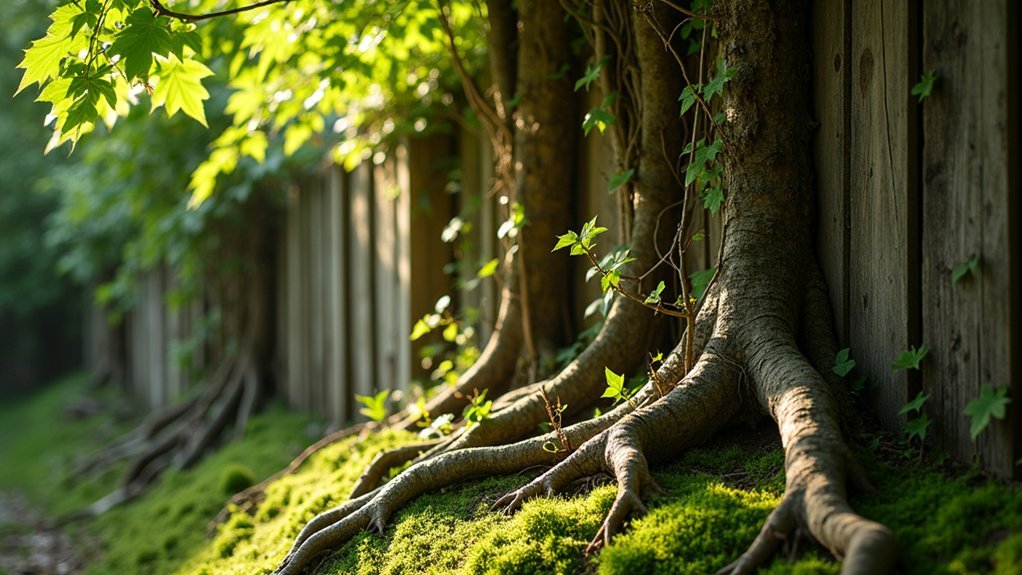
Root System Examination and Diagnosis
You’ll need to check your living fence’s roots for white, healthy tissue versus dark, mushy sections that signal decay or disease.
Look for proper spacing between plants, soil quality issues, and signs of competition that might be strangling your fence’s foundation.
Once you’ve identified root problems, you can begin targeted revitalization with proper pruning, soil amendments, or selective replacement of severely compromised sections.
Root Assessment Signs
Since roots form the foundation of your living fence’s health, properly examining them reveals essential information about why aging plants may be struggling.
Begin your root assessment by carefully digging around the plant’s base, looking for key indicators of plant health. Healthy roots should appear firm and white or light tan—dark, mushy roots with foul odors signal rot and disease that require immediate attention.
Watch for root girdling, where roots wrap around themselves, restricting nutrient absorption and stunting growth.
Check soil moisture levels in the root zone, as both drought and waterlogging stress plants and compromise root function.
Finally, observe the presence of beneficial microorganisms in your soil—these tiny allies support root health and nutrient uptake, while their absence suggests underlying issues that need addressing.
Revitalization Techniques Overview
When aging living fences struggle, a thorough root system examination becomes your first critical step toward revitalization. Carefully excavate around the base to assess root health, looking for signs of rot, compaction, or inadequate aeration.
| Technique | Benefits |
|---|---|
| Soil test | Identifies nutrient deficiencies affecting root system health |
| Strategic pruning | Redirects energy to strengthen root development |
| Soil management | Improves compaction issues and enhances nutrient uptake |
Monitor for yellowing leaves and stunted growth, which often indicate underlying root problems. Apply targeted amendments based on soil test results to restore proper pH and nutrient balance. Implement regular soil management practices to prevent future issues – loosen compacted areas to promote proper aeration and water infiltration. Remember that healthy roots support the entire fence structure, making your diagnostic work essential for successful revitalization.
Soil Revitalization Techniques for Mature Hedgerows
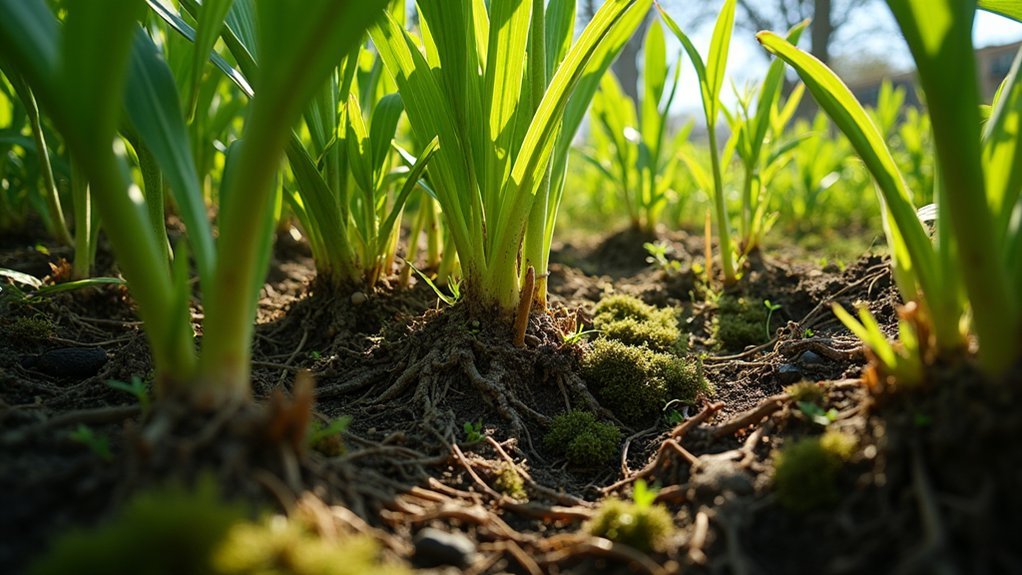
Reinvigorate your mature hedgerow’s declining soil with targeted aeration techniques like core aeration or vertical mulching to break compaction and improve root access to oxygen.
You’ll need to replenish lost nutrients through strategic applications of organic compost, well-rotted manure, or specialized slow-release fertilizers formulated for woody plants.
Check and adjust your soil’s pH balance with lime for acidic conditions or sulfur for alkaline soils, creating the ideal environment for continued hedgerow vigor and longevity.
Soil Aeration Methods
As hedgerows mature, the soil beneath them often becomes compacted and depleted, choking the root systems that sustain these living barriers. Combat this by using a core aerator to puncture the soil around your living fence, creating channels that improve air exchange and water infiltration. This simple technique dramatically enhances root health and vigor.
Don’t overlook the power of organic matter—incorporate compost or leaf litter to rebuild soil structure and boost microbial activity, increasing nutrient availability to your aging hedgerow.
For severe soil compaction, deep tilling combined with targeted amendments can give roots room to expand and access deeper moisture reservoirs.
Regular mulching preserves soil moisture and stabilizes soil temperature, while strategic cover crops in the off-season naturally aerate the soil while reducing erosion and adding nutrients as they break down.
Nutrient Restoration Strategies
Beyond aeration, your aging living fence requires strategic nutrient replenishment to thrive once again. Conducting a soil test first helps identify specific deficiencies, allowing for targeted amendments that restore soil health.
| Restoration Method | Benefits | Application Timing |
|---|---|---|
| Cover Crops | Nitrogen fixation, soil structure | Fall or early spring |
| Organic Matter | Moisture retention, slow-release nutrients | Early spring or fall |
| Mulching | Weed suppression, gradual soil enrichment | After rainfall |
| Biochar | Soil fertility, carbon sequestration | Once annually |
| Compost Tea | Microbial boost, quick nutrient access | Growing season |
Incorporate leguminous cover crops to naturally enhance nitrogen levels, while adding well-rotted manure improves overall soil structure. Apply organic mulch around the base of your hedgerow to conserve moisture and gradually feed the soil as it breaks down, creating the perfect environment for revitalizing root systems.
Ph Balance Solutions
While aging hedgerows struggle to maintain vigor, proper soil pH balance often proves to be the missing key to their revival.
Test your soil first to identify the exact pH level—most mature hedgerows thrive between 6.0 and 7.0. Armed with this knowledge, you can address nutrient deficiencies through targeted amendments.
Add lime to increase pH in overly acidic soil or sulfur to lower excessively alkaline conditions. Incorporate organic matter like compost or well-rotted manure to improve soil structure while gradually stabilizing pH.
Don’t overlook mulching with wood chips or straw to regulate soil temperature and prevent pH fluctuations.
For immediate results, apply foliar fertilizers or compost teas directly to leaves. These quick-absorption solutions bypass soil barriers, delivering nutrients while supporting proper pH balance in your living fence ecosystem.
Strategic Pruning to Stimulate New Growth
When your living fence begins to show signs of age or thinning, strategic pruning becomes essential for rejuvenation. By cutting back dead or overgrown branches during late winter or early spring, you’ll redirect energy toward new growth and enhance density throughout your living fence.
| Pruning Focus | Benefits | Timing |
|---|---|---|
| Dead branches | Improves plant health | Late winter |
| Crossing stems | Enhances air circulation | Early spring |
| Weak growth | Reduces disease risk | Before budding |
| Overgrown sections | Maintains effective boundary | Every 1-3 years |
Remember to remove no more than one-third of the plant’s total volume in a single session. This prevents stress while promoting balanced regrowth. Regular pruning transforms sparse hedgerows into thick, vibrant living fences that provide both privacy and habitat value, ensuring your boundary remains functional and attractive.
Water Management for Root Rejuvenation
Water your aging living fence properly with deep, targeted irrigation that penetrates at least 12 inches into the soil to revitalize struggling root systems.
You’ll need to adjust your watering schedule seasonally, focusing on early morning applications during dry periods and reducing frequency during rainy seasons to prevent root rot.
Consider enhancing your fence’s root zone with organic mulch and compost amendments that improve both water retention and nutrient availability.
Moisture Penetration Techniques
Thirsty roots demand proper hydration strategies to revive aging living fences. Deep watering guarantees moisture reaches the root zone, stimulating rejuvenation in your aging boundary plants.
Install drip irrigation systems to deliver water directly to the soil where roots need it most, minimizing evaporation and maximizing absorption.
Don’t overlook the power of mulch—apply a 2-3 inch layer around your fence’s base to enhance moisture retention, regulate soil temperature, and prevent competing weeds.
Incorporating organic compost improves soil structure, allowing water to penetrate more effectively while boosting overall root health.
Monitor soil moisture regularly with a moisture meter to guide your watering schedule. This targeted approach guarantees you’re providing adequate hydration exactly when and where your living fence needs it, promoting robust root development and extended fence longevity.
Irrigation Timing Strategies
Proper timing of water application serves as the cornerstone of effective root rejuvenation in aging living fences. Schedule your irrigation sessions for early morning or late evening to minimize evaporation losses and maximize absorption during hot periods.
Implement deep watering techniques that deliver 1-2 inches weekly, encouraging roots to grow deeper into the soil profile. This approach strengthens your fence’s foundation while improving overall plant health.
Consider installing a drip irrigation system that directs water precisely to the root zone, reducing waste while enhancing efficiency. Regularly monitoring soil moisture with a meter will help you establish an ideal watering rhythm.
During drought conditions, extend the intervals between irrigation sessions while increasing duration. This strategy stimulates root expansion and promotes the long-term rejuvenation your aging living fence needs.
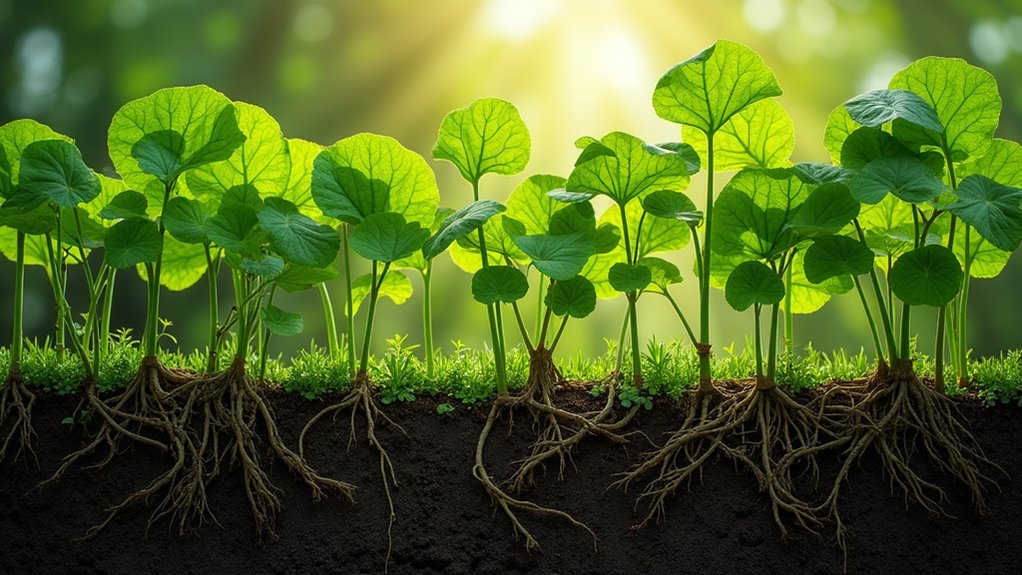
Root Zone Amendments
Revitalizing the root zone with strategic amendments complements your irrigation timing efforts and forms the foundation of long-term fence recovery.
Start by incorporating rich organic matter like compost or well-rotted manure around your aging fence line to improve soil structure and nutrient availability.
Apply a 2-3 inch layer of mulch extending at least a foot from the fence base to conserve soil moisture, suppress weeds, and regulate temperature fluctuations.
This protective barrier creates ideal conditions for root regeneration.
Check your soil’s drainage regularly—roots can’t rejuvenate in waterlogged conditions.
If you notice pooling water, create channels to direct excess moisture away from the root zone.
Consider installing a drip irrigation system that delivers water directly where it’s needed, minimizing waste while maximizing absorption by those thirsty, recovering roots.
Nutrient Supplementation for Declining Living Fences
When living fences begin to show signs of decline, strategic nutrient supplementation can breathe new life into these botanical boundaries. Start by conducting soil testing to identify specific deficiencies in your fence line’s soil profile.
Apply organic fertilizers like compost or well-rotted manure around the base of plants to address these shortcomings and improve overall soil health.
For quicker results, implement foliar feeding with liquid fertilizers during the growing season, delivering nutrients directly through the leaves.
Consider planting nitrogen-fixing cover crops such as legumes between fence plants to naturally enhance soil fertility.
Don’t forget the benefits of mulching—it conserves moisture, suppresses competing weeds, and gradually increases nutrient availability as organic matter breaks down.
This thorough approach guarantees your living fence receives balanced nutrition for renewed vigor and longevity.
Addressing Disease and Pest Issues in Established Barriers
Living fences, despite their durability, eventually face threats from various diseases and pests that can compromise their structural integrity and aesthetic appeal. Regularly inspect your barrier for discoloration, wilting, or unusual growth patterns to catch problems early.
When you spot signs of trouble—whether aphids, caterpillars, or beetles—implement integrated pest management strategies rather than reaching immediately for harsh chemicals. Prune affected branches promptly and dispose of them properly to prevent further spread.
Bolster your fence’s natural defenses by improving soil health with added organic matter and proper moisture maintenance. This strengthens plants’ resilience against invaders.
For persistent problems, select appropriate organic fungicides based on recommendations from local agricultural extensions. These targeted treatments control outbreaks while preserving beneficial organisms that support your living fence’s long-term health.
Propagation Methods for Filling Gaps in Aging Fences
Gaps that emerge in mature living fences needn’t spell the end of your natural boundary’s effectiveness. With several propagation methods at your disposal, you can restore your living fence to its former glory.
A living fence with gaps isn’t defeated—it’s simply awaiting your restoration through thoughtful propagation techniques.
- Cuttings: Take 6-8 inch sections from healthy plants with multiple leaf nodes and plant them in gap areas for efficient rooting.
- Layering: Bend a low branch to the ground, cover the middle with soil while keeping the tip exposed, and it’ll root while still nourished by the parent plant.
- Seed propagation: Collect ripe seeds and sow them in prepared beds in early spring for natural regeneration.
- Grafting: Attach healthy scions to compatible rootstock to invigorate your fence with new growth.
Don’t forget that regular pruning of surrounding areas guarantees your new additions receive adequate resources to thrive.
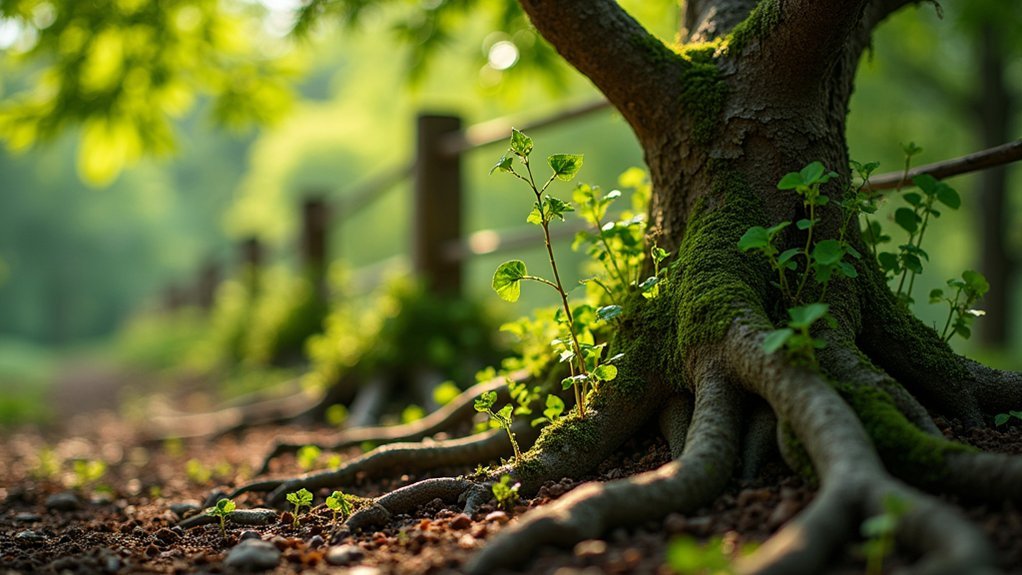
Companion Planting to Support Root Health
Though often overlooked, the health of your living fence begins underground with its root system. Companion planting offers powerful strategies to enhance root health naturally. Integrate nitrogen-fixing plants like clover or legumes alongside your fence to improve soil fertility and nutrient availability.
Deep-rooted companions such as comfrey break up compacted soil, accessing nutrients from lower layers that benefit your fence’s roots. Ground covers like creeping thyme provide multiple benefits: they prevent erosion, enhance moisture retention, and suppress competing weeds.
Don’t forget pest management—marigolds and nasturtiums repel harmful insects that might damage delicate root systems.
For maximum effectiveness, rotate your companion plants regularly to promote biodiversity in the soil. This practice stimulates microbial activity, creating a thriving underground ecosystem that supports your living fence’s longevity and health.
Seasonal Care Schedule for Long-Term Fence Sustainability
While companion planting strengthens your living fence’s roots, a well-structured seasonal care schedule guarantees its above-ground health and longevity.
Your aging fence requires consistent attention throughout the year to thrive and continue serving as a beautiful boundary.
- Early Spring: Apply organic fertilizers like compost to boost soil health and trim dead branches to stimulate new growth.
- Summer Months: Make certain young plants receive adequate moisture during dry spells, focusing on deep watering to encourage deep root development.
- Early Fall: Perform a second pruning session to maintain the fence’s desired shape before winter dormancy.
- Year-Round: Monitor for pests and diseases regularly, addressing issues promptly with natural deterrents to prevent widespread damage.
This consistent seasonal care approach makes sure your living fence remains vibrant and structurally sound for years.
Frequently Asked Questions
What Are the Disadvantages of a Life Fence?
You’ll invest significant initial labor planting hundreds of cuttings, face years of establishment time, and need ongoing maintenance. Living fences can become invasive, compete with crops, and remain vulnerable to livestock damage.
How to Improve an Old Fence?
To improve an old fence, you’ll need to prune dead branches, apply organic fertilizers, add compatible new plants, monitor for pests, and guarantee proper watering during dry spells. These steps rejuvenate the structure effectively.
What Is the Best Plant for a Living Fence?
For a living fence, you’ll find Osage orange excellent for its durability and wildlife deterrence. Gliricidia sepium grows quickly while improving soil. Consider hawthorn for security, or Moringa for added nutritional benefits.
How Can I Make My Back of My Fence Look Better?
You can improve your fence’s back by pruning overgrown plants, adding climbing vines for vertical interest, implementing layered plantings with varying heights, applying mulch to suppress weeds, and regularly removing debris for a cleaner appearance.
In Summary
You’re now equipped to bring your aging living fence back to life from its roots. By evaluating, revitalizing soil, pruning strategically, and managing water and pests, you’ll stimulate vigorous new growth. Remember to fill gaps with compatible propagation methods and support with companion planting. Follow your seasonal care schedule, and you’ll transform your tired hedgerow into a thriving boundary that’ll serve your landscape for decades to come.


Leave a Reply