Building elegant stacked stone planter boundaries requires proper material selection and preparation. Choose durable stones like quartzite or granite, excavate 6-12 inches for the foundation, and add gravel for drainage. Start with larger stones at the bottom, creating overlapping patterns for stability while maintaining a slight backward tilt. Mix stone varieties for visual interest, and incorporate drainage solutions to protect your plants. With regular maintenance, your stone boundaries will enhance your landscape for years to come.
11 Second-Level Headings for “Building Elegant Stacked Stone Planter Boundaries”
When planning your stacked stone planter project, you’ll need a clear roadmap of essential steps to guarantee success. Your article should include headings that guide readers through material selection, site preparation, foundation building, and stone installation techniques.
Success with stacked stone planters demands careful planning and precise execution from material selection through final installation.
Don’t overlook sections on proper drainage systems that prevent soil erosion while maintaining ideal moisture levels for your plants.
Include headings about incorporating Sierra Blue quartzite or similar materials to enhance visual appeal through texture and dimension.
You’ll want dedicated sections covering elevation techniques for creating distinctive planting pockets, plus design strategies for achieving that natural, organic aesthetic with uneven surfaces.
Finally, add a heading about integrating accent lighting to showcase your stacked stone planter beds after dark, transforming your landscape with dramatic evening illumination that highlights the intricate stonework.
Selecting the Right Stones for Your Planter Boundary
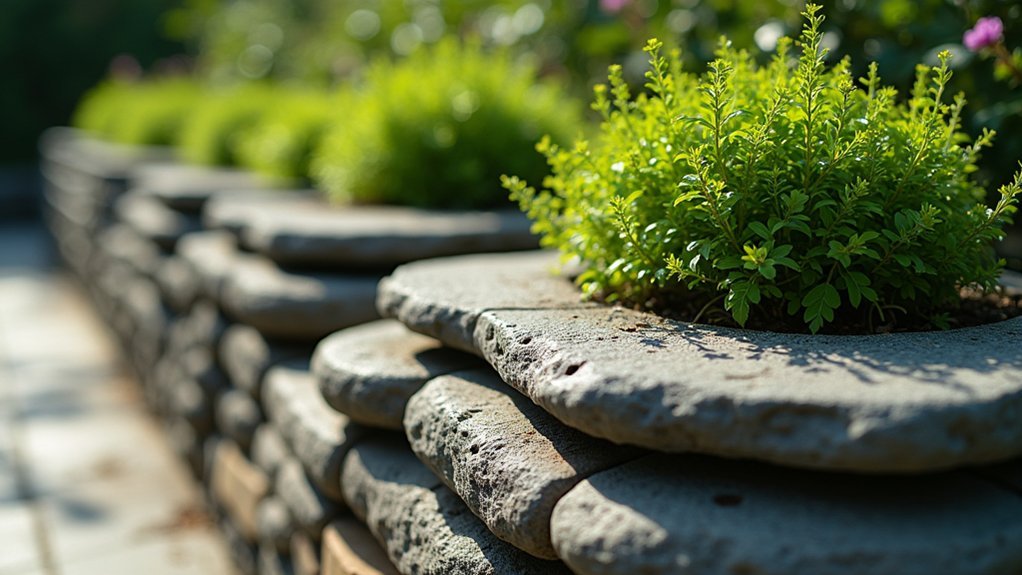
The foundation of any successful stacked stone planter lies in selecting the perfect stones. Look for durable options like quartzite, which ranks seven on the Mohs hardness scale, ensuring your boundary remains beautiful for years.
For a visually striking planter, combine stones with varying colors and textures. Sierra Blue quartzite or Alaska Gray 3D honed marble can create a dynamic look that complements your garden.
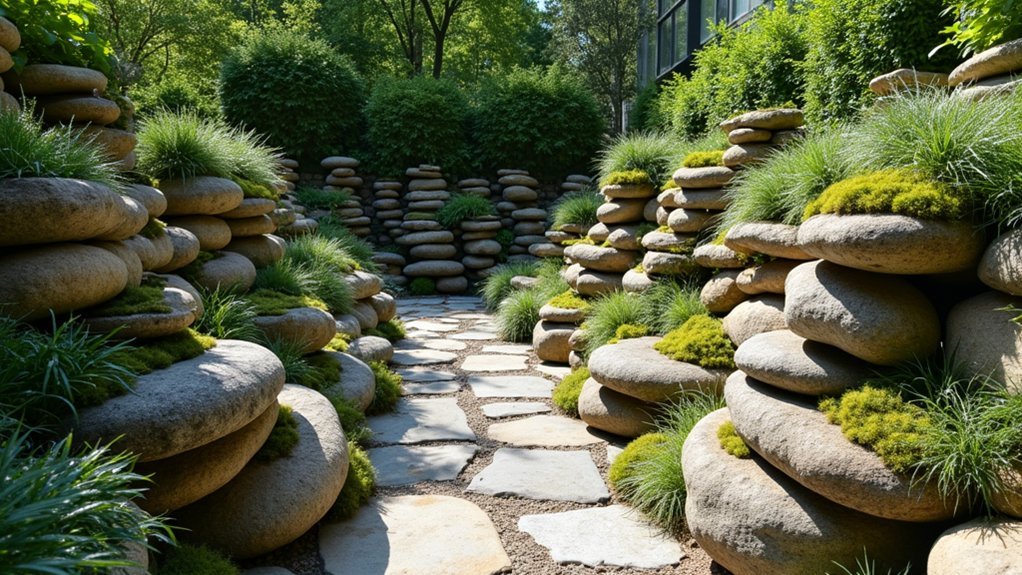
If you prefer a more natural aesthetic, weathered fieldstone with organic surfaces of moss and lichen offers rustic charm that blends seamlessly with your landscape.
Choose stones suitable for dry-stacking, which provides a more natural appearance and allows for proper drainage.
Finally, consider the weight and size—your stones should be manageable to handle while creating a stable, secure boundary for healthy plant growth.
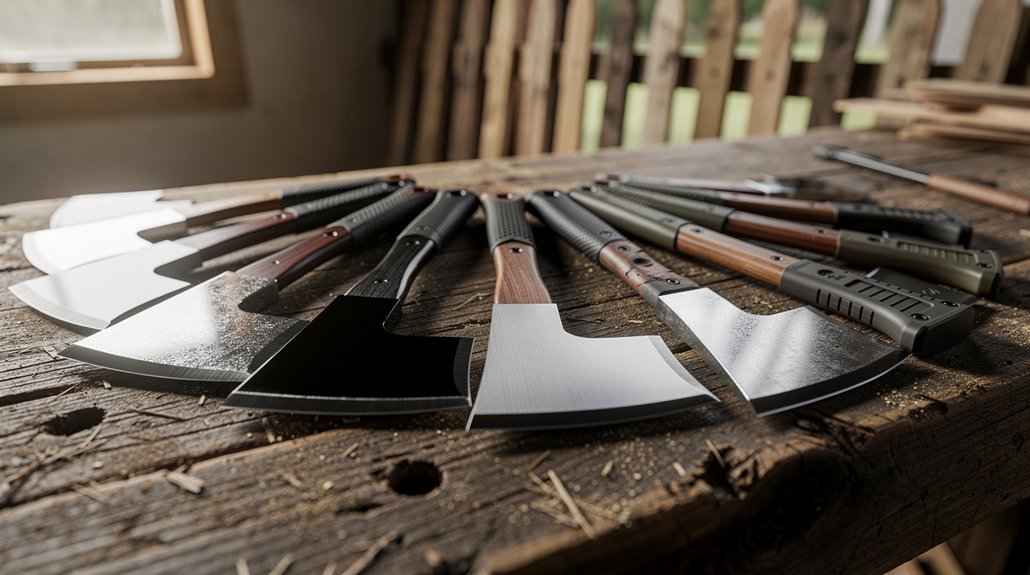
Essential Tools and Materials for Stacked Stone Projects
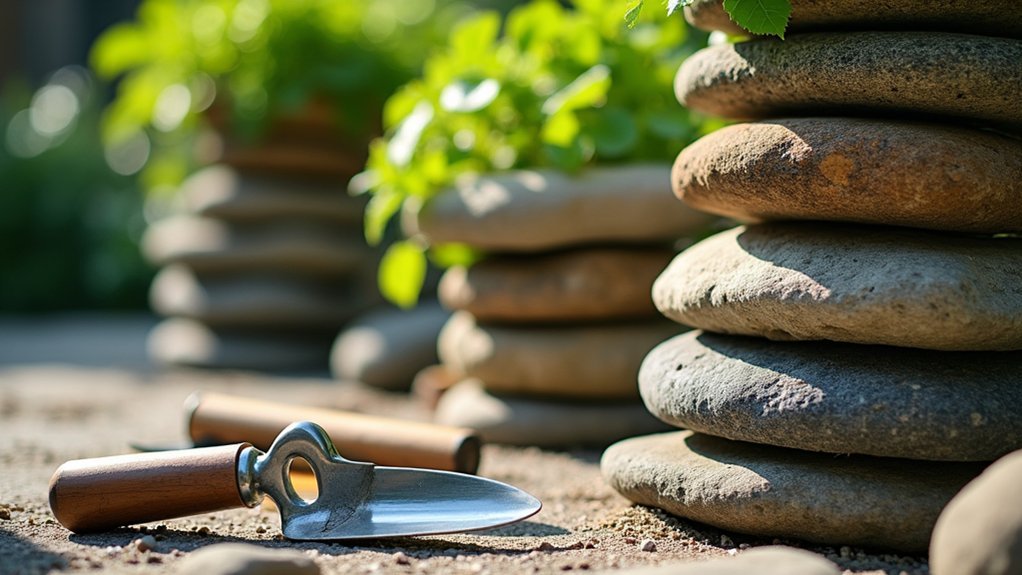
You’ll need to gather both the right materials and proper tools before starting your stacked stone planter project.
Your material selection should prioritize durable stones like granite or quartzite, quality mortar, and landscape fabric to prevent soil erosion beneath your creation.
Your tool assembly checklist should include essentials such as a masonry trowel, level, rubber mallet, stone saw or chisel, safety gear, and a wheelbarrow for efficient transportation around your work site.
Material Selection Priorities
- Select various stone sizes and shapes to create visual interest in your planter boundaries, enhancing the overall aesthetic of your landscape design.
- Incorporate a drainage layer of gravel or sand beneath the stones to guarantee proper water flow and prevent soil erosion.
- Match your stone color palette with existing landscape features for a cohesive look that complements your home’s architecture.
- Consider the weight and manageability of stones you select, making sure they’re substantial enough for stability but workable for your project scale.
Tool Assembly Checklist
Gathering the right tools before beginning your stacked stone planter project can save countless hours of frustration and guarantee professional-quality results. Start with measuring tape to accurately plan your boundaries and guarantee proper dimensions for a balanced appearance.
Essential tools include a level for creating even surfaces, a rubber mallet for precise stone adjustments, and a trowel if you’re using mortar.
Don’t overlook the importance of a wheelbarrow or stone cart for transporting your stacked stones efficiently around your worksite.
Safety gear should never be an afterthought—sturdy gloves protect your hands from sharp edges, while safety goggles shield your eyes from potential debris.
Complete your toolkit with landscape fabric and gravel for proper drainage and weed prevention beneath your beautiful stone creation.
Preparing the Foundation for Long-Term Stability
Three critical steps separate successful stone planters from those that crumble after a season or two, and they all happen below the surface. Your stone planter’s stability depends entirely on proper foundation preparation, which prevents shifting and settling as seasons change.
- Excavate 6-12 inches deep, then thoroughly compact the soil to create a firm base that can support both your stones and the soil weight.
- Add a 2-3 inch layer of gravel or crushed stone to enhance drainage and prevent water accumulation that weakens foundations.
- Install landscape fabric over the gravel to minimize weed growth while maintaining proper drainage.
- Level the entire base using a string line and level tool before placing your first stone course, ensuring uniform support across the entire structure.
Stacking Techniques for Structural Integrity
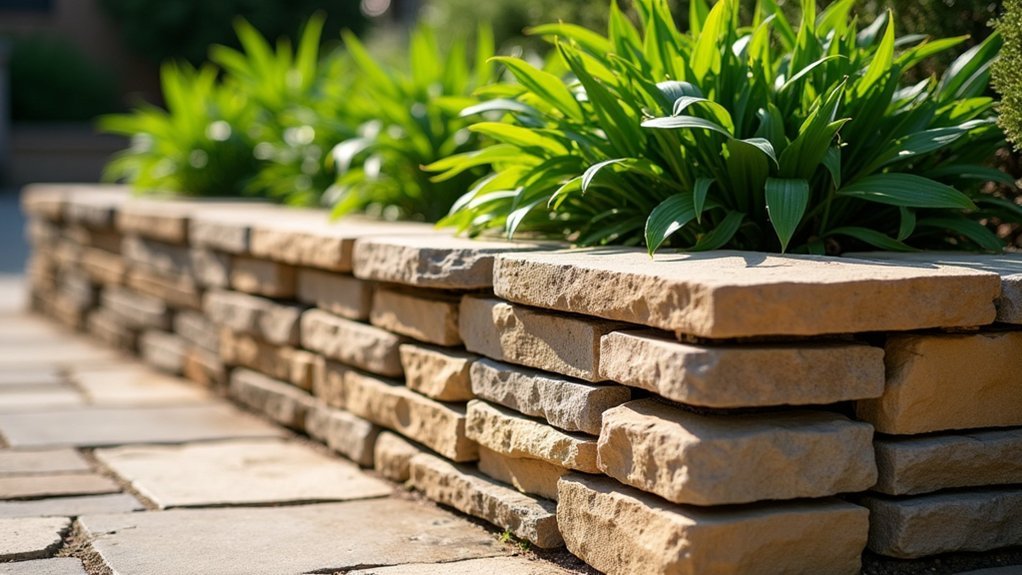
When building your stone planter boundary, use overlapping patterns where each stone contacts multiple stones below it to lock the structure together.
Start with your largest stones at the bottom to create a sturdy base that evenly distributes weight and prevents shifting.
You’ll want to maintain a slight backward tilt as you stack, ensuring the wall leans into the soil for maximum stability against the pressure of your planting medium.
Overlapping Stone Patterns
The strength of any stacked stone planter boundary lies in its overlapping pattern. When you stack stones with proper overlapping, you’re creating a structure that distributes weight evenly and prevents shifting. This technique greatly enhances stability while adding visual interest to your garden feature.
- Position each stone to overlap the joints below it, creating a staggered arrangement that resists collapse.
- Place larger stones at the base of your planter to establish a solid foundation.
- Incorporate irregularly shaped stones to create interlocking connections for added structural integrity.
- Confirm each stone sits level and fits snugly against adjacent pieces to withstand soil pressure and erosion.
Sturdy Base Construction
Beyond the overlapping patterns lies the foundation of your entire planter project—sturdy base construction. For a successful stacked stone planter, you’ll need to start with a level, thoroughly compacted foundation that prevents future shifting and settling.
Implement dry-stacking techniques that interlock stones without mortar, which provides natural drainage while maintaining flexibility in your design. Position larger stones at the base to enhance stability and effectively distribute the weight of soil and plants above. This approach not only guarantees structural integrity but also contributes to the planter’s visual appeal.
For easier installation and alignment, consider using specially designed corner pieces and panels.
Don’t forget to regularly inspect your boundaries for any movement—addressing small shifts immediately will keep your stacked stone planter secure and attractive throughout the seasons.
Proper Weight Distribution
Distributing weight properly throughout your stacked stone planter represents the cornerstone of long-lasting structural integrity. When you position stones thoughtfully, you create boundaries that withstand seasonal changes and soil pressure.
- Start with the largest, heaviest stones at the bottom to lower the center of gravity and prevent toppling as your planter ages.
- Implement a staggered pattern where each stone bridges the joint between two stones below it for ideal structural stability.
- Incorporate a slight backward lean (toward the soil) to create natural pressure that reinforces the entire structure.
- Utilize dry-stacking techniques that allow for drainage between stones, preventing water buildup that could compromise stability.
Remember to periodically check for shifting or settling to maintain both safety and visual appeal of your stacked stone boundaries.
Incorporating Drainage Solutions in Stone Planters
While constructing beautiful stacked stone planters can transform your landscape, proper drainage remains the cornerstone of plant health and longevity. To prevent water accumulation in your stacked stone containers, you’ll need strategic drainage solutions that protect roots from excess moisture.
| Drainage Method | Benefits |
|---|---|
| Gravel Layer | Creates space for water movement and root aeration |
| Drainage Holes | Allows direct water escape from planter base |
| Sloped Base | Directs water toward drainage outlets |
| Perforated Pipe | Facilitates efficient water movement |
| Landscape Fabric | Prevents soil clogging while allowing water flow |
Install a 2-3 inch layer of gravel at the bottom of your planter, then add landscape fabric before soil. This combination creates a filtering system that maintains proper moisture levels while preventing waterlogged conditions that lead to root rot.
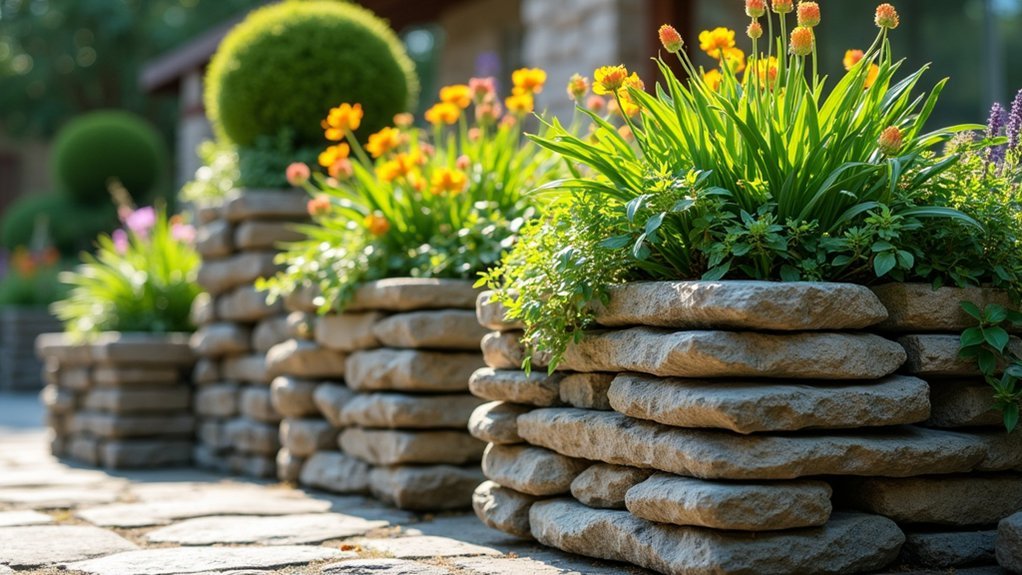
Combining Stone Varieties for Visual Interest
The artful combination of different stone varieties transforms ordinary planter boundaries into stunning landscape features that captivate the eye.
By mixing stones like Sierra Blue quartzite with Alaska Gray marble, you’ll create striking contrasts that enhance your garden’s aesthetic while supporting healthy plant growth.
- Pair rugged slate with polished granite to add dimension and depth, creating a balanced backdrop that highlights your seasonal blooms.
- Utilize stones with varying colors and textures to design creative patterns that integrate seamlessly with your existing landscape.
- Incorporate uneven surfaces to balance the soft foliage with structured stone elements, adding natural texture.
- Select complementary stone varieties that not only look beautiful together but also improve drainage and soil retention for thriving plants.
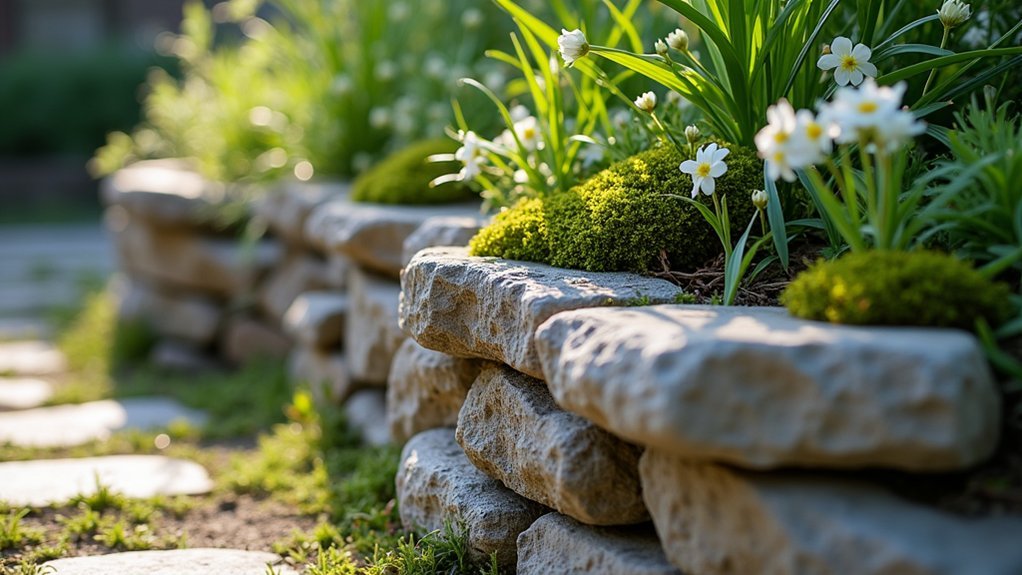
Planting Strategies for Stacked Stone Boundaries
Selecting the right plants for your stacked stone boundaries can transform them from mere garden dividers into thriving ecosystems that showcase nature’s beauty year-round. Combine shallow-rooted annuals with deep-rooted perennials to maximize space and minimize soil erosion while promoting ideal plant growth.
| Season | Plant Selection | Benefits | Visual Appeal |
|---|---|---|---|
| Spring | Trailing lobelia | Softens stone edges | Cascading blue flowers |
| Summer | Drought-tolerant sedums | Reduces watering needs | Textural contrast |
| Fall | Ornamental grasses | Prevents soil compaction | Dynamic movement |
| Winter | Compact evergreens | Year-round structure | Frost-highlighted foliage |
The uneven surfaces of stacked stone create perfect opportunities for creative planting arrangements. Sierra Blue quartzite particularly enhances visual appeal, creating a stunning backdrop for vibrant flowering plants that will flourish in the improved soil aeration your stone boundaries provide.
Seasonal Maintenance of Stone Planter Walls
Maintaining your stacked stone planter walls throughout the changing seasons guarantees their longevity and preserves their aesthetic appeal for years to come.
Regular attention prevents small issues from becoming costly repairs and safeguards structural integrity remains intact.
- Spring: Inspect stone walls for winter damage, clean with a soft brush and mild detergent to remove accumulated grime, and check for drainage issues as spring rains begin.
- Summer: Apply mulch or landscape fabric around plants to minimize weed growth between stones and monitor water flow during heavy storms.
- Fall: Clear fallen leaves and debris from planter areas to prevent moisture retention that could damage stones.
- Winter: Wrap the base of your stone walls with protective materials in colder climates to prevent freeze-thaw damage to both the structure and plants.
Enhancing Stone Boundaries With Lighting Elements
Nighttime transformation of your stacked stone planter boundaries becomes possible with strategic lighting elements that showcase their natural beauty after sunset.
Consider installing low-voltage landscape lighting within or around your planters to highlight seasonal blooms and draw attention to the textured surfaces of the stone.
Solar-powered LED fixtures offer an eco-friendly solution that’s easy to implement, illuminating pathways while accentuating the natural colors of your stacked stone.
For dramatic effect, try up-lighting techniques, positioning lights at the base of walls to create striking shadows that enhance visual appeal.
Select lighting fixtures that complement your stone’s color palette—warm-toned lights pair beautifully with earthy hues.
This thoughtful integration creates a cohesive design that elevates your outdoor space for evening gatherings while showcasing your planter boundaries’ elegant craftsmanship.
Eco-Friendly Approaches to Stone Planter Construction
When building your stacked stone planter boundaries, you’ll contribute to environmental conservation by choosing locally quarried stones that minimize carbon emissions from transportation while supporting regional businesses.
You can enhance sustainability further by incorporating reclaimed materials like weathered stones from demolished structures or recycled concrete aggregates, which add unique patina and character to your garden features.
These eco-conscious material choices not only reduce the environmental footprint of your project but also create distinctive textures that often surpass the aesthetic appeal of new commercial products.
Sustainable Stone Sourcing
As you begin planning your stacked stone planter, consider that the environmental impact of your project starts with stone selection.
Sustainable stone sourcing means choosing materials that reduce your carbon footprint while creating a lasting, beautiful boundary. Look for natural stone quarried locally to minimize transportation emissions and support regional economies.
- Source quartzite or other durable materials high on the Mohs scale to guarantee your planter lasts for decades, reducing the need for replacement.
- Incorporate recycled or reclaimed stone for unique character and reduced environmental impact.
- Select permeable stone arrangements that enhance water retention and reduce runoff.
- Partner with suppliers who practice responsible quarrying methods and habitat restoration.
These eco-friendly approaches guarantee your stacked stone planter is as environmentally conscious as it’s beautiful.
Reclaimed Material Integration
Reclaimed materials breathe new life into your stacked stone planter while honoring the environmental principles of reduce, reuse, and recycle.
Each weathered brick and aged stone carries unique character and history that new materials simply can’t replicate, creating truly distinctive landscape features.
By incorporating various reclaimed stone types into your design, you’ll greatly reduce the carbon footprint associated with new stone production.
You’ll also likely save money—reclaimed materials typically cost less than new ones while offering the same durability.
For the most eco-friendly approach, source stones locally to support regional economies and minimize transportation emissions.
The natural patinas of these materials blend seamlessly with your existing landscape, elevating sustainable landscaping practices without compromising on aesthetic appeal or structural integrity.
Frequently Asked Questions
Can Stacked Stone Planters Be Built on Sloped Terrain?
Yes, you can build stacked stone planters on sloped terrain. You’ll need to create level foundations or terraced designs. Consider using mortar for stability and guarantee proper drainage to prevent soil erosion during rainfall.
How Do Stacked Stone Planters Perform in Freeze-Thaw Climate Cycles?
Stacked stone planters can withstand freeze-thaw cycles if you’ve built them properly. You’ll need good drainage, quality mortar if used, and periodic maintenance. Consider slightly wider bases and frost-resistant stones for best performance.
Are Permits Required for Building Stone Planter Boundaries?
You’ll typically need permits for stone planter boundaries if they exceed certain height limits (often 3-4 feet) or function as retaining walls. Check with your local building department before starting your project.
What’s the Average Lifespan of Properly Constructed Stone Planter Boundaries?
Properly constructed stone planter boundaries typically last 15-25 years, though you’ll see many last 50+ years with good drainage and foundation. They’re durable, but you’ll need occasional maintenance to extend their lifespan.
Can Stacked Stone Planters Be Disassembled and Relocated?
Yes, you can disassemble and relocate stacked stone planters. They’re designed to be dry-stacked without mortar, making them relatively easy to take apart, move, and rebuild in your new desired location.
In Summary
You’ve now mastered the art of building elegant stacked stone planter boundaries. With proper stone selection, solid construction techniques, and thoughtful maintenance, your living landscape feature will stand the test of time. Don’t forget to personalize your creation with strategic lighting and eco-friendly practices. Whether you’re a novice or experienced gardener, you’ll find these boundaries add both beauty and functionality to your outdoor space.
Leave a Reply