DIY tiered privacy screens add depth and seclusion to your outdoor space with minimal effort. Start by planning your design and measuring your area, then select weather-resistant lumber like cedar for longevity. Build a sturdy frame with 2x4s before installing slats in a staggered pattern to create the tiered effect. Finish with quality exterior stain to protect against the elements. Your step-by-step project will transform your yard into a private retreat with architectural interest.
Planning Your Tiered Privacy Screen Project
Before diving into construction, you’ll need to carefully assess your outdoor space to guarantee your tiered privacy screen fits perfectly.
Consider sunlight patterns and wind direction when determining placement to ensure functionality and longevity.
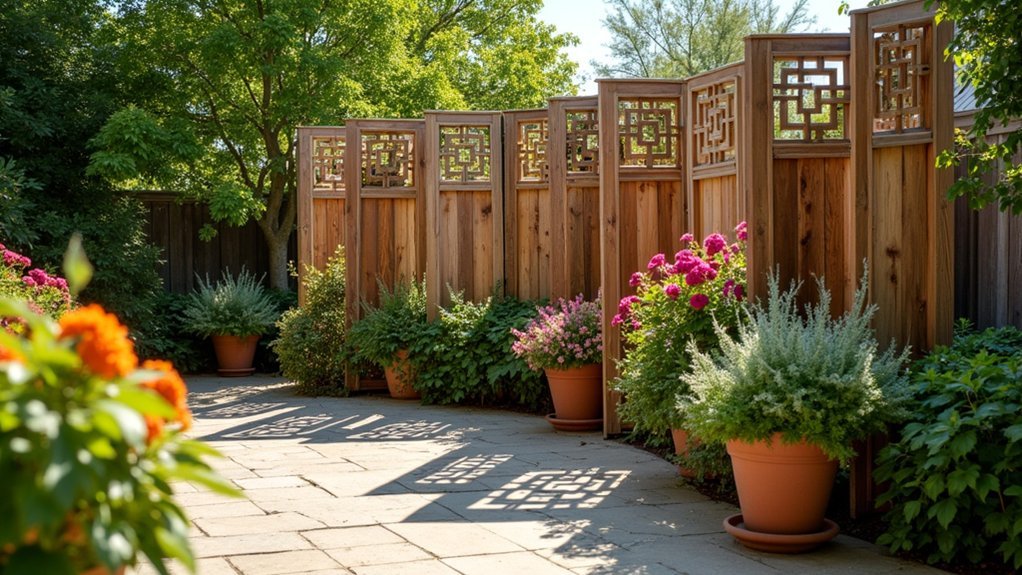
Measure your available area and sketch a design that incorporates multiple tiers for visual interest.
Visualize your dream screen on paper first—tiered designs add dimension while maximizing privacy in your outdoor sanctuary.
Select materials that match your outdoor aesthetic—weather-resistant lumber or decorative lattice work well for most applications.
Remember to account for the screen’s height and width, making sure the base is substantial enough to support upper tiers.
As you finalize your planning, make a thorough list of tools and hardware you’ll need, including screws, hinges, and wood glue.
This preparation will streamline your construction process and help avoid mid-project delays.
Essential Materials and Tools for Successful Construction
Three key categories of supplies will determine the success of your tiered privacy screen project: structural materials, fasteners, and essential tools.
To guarantee durability against outdoor elements, choose weather-resistant wood like cedar or composite for your screen construction.
For your project, you’ll need:
- Treated 2×4 lumber for the frame’s structural support
- 1×4 slats for creating the panel sections
- Exterior wood screws and wood glue for secure assembly
- A miter saw for making precise, clean cuts
- A spirit level to maintain perfect alignment throughout construction
Don’t underestimate the importance of having the right tools on hand. Your drill will be invaluable for creating pilot holes, while a quality level guarantees your privacy screen stands perfectly straight, creating both function and visual appeal.
Building the Foundational Frame Structure

Creating a solid foundation forms the cornerstone of any successful privacy screen project. When you build a privacy screen, start by selecting straight 2x4s without cracks or knots. Cut lumber to your desired dimensions, typically 6-7 feet tall, with width determined by your coverage needs.
| Frame Component | Material | Installation Method |
|---|---|---|
| Vertical Posts | 2×4 Lumber | Corner-positioned |
| Horizontal Supports | 2×4 Lumber | Pocket hole screws |
| Corner Braces | Metal/Wood | Screw-mounted |
| Center Support | 2×4 Lumber | Centered placement |
Assemble your frame using pocket holes and 2½” screws, ensuring flush edges and square corners. Use a spirit level throughout assembly to verify the structure remains plumb and properly aligned. For taller screens, add reinforcing braces to enhance stability and durability against wind.
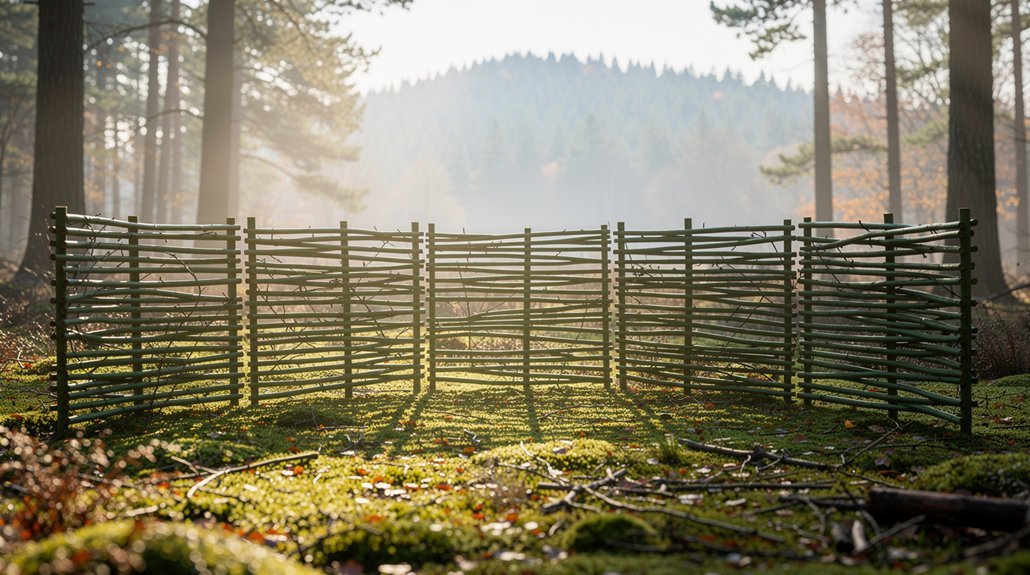
Installing Slats and Creating the Tiered Effect
Once your frame stands solidly in place, you’ll need to focus on installing the slats that will transform your basic structure into a stylish tiered privacy screen.
Begin by cutting all slats to uniform lengths for a consistent appearance. When attaching them, use 3/4″ plywood spacers to maintain even gaps between each piece, ensuring both visual appeal and proper airflow.
Precision in both cutting and spacing ensures your screen achieves that perfect balance of privacy and aesthetic appeal.
- Secure each slat with 1 1/4″ screws through pre-drilled pocket holes at both ends
- Stagger slat placement between tiers, setting upper slats slightly back from lower ones
- Check alignment and level before final fastening
- Maintain consistent spacing throughout all tiers for professional results
- Test stability of your privacy screen after each tier is completed
This tiered arrangement creates depth and visual interest while still providing the privacy you need.
Weatherproofing and Finishing Your Privacy Screen

With your tiers perfectly aligned and all slats secured, your privacy screen now requires protection against the elements.
Weatherproofing begins with choosing the right materials—cedar or pressure-treated lumber will naturally resist outdoor conditions.
Before final assembly, apply a high-quality exterior wood stain or sealant to all surfaces, including cut edges, to prevent moisture infiltration and decay. This protective barrier shields against UV rays and helps maintain the wood’s integrity over time.
For assembly, opt for galvanized or stainless steel screws that won’t rust when exposed to rain and humidity. These corrosion-resistant fasteners guarantee your screen remains structurally sound through changing seasons.
Don’t forget to schedule regular maintenance checks every 1-2 years. Reapply stain or sealant as needed to extend your privacy screen’s lifespan and keep it looking beautiful.
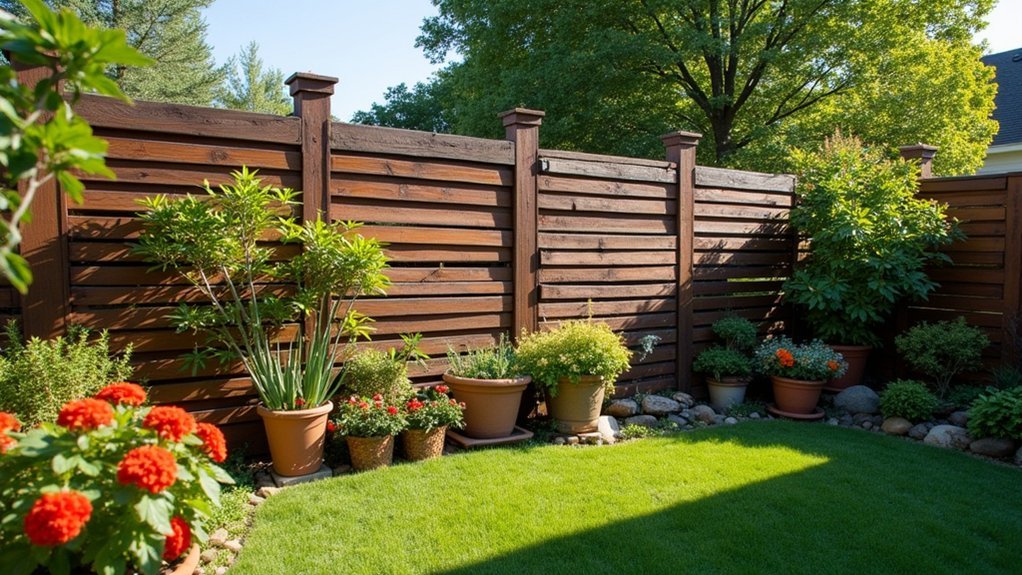
Incorporating Planters and Greenery for Enhanced Privacy
Attach planter boxes to your tiered privacy screen to create a living barrier that enhances both beauty and functionality.
You’ll find climbing vines like jasmine or ivy work wonders when trained to grow through the tiers, gradually filling gaps and creating denser coverage.
Integrate container gardens at varying heights to establish layers of greenery that naturally block sightlines while adding visual interest to your outdoor space.
Climbing Vines Strategy
Creating a living privacy barrier becomes remarkably effective when you incorporate climbing vines into your tiered screen design. Fast-growing varieties like clematis and morning glories quickly transform your garden privacy solution into a lush, natural sanctuary.
Install trellises or support structures alongside your screens to guide vine growth in the desired direction.
- Choose fast-growing climbers that match your climate zone
- Make certain planters have proper drainage holes to prevent root rot
- Use nutrient-rich soil specifically formulated for climbing plants
- Position your trellises strategically to maximize coverage on privacy screens
- Implement a regular pruning schedule to maintain density and shape
Remember to monitor your vines’ growth and provide adequate water, especially during establishment.
With proper care, your climbing vines will create a beautiful, living privacy barrier that enhances your outdoor space.
Container Garden Integration
Transforming your privacy screens into vibrant, living barriers becomes effortless when you integrate container gardens strategically throughout your design.
Select plants that thrive in your local climate while requiring minimal upkeep—ornamental grasses, climbing vines, and flowering shrubs all work beautifully to maintain year-round privacy.
Create visual interest by varying your container sizes and heights, establishing a dynamic, layered effect that’s both aesthetically pleasing and functionally effective at blocking unwanted views.
Position your planters at different elevations to guarantee ideal sunlight exposure for each plant, encouraging denser foliage and enhanced privacy.
For maintenance simplicity, consider installing drip irrigation or self-watering containers, especially if you’re dealing with hot weather.
This guarantees consistent moisture levels without daily attention, keeping your living privacy screen lush and thriving throughout the seasons.
Frequently Asked Questions
How to Build a Privacy Screen Frame?
To build a privacy screen frame, you’ll need to cut 2x4s to size, drill pocket holes, secure horizontal supports to vertical posts with screws, and check for level alignment during assembly.
Can I Make My Own Privacy Screen?
Yes, you can make your own privacy screen easily. You’ll need basic materials like wood lattice and 1×3 boards. It’s affordable (under $30), takes about 2 hours, and provides effective privacy from neighbors.
What Is the Best Material for a Privacy Screen?
Cedar, redwood, or composite lumber are your best privacy screen options. They’re weather-resistant and durable. For lower maintenance, consider aluminum or vinyl. If you’re eco-conscious, bamboo offers sustainability with natural appeal.
How Do You Put Together a Privacy Screen?
To put together a privacy screen, you’ll need to measure your space, build a frame with timber, secure slats with even spacing, mount it using channels or anchors, and guarantee it’s level before finalizing.
In Summary
With your tiered privacy screen complete, you’ll enjoy both seclusion and style in your outdoor space. The customized height and weatherproof finish guarantee it’ll stand up to the elements while serving its purpose beautifully. Don’t forget to maintain any integrated planters regularly. Your DIY efforts have created not just a barrier, but a statement piece that elevates your yard’s functionality and aesthetic appeal.


Leave a Reply