
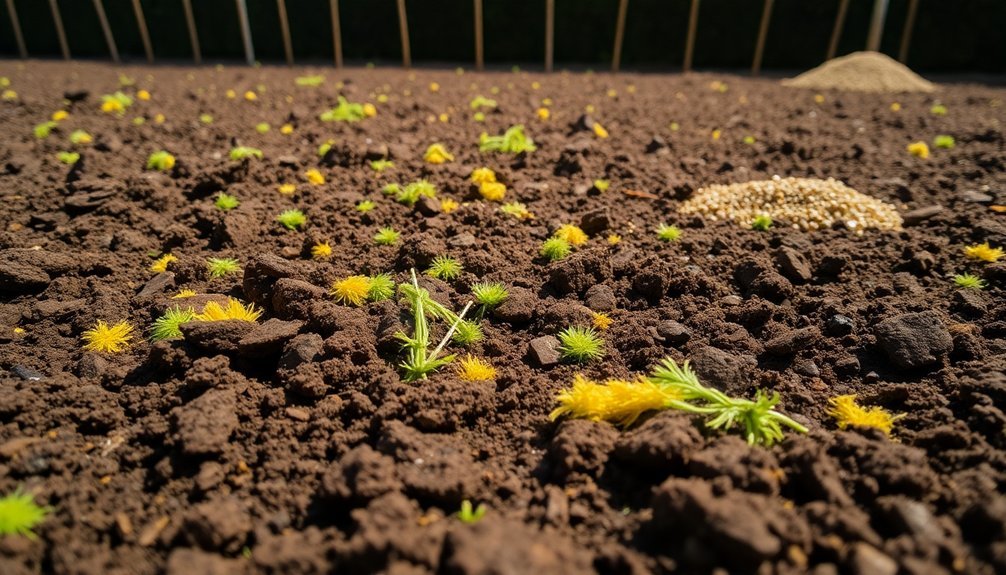
Before planting hedges, you'll need to assess your soil type and pH (aim for 6.0-7.0), then clear all vegetation and debris from the area. Break up any compacted soil layers, incorporate organic matter like compost or well-rotted manure, and dig a trench 50% wider than the root systems. Set up efficient irrigation, apply appropriate amendments, and finish with a 2-4 inch layer of mulch. These foundation steps guarantee your hedge thrives for years to come.
Assessing Your Soil Type and Quality
Before you plant a single hedge, understanding what lies beneath your feet can determine success or failure. Start by conducting a simple texture test—squeeze a handful of moist soil and observe how it behaves. Does it hold together or crumble easily? This reveals whether you're working with clay, sandy, or loamy soil.
Next, check drainage by digging a 12-inch hole, filling it with water, and timing how quickly it empties. For precise results, use a soil test kit or send samples to a laboratory. This analysis will pinpoint your soil's composition and quality.
Remember to take into account your chosen hedge species' specific requirements. Some thrive in well-draining sandy soils, while others prefer moisture-retentive clay.
This initial assessment forms the foundation for all your hedge planting decisions. Aim for a soil pH of approximately 6.0 to 7.0 for optimal hedge growth.
Clearing Vegetation and Debris From the Planting Area
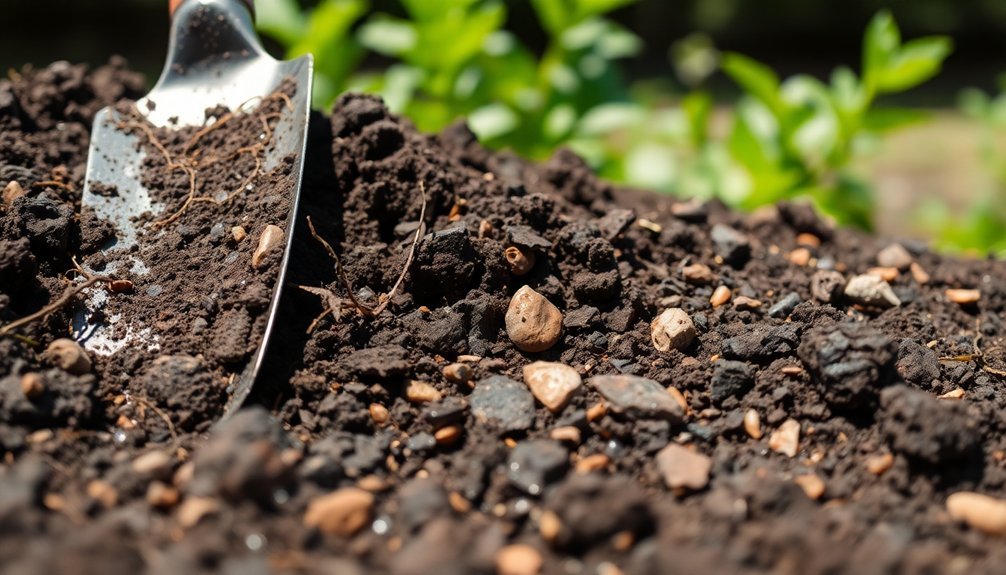
After identifying your soil type, the next critical step involves clearing all existing vegetation and debris from your planned hedge location. This removal reduces competition for nutrients and water, creating favorable conditions for your new hedge to thrive.
Use garden forks or tillers to loosen and remove unwanted plants, paying special attention to persistent weeds and their root systems. Thorough clearing now prevents pest and disease issues later. A clean environment prevents future problems and ensures your hedge starts with optimal growing conditions.
Collect debris using rakes and wheelbarrows, then consider composting suitable materials for future gardening projects.
Avoid heavy machinery that might compact the soil during this process. Instead, manually aerate compacted areas with a garden fork.
Once cleared, level the site, remove any remaining rocks, and water the soil to prepare an ideal environment for your hedge installation.
Testing and Adjusting Soil Ph for Optimal Hedge Growth
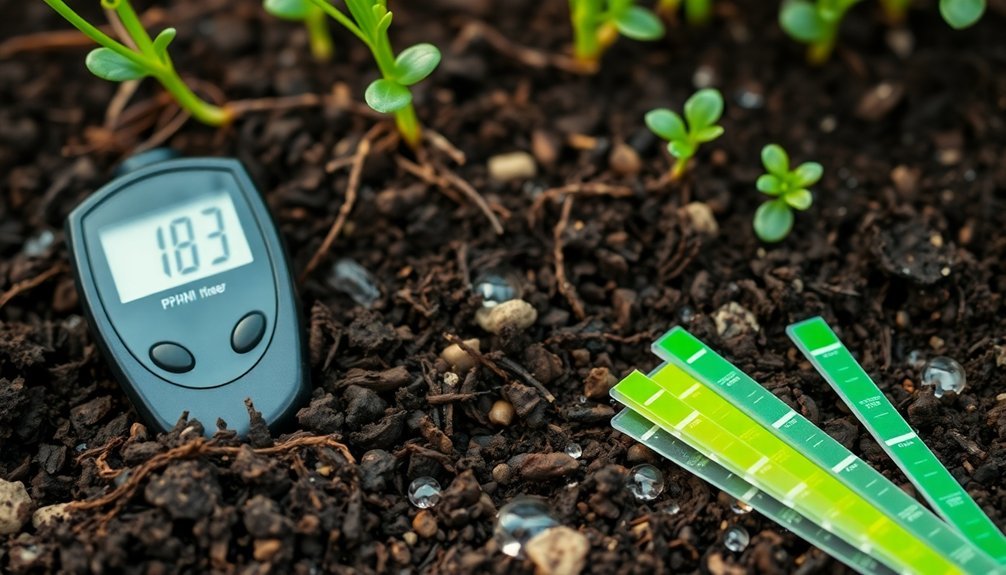
Successful hedge establishment depends largely on proper soil pH levels, which directly influence nutrient availability and root development. Before planting, test your soil using a pH meter, commercial kit, or simple DIY methods like vinegar and baking soda tests. Most hedges thrive in slightly acidic to neutral soils (pH 6.0-7.0).
The foundation of thriving hedges lies in balanced soil pH—test before you plant to ensure optimal nutrient uptake.
If your test reveals acidic soil (below 7), add limestone to raise the pH. For alkaline soil (above 7), incorporate sulfur to lower it. Clay soils typically require more amendments than sandy soils. Apply materials at recommended rates to avoid over-correction.
Remember that soil composition affects how quickly pH changes take effect. After adjusting, wait 2-3 weeks before retesting. Regular observation of garden weeds can also provide natural pH indicators between formal tests.
This preparation guarantees your new hedges will access essential nutrients and develop strong root systems in their optimized environment.
Breaking Up Compacted Soil Layers
Compacted soil presents a significant barrier to hedge establishment, regardless of perfect pH levels. You'll typically find these dense layers 12-22 inches below the surface, particularly in high-clay soils.
Before planting, test for compaction using a soil probe—if it meets resistance, you've found your problem.
For best results, subsoil when conditions are dry to prevent smearing. Use a subsoiler with winged tips to effectively fracture the compacted layer without disturbing surface vegetation.
After breaking compaction, allow the soil to settle before planting your hedge. In healthy soil, maintaining adequate pore space ensures proper oxygen circulation to developing hedge roots. Add organic matter to enhance soil structure and cover with mulch to prevent re-compaction.
This effort pays dividends through improved root penetration, better water infiltration, and enhanced nutrient accessibility—all critical factors for successful hedge establishment.
Incorporating Organic Matter and Compost
Organic matter serves as the foundation for healthy hedge growth, transforming even poor-quality soil into a nutrient-rich growing environment.
Nurture your soil with organic matter and watch your hedges thrive, even in the most challenging conditions.
You'll want to incorporate well-rotted manure, compost, or peat humus at a rate of 50-100 pounds per 100 square feet to maximize benefits.
When preparing your hedge bed, use trench planting techniques to thoroughly mix organic matter with existing soil. This improves structure, enhances water retention, and supports essential microorganisms that cycle nutrients effectively.
For best results, test your soil first to determine the right amount needed.
The payoff extends beyond initial planting—regular applications of organic matter will support your hedge's long-term health, reduce watering needs, minimize chemical dependency, and improve drainage.
Your hedges will develop stronger root systems and show greater resilience to environmental stresses.
Adding Rootgrow to the bottom of your prepared trench will significantly enhance root establishment and overall hedge performance.
Creating Proper Drainage Systems for Hedge Roots
Proper drainage forms the cornerstone of healthy hedge establishment, preventing waterlogged conditions that can suffocate roots and lead to disease.
Before planting, verify the soil surface is level and free from debris, then identify any existing drainage systems that could be compromised by root growth.
If your soil doesn't drain well, you'll need to implement drainage solutions before planting. Consider:
- Adding organic matter like compost to improve soil structure and water movement
- Installing perforated drainage pipes in areas prone to waterlogging
- Creating a slight slope away from the hedge line to encourage natural water flow
Remember that hedge roots don't typically break into intact pipework but exploit existing weaknesses. Be aware that roots are naturally attracted to pipes due to the water and nutrients they contain.
Regular inspection of nearby drainage systems will help prevent costly repairs down the road.
Addressing Clay or Sandy Soil Challenges
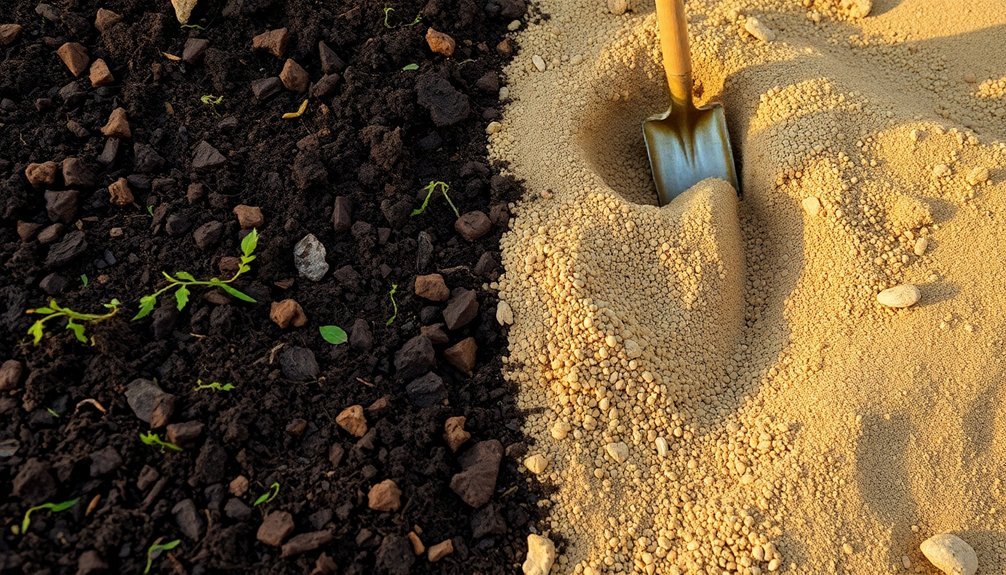
While all hedges require adequate soil preparation, clay and sandy soils present unique challenges that demand specific remediation strategies.
With clay soil, work only when it's not wet to prevent compaction, and incorporate bulky organic matter like composted bark or strawy manure to improve aeration and drainage. Consider raised beds if waterlogging persists.
For sandy soil, you'll face the opposite problem—excessive drainage. Amend with peat moss, compost, or well-rotted manure to boost moisture retention and nutrient-holding capacity.
You'll need more frequent watering and regular fertilization regardless of amendments. Several evergreen hedge options like Elaeagnus and Pyracantha offer excellent tolerance for difficult soil conditions and provide colorful foliage.
Test your soil pH before planting, aiming for 6.0-7.0 for most hedges.
Remember that adaptable varieties like Hawthorn, Hazel, and Weigela can thrive in various soil conditions with proper preparation.
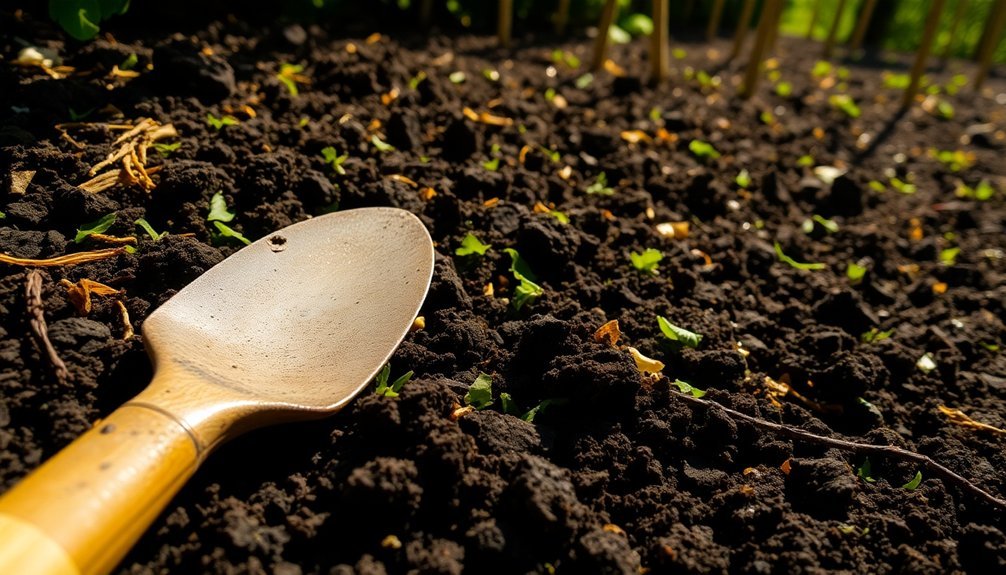
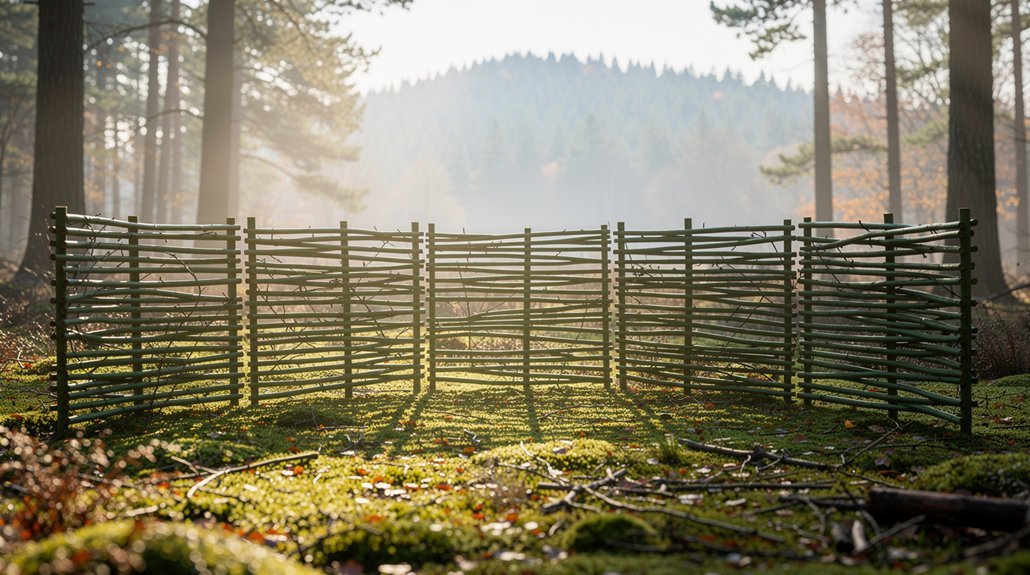
Preparing the Trench for Hedge Planting
After addressing your soil composition challenges, the next practical step involves preparing a suitable trench for your hedge plants.
Begin by clearing all weeds and debris from the planting area to eliminate competition for nutrients. You'll need to dig a trench approximately 50% wider than your plants' root systems—about 45cm for single rows or 90cm for double rows. Make sure to check for any underground utility lines before digging to prevent damage to important infrastructure.
For ideal hedge establishment, focus on these critical actions:
- Loosen compacted soil thoroughly with a garden fork or tiller to improve drainage and facilitate root penetration.
- Incorporate organic matter like compost to enhance soil structure and moisture retention.
- Test soil pH, aiming for 6.0-7.0, and adjust as needed before planting.
Remember to water the prepared trench thoroughly before installing your hedge plants.
Applying Pre-Planting Soil Amendments
Before your hedge has any chance of thriving, you'll need to incorporate essential soil amendments that establish the foundation for healthy growth.
Start by testing your soil's pH and adjusting it to between 6.0 and 7.0 using lime to raise acidity or sulfur to lower alkalinity.
Healthy hedges demand the right soil balance—check pH and adjust to 6.0-7.0 for ideal growing conditions.
Mix organic matter thoroughly into the top 4-6 inches of soil. Compost, well-rotted manure, and peat moss will improve both structure and fertility while providing slow-release nutrients.
Verify you're distributing amendments evenly across the entire planting area.
Time your soil preparation carefully, applying all amendments before planting so your hedge benefits immediately.
After incorporating everything, water the area thoroughly to help settle the soil and activate the amendments.
Remember that different hedge species may have specific pH requirements, so research your chosen variety's needs.
Consider creating a straight trench along your future hedge line to ensure uniform soil conditions for all plants.
Setting Up Irrigation for New Hedge Establishment
For new hedge establishment, you'll need to choose between drip irrigation and soaker hoses to deliver water directly to the root zone while minimizing leaf wetness.
Set your irrigation timer to water deeply but infrequently, encouraging roots to grow downward rather than remaining shallow.
You should adjust your watering schedule based on rainfall patterns, soil moisture readings, and seasonal temperature changes to prevent both drought stress and waterlogging. Installing a backflow preventer is essential when connecting your irrigation system to a main water supply to prevent contamination.
Water Delivery Methods
While newly planted hedges require consistent moisture to establish strong root systems, choosing the right irrigation method dramatically impacts their growth success.
Drip irrigation stands out as the ideal solution, delivering water directly to roots while minimizing waste through evaporation or runoff.
When setting up your drip system for new hedges, focus on:
- Proper placement – Position drip lines along the hedge base with emitters spaced 9-12 inches apart for even moisture distribution.
- Pressure management – Install regulators to prevent system damage and guarantee consistent water flow.
- Automation – Connect timers or smart controllers to maintain regular watering schedules while adapting to seasonal needs.
This approach not only conserves water but promotes healthier plants by reducing disease risk and supporting robust root development. Watering during early morning hours between 2-7 am provides optimal moisture absorption when evaporation rates are lowest.
Timing Irrigation Effectively
Once you've established your irrigation system, proper timing becomes essential for the successful establishment of new hedges. Water early in the morning or evening to minimize evaporation and maximize absorption.
Set up automatic timers to maintain consistent watering cycles, adjusting your schedule to reflect seasonal changes. In spring and summer, your hedges will need more frequent watering, while fall and winter typically require less.
Monitor soil moisture regularly by checking a few inches below the surface. You'll need to water more frequently during the first few months after planting, then gradually reduce as the hedge establishes. For new hedges, consistent watering is critical during the first two years to ensure proper root development.
Don't forget that even dormant hedges need occasional moisture to prevent root desiccation.
Remember to test your system periodically for leaks and adjust emitter spacing to guarantee complete coverage of your hedge's root zone.
Mulching Techniques to Preserve Soil Health
Selecting the right mulch material for your hedge is vital, with organic options like wood chips or compost providing superior soil health benefits compared to synthetic alternatives.
You'll want to maintain a consistent 2-4 inch layer of mulch around your newly planted hedge to maximize moisture retention and weed suppression while avoiding direct contact with stems.
Remember to refresh your mulch annually, as proper maintenance guarantees continued soil protection and nutrient enrichment throughout your hedge's establishment period. Regular replenishment promotes the growth of beneficial microorganisms that contribute significantly to long-term hedge vitality.
Mulch Material Selection
The right mulch can dramatically improve your hedge's long-term health and reduce maintenance needs.
When selecting mulch for your hedge installation, consider both organic options like shredded hardwood and pine bark, or synthetic materials like landscape cloth for tougher weed problems.
For ideal hedge establishment, focus on these key factors:
- Weed-free composition – Choose materials free from weed seeds to prevent unwanted competition with your new hedge plants.
- Moisture retention capability – Select mulches that balance water retention while allowing proper drainage.
- Decomposition rate – Organic mulches like compost add nutrients as they break down, while bark and wood chips last longer with fewer replacements.
Remember that some mulches like sawdust may require additional nitrogen to prevent depletion from your soil.
Apply a thick layer of mulch (30-40cm) to ensure effectiveness against persistent weeds while reducing your overall maintenance workload.
Proper Application Depths
Achieving the right mulch depth is critical for your hedge's success, as improper application can either leave roots exposed or cause them to suffocate.
You'll want to maintain a consistent 2-4 inch layer throughout your planting area.
For newly installed hedges, apply 3-4 inches of coarse bark mulch to effectively suppress weeds while maintaining proper soil aeration.
Keep the mulch at least 6 inches away from plant trunks to prevent moisture-related diseases and root rot.
Spread your mulch evenly across the prepared soil surface, avoiding gaps that could allow weeds to emerge.
Don't pile mulch against stems or create "mulch volcanoes," which can damage plants.
This consistent depth will help retain moisture, regulate soil temperature, and create ideal conditions for your hedge's root development.
Apply mulch in a circular pattern around each hedge plant to maximize moisture retention while minimizing weed growth in these critical areas.
Frequently Asked Questions
How Soon After Soil Preparation Should I Plant My Hedge?
You should plant your hedge immediately after soil preparation when the soil is moist but not waterlogged. This timing allows roots to establish properly while the improvements you've made to the soil are still effective.
Can I Prepare Soil for Hedges During Winter Months?
You can prepare soil in winter if it's not frozen or waterlogged. Focus on adding compost and mulching rather than heavy digging. It's an ideal time for pH adjustment and nutrient enrichment.
Should Soil Preparation Differ for Deciduous Versus Evergreen Hedges?
Yes, your soil preparation should differ slightly. Evergreens need well-drained soil to prevent root rot, while deciduous hedges often tolerate heavier soils. Both benefit from organic matter, but have different pH preferences.
How Does Proximity to Large Trees Affect Hedge Soil Preparation?
Near large trees, you'll need to enhance soil with extra organic matter, address root competition, and compensate for reduced sunlight. You're also fighting for nutrients, so add fertilizer and water more frequently.
Is It Necessary to Sterilize Soil Before Planting a New Hedge?
No, you don't need to sterilize soil before planting hedges. It's unnecessary and can harm beneficial microorganisms. Instead, focus on clearing weeds, improving drainage, and adding organic matter to enhance soil health.
In Summary
By preparing your soil properly, you've set the groundwork for a thriving hedge. You've assessed, cleared, tested, and amended the soil to create ideal growing conditions. Don't skimp on these essential steps—they're your hedge's foundation for years to come. With proper irrigation and mulching in place, you'll enjoy a healthy, vibrant boundary that establishes quickly and rewards your initial soil preparation efforts.

Leave a Reply