Curved terraced barriers transform your outdoor space with natural visual interest while managing water runoff effectively. Start by evaluating your site’s slope and soil composition, then select flexible materials like HDPE that can achieve gentle curves. Mark your design with spray paint, create a stable foundation with a tapered trench, and secure with stakes at regular intervals. Don’t forget drainage systems behind barriers to prevent erosion. Our thorough guide covers every critical step for lasting, beautiful results.
Understanding the Benefits of Curved Terraced Barriers
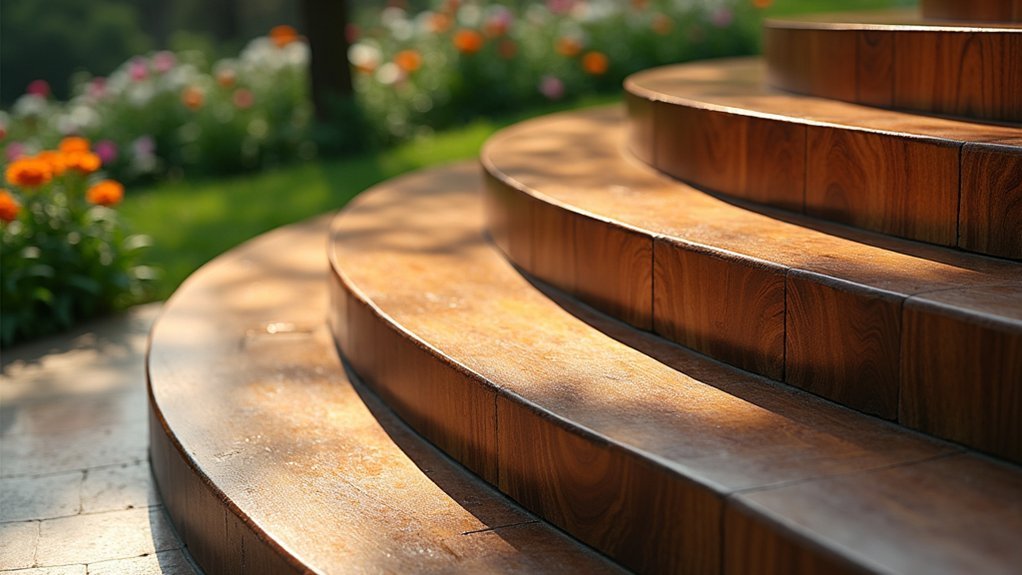
While straight-lined landscaping has dominated traditional garden design, curved terraced barriers offer a revitalizing alternative that transforms ordinary outdoor spaces into dynamic environments.
You’ll immediately notice how these flowing structures create natural visual interest, breaking the monotony typical of conventional gardens.
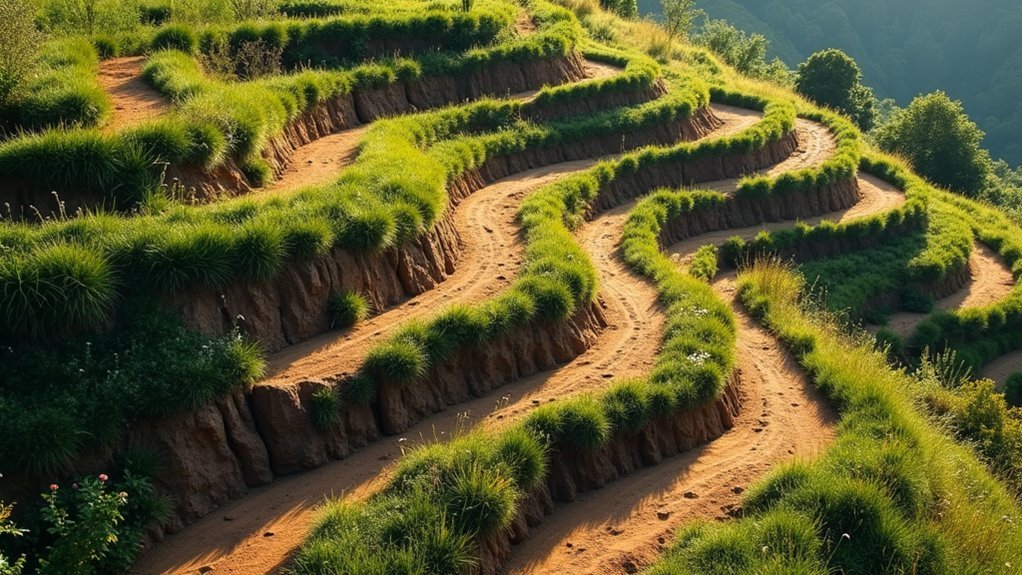
Beyond aesthetics, curved terraced barriers serve practical purposes. They efficiently manage water runoff, directing moisture away from vulnerable areas and reducing soil erosion in your garden.
Curved designs don’t just look beautiful—they protect your garden by controlling water flow and preventing soil loss.
The gentle curves also improve accessibility, creating intuitive pathways that enhance navigation and provide multiple vantage points for enjoying your outdoor sanctuary.
These curved designs enable creative, layered planting arrangements at varying heights, increasing biodiversity while adding distinctive character to your property.
Site Assessment and Topographical Considerations
Before you begin installing curved terraced barriers, conducting a thorough site assessment will determine your project’s success. Analyze your site’s topography using a level and measuring tape to accurately record elevation changes that will affect barrier curvature and positioning.
| Assessment Factor | Why It Matters | Action Required |
|---|---|---|
| Slope Analysis | Determines terrace height and spacing | Measure grade percentage at multiple points |
| Drainage Patterns | Prevents water damage | Identify natural water flow directions |
| Soil Composition | Affects stability | Test soil structure and compaction levels |
You’ll need to evaluate sunlight exposure across different areas to optimize plant growth on your terraces. Don’t forget to check local zoning regulations before installation begins. Understanding your site’s unique drainage patterns will help you design curved barriers that manage water effectively while creating visually appealing landscape elements.
Design Principles for Natural Curve Integration
Creating harmonious curved terraced barriers requires thoughtful integration with your landscape’s natural contours. When designing these elements, you’ll want to incorporate varying radii throughout your curves to create visual interest and avoid monotonous patterns. This approach enhances both aesthetic appeal and functionality of your outdoor space.
Select materials that offer flexibility and durability, such as HDPE, which will maintain shape while withstanding environmental challenges.
As you develop your design principles, plan complementary pathways that follow your curved terraced barriers, providing easy access while showcasing your design’s elegance.
Don’t overlook plant placement along your curves—carefully position vegetation to enhance landscape integration while supporting proper drainage.
This holistic approach guarantees your curved terraces become a seamless, functional extension of your property’s natural topography.
Material Selection for Flexible Barrier Construction
You’ll find that flexible materials like HDPE, lightweight aluminum, and bendable plastics offer the best performance for curved terraced barriers.
When comparing options, consider how each material handles your local weather conditions, with UV-resistant compositions preventing deterioration in sunny locations and freeze-thaw resistant materials essential for colder climates.
The most effective weather-resistant choices combine durability with flexibility, allowing your terraced design to maintain its structural integrity while accommodating the natural contours of your landscape.
Flexible Materials Comparison
The selection of appropriate flexible materials forms the foundation of successful curved terraced barrier installations.
When evaluating your options, consider HDPE for its exceptional weathering resistance and durability, making it perfect for long-lasting curved barriers in various environments.
Recycled rubber offers superior elasticity that naturally conforms to curves while providing impact-absorbing edges.
If you’re seeking a modern appearance, steel edging can be heat-formed into precise curves, though proper installation is essential to prevent rust.
For a natural aesthetic with modern performance, composite materials blend wood fibers with recycled plastic, offering flexibility with visual appeal.
Your final selection should factor in your local climate conditions, ongoing maintenance capabilities, and desired design aesthetic to guarantee your flexible materials deliver both functionality and visual harmony in your durable installations.
Weather-Resistant Options
When designing curved terraced barriers that withstand nature’s challenges, selecting materials with superior weather resistance becomes essential for long-term success. High-density polyethylene (HDPE) stands out as a premier choice due to its exceptional weather-resistant properties that guarantee longevity in harsh environments.
For maximum flexibility in curved designs, consider flexible composites that maintain structural integrity while accommodating creative shapes.
In moisture-prone areas, lightweight aluminum edging offers rust resistance along with modern aesthetics.
If you’re seeking a traditional look, natural stone or concrete provides durability against extreme temperatures and precipitation.
Always factor in your local climate conditions—UV-stabilized materials prevent fading in sunny regions, while aluminum and HDPE excel in rainy climates.
The right materials balance your design vision with the weather-resistant qualities needed for lasting performance.
Essential Tools and Equipment for Curved Installations
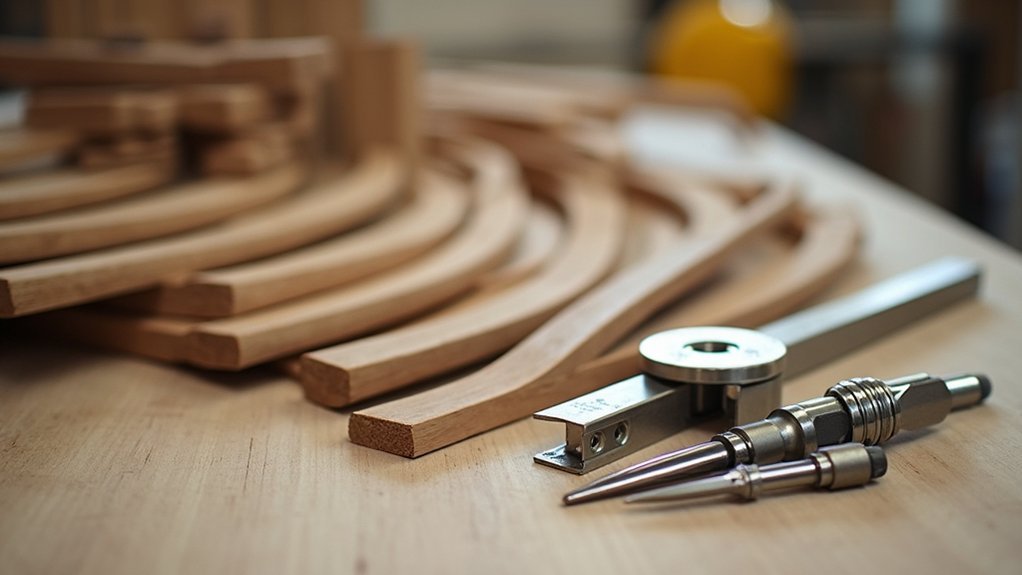
You’ll need specialized curve-forming tools like heat guns and bending jigs to create those perfect arcs in your terraced barriers without cracks or breaks.
A robust set of leveling equipment including laser levels and bubble levels guarantees your curved installations maintain consistent height and proper drainage across uneven terrain.
Don’t forget all-weather fastening systems with galvanized brackets and stainless steel screws that resist corrosion, keeping your curved barriers securely anchored through seasonal changes.
Specialized Curve-Forming Tools
Crafting perfect curves for terraced barriers requires specialized tools designed specifically for curved installations.
You’ll need equipment that helps visualize, mark, and precisely execute your curved design for professional results.
- Flexible landscape edging and garden hoses serve as excellent curve visualizers, helping you map out the flow before any digging begins.
- Landscape fabric rolls create smooth, flowing lines when laying out curves for terrace barriers.
- Marking paint or spray provides clear installation guides by highlighting the exact path of your curved terrace barriers.
- Trenching shovels with curved blades allow precise digging that matches your desired contours.
- Leveling tools (line or laser levels) guarantee your curved barriers maintain consistent height throughout the installation.
These specialized curve-forming tools eliminate guesswork and aid you in achieving elegant, functional curved terraces with professional precision.
Leveling Equipment Essentials
Precision stands at the heart of successful curved terrace installations. Your terraced gardens will require specific leveling equipment to guarantee professional results across varying terrain.
Start with a laser level, which provides exact elevation measurements essential for keeping your curved terrace barriers uniformly installed. A transit level becomes invaluable when working across longer distances, allowing you to establish accurate sight lines for consistent curves.
Complement these tools with a simple string line to visualize your intended curve before breaking ground. Don’t overlook basic tools like a garden rake for creating smooth soil foundations and a hand trowel for fine-tuning your trench edges.
These precision instruments work together to ensure your curved terrace barriers follow the designed contour while maintaining proper leveling throughout the installation process.
All-Weather Fastening Systems
While leveling establishes the foundation for your curved terraces, the right fastening systems lock your design in place for years to come.
All-weather fastening systems provide essential durability against rust and corrosion, especially important for outdoor curved terrace barriers exposed to changing conditions.
- Choose stainless steel or specially coated screws for enhanced grip and longevity
- Look for fasteners designed for curved applications to maintain structural integrity
- Select options with higher tensile strength to address unique stress points in curves
- Follow manufacturer spacing guidelines precisely for ideal performance
- Consider ease of installation features that work seamlessly with curved designs
When installing your curved terrace barriers, remember that proper fastening is what transforms a beautiful design into a lasting structure.
Your investment in quality all-weather fastening systems pays dividends through extended lifespan and reduced maintenance needs.
Ground Preparation and Marking Techniques
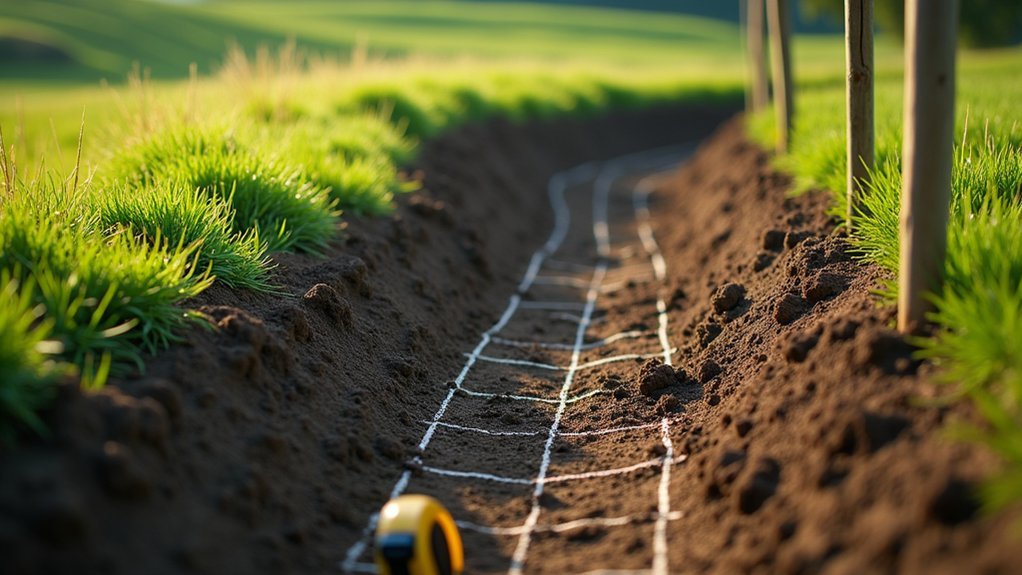
Before you begin installing curved terraced barriers, proper ground preparation and accurate marking are essential for success. Start by thoroughly evaluating your outdoor living space, noting slope characteristics, existing vegetation, and drainage patterns that might affect your design.
Clear the installation area of debris, rocks, and roots to create a clean surface for your project. Using measuring tape, determine the exact dimensions needed for your curved barriers, then create a detailed layout on graph paper or with garden design software to visualize the final result.
Mark your planned curves with spray paint directly on the ground for clear visibility during excavation. Reinforce these markings by placing stakes along the painted lines, providing physical guides that will help maintain your desired curvature throughout the trenching and installation process.
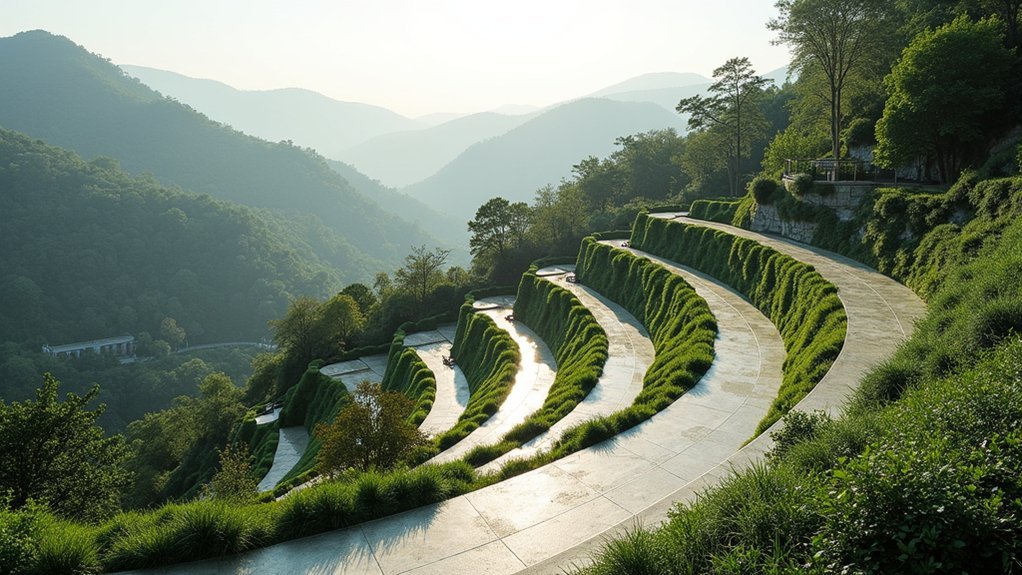
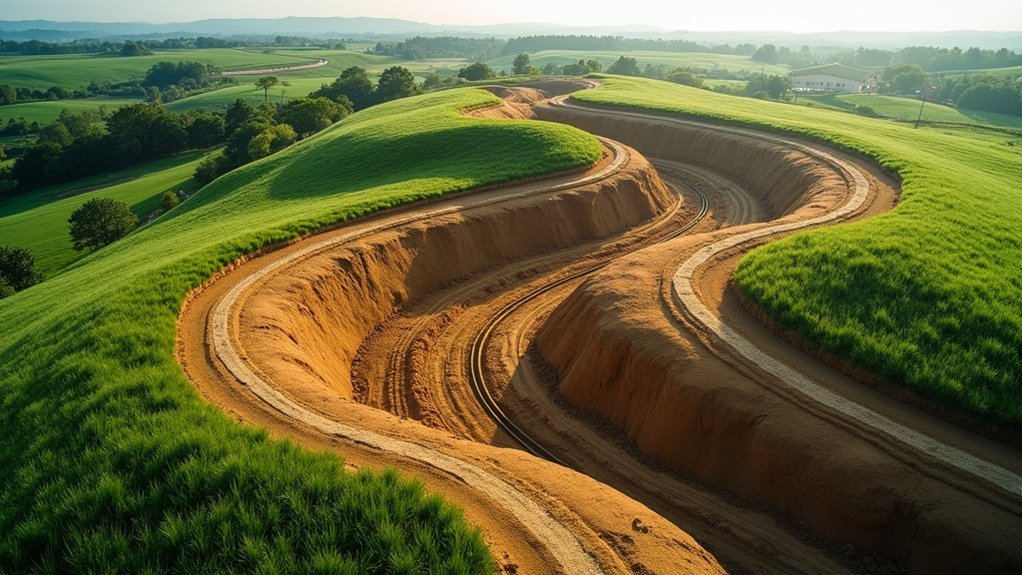
Creating Stable Foundations on Sloped Terrain
Establishing rock-solid foundations represents the most critical aspect of installing curved terraced barriers on sloped terrain.
Before placing a single stone, you’ll need to assess the slope and drainage patterns to guarantee water flows away from structures.
- Excavate a tapered trench (12 inches at highest point, 6 inches at lowest) to create a stable foundation base.
- Add compacted gravel or crushed stone to enhance stability and prevent future settling.
- Install barriers in a staggered pattern to evenly distribute weight across the slope.
- Confirm each section is level and secure before adding soil or plantings.
- Conduct regular inspections after rainfall to maintain structural integrity.
Building the First Tier: Establishing Your Base Curve
The foundation of any curved terrace project lies in creating a perfectly established base curve. Begin by measuring your desired radius, ensuring it fits harmoniously within your garden space. Use stakes and flexible garden hose to outline your base curve, making necessary adjustments before finalizing.
Next, excavate a trench following your outlined curve, matching the dimensions required for your terrace boards. Install the boards in the trench, verifying they follow the curve smoothly.
| Material | Benefit | Best For |
|---|---|---|
| Cedar | Naturally rot-resistant | Wet climates |
| Composite | Low maintenance | Long-term installations |
| Stone | Maximum durability | High-traffic areas |
| Steel | Modern aesthetic | Contemporary designs |
Secure your boards with stakes or rocks, checking for levelness throughout. This essential first tier will determine the stability and visual appeal of your entire terraced barrier.
Achieving Proper Drainage in Curved Terraces
Proper drainage stands as a critical component when installing curved terraced barriers, since water buildup can quickly undermine even the most carefully constructed designs.
To guarantee your curved terraces remain stable and functional, you’ll need to incorporate effective drainage solutions from the start.
Effective drainage isn’t optional—it’s the foundation that ensures your curved terraces thrive for generations.
- Create a 1-2% slope away from your home’s foundation to prevent water from pooling against structures.
- Install a drainage system behind retaining walls using perforated pipes or French drains.
- Incorporate gravel or porous materials at the base to enhance stability while allowing water flow.
- Regularly inspect and clear debris from drains to maintain unobstructed water movement.
- Use contouring techniques that direct runoff toward planted areas or designated drainage points.
With proper drainage in your curved terraces, you’ll protect your investment while guaranteeing your landscape remains beautiful and structurally sound for years to come.
Securing Multi-Level Curved Barriers
You’ll face unique challenges when anchoring curved barriers on slopes, requiring specialized stakes and proper distribution of soil pressure across each level.
Mastering curved joint techniques guarantees your terraced barriers maintain their aesthetic flow while providing structural integrity, especially at connection points where pressure tends to concentrate.
Anchoring on Slopes
Securing curved terraced barriers on sloped terrain requires three critical anchoring techniques to prevent structural failure. Proper grading directs water away from the barriers, maintaining structural integrity during heavy rainfall.
Drive stakes or rebar at regular intervals to anchor the structure securely against soil movement and erosion.
- Install drainage solutions behind barriers using gravel-filled trenches
- Position retaining wall blocks or heavy rocks at the base of each curve
- Grade each terrace level to direct water runoff away from the structure
- Anchor with stakes or rebar at 18-24 inch intervals along the curve
- Perform regular inspections of the anchoring system
Don’t underestimate the forces at work on slopes—water, gravity, and soil movement constantly challenge your installation.
Your anchoring strategy must account for these natural pressures to guarantee your terraced barriers remain stable for years.
Curved Joint Techniques
Connecting multi-level curved barriers demands specialized joint techniques that build upon your anchoring strategy.
When installing terrace boards, verify their curvature aligns seamlessly with your circular design to maintain visual continuity and structural integrity.
Overlap the edges of each terrace board at connecting points, creating snug joints that minimize gaps while maintaining smooth shifts between curves.
Use flexible stakes or ground anchors at key intervals along the curve to secure the boards against lateral movement.
For enhanced stability, install landscape fabric and gravel backfill behind your barriers. This combination improves drainage and prevents soil erosion, which could otherwise compromise your curved joint techniques over time.
Don’t forget to inspect your joints regularly after installation, as soil settling may require adjustments to maintain the curved barriers’ integrity and appearance.
Soil Pressure Distribution
Three critical factors determine the stability of your curved terraced barriers: soil type, compaction methods, and pressure distribution techniques.
When installing multi-level curved barriers, proper soil pressure distribution is vital for maintaining structural integrity over time.
- Consider the barrier’s curvature angle when calculating soil pressure forces.
- Install adequate drainage systems behind barriers to prevent water buildup.
- Compact soil in layers during installation to guarantee even pressure distribution.
- Account for how soil weight affects different sections of your curved design.
- Schedule regular maintenance checks to monitor pressure changes and barrier condition.
Remember that uneven soil pressure distribution can cause your multi-level barriers to shift or fail.
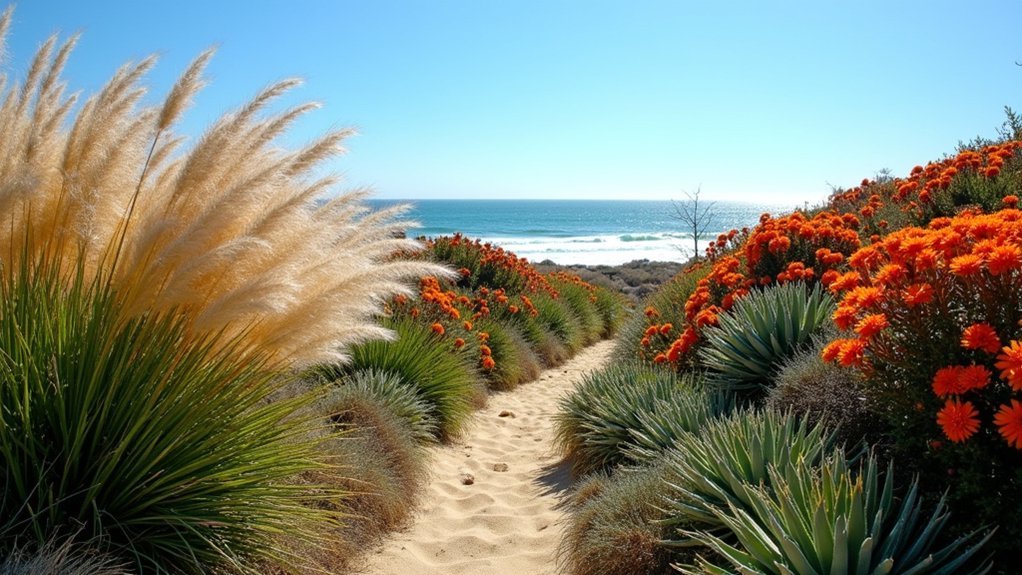
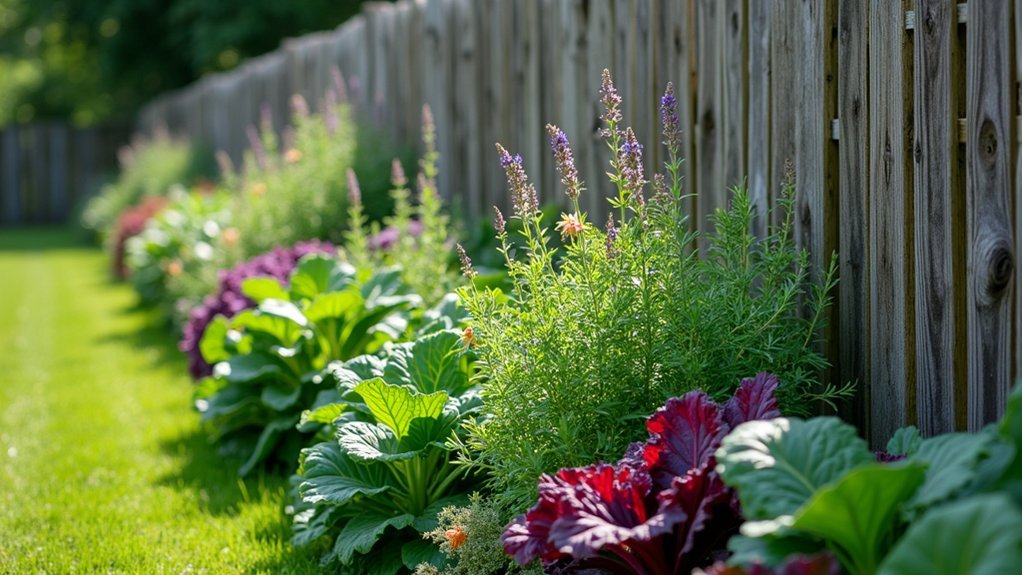
Incorporating Plants and Vegetation for Stability
While curved terraced barriers provide structural support, they’re considerably strengthened by strategic plant integration. Deep-rooted native grasses and shrubs anchor soil with extensive root systems, enhancing soil stability throughout your terraced barriers.
Create natural erosion protection by mixing different plant heights and types. Ground covers, perennials, and creeping species like thyme and ferns not only beautify your landscape but reinforce the structural integrity of your terraces. These plants reduce runoff and improve moisture retention within your garden beds.
Select vegetation that thrives in your local conditions for maximum effectiveness. During off-seasons, plant cover crops such as clover or vetch to maintain soil health and provide continuous support against erosion, especially during heavy rainfall.
This seasonal approach guarantees your curved terraces remain stable year-round.
Weatherproofing Your Curved Terraced Barrier
Now that your terraced barriers have plant support, you’ll want to shield them from nature’s harsher elements. Proper weatherproofing guarantees your curved structure remains intact and functional for years to come.
Install a drainage system behind your barrier to redirect water and prevent erosion that could undermine your terrace’s stability.
- Select UV-resistant materials like HDPE boards to prevent sun damage and fading
- Apply weather-resistant sealants to all joints to prevent moisture infiltration
- Add a protective mulch layer at the base to reduce soil erosion and suppress weeds
- Create proper water drainage channels behind the barrier to divert rainfall
- Schedule regular inspections for cracks or shifting, especially after severe weather events
Remember that preventative maintenance is far easier than major repairs later on.
Seasonal Maintenance and Structural Checks
Once you’ve installed your curved terraced barriers, implementing a consistent maintenance schedule becomes essential for their longevity.
Perform regular structural checks to identify any shifting or settling that might compromise stability and alignment.
After heavy rainfall, inspect the barrier base for signs of erosion or water damage. Improper drainage can severely undermine structural integrity over time.
Don’t overlook fasteners, stakes, or rocks securing your barriers—replace any showing rust or deterioration.
Spring is ideal for rejuvenating mulch or soil around barriers to enhance both plant health and aesthetic appeal.
Make it a habit to conduct thorough inspections at each season’s end, identifying potential issues early.
This proactive approach allows you to schedule necessary repairs before weather conditions worsen existing problems, ensuring your curved terraced barriers remain functional and attractive year-round.
Frequently Asked Questions
How to Install Terrace Board Edging?
To install terrace board edging, outline your area with paint, dig a trench, place boards evenly, secure them with stakes, and fill with soil. You’ll create clean borders for your landscape.
What Is the Best Way to Install Landscape Edging?
First, measure and outline your desired area with spray paint. Dig a trench, place your edging inside, and secure it with stakes. Finally, fill your beds with soil and mulch for a clean, defined border.
How to Create a Terraced Landscape?
Assess your slope, sketch curved terraces, then excavate level surfaces. Build retaining walls with proper drainage systems. Plant diverse vegetation suited to each terrace’s conditions. Maintain regularly by watering, pruning, and inspecting walls.
How to Make a Terrace Garden Step by Step?
To make a terrace garden, you’ll need to assess your yard’s slope, sketch your design, excavate level surfaces, build retaining walls, select appropriate plants, and maintain regularly through watering, pruning, and soil monitoring.
In Summary
You’ve now mastered the art of curved terraced barrier installation. By following proper design principles, choosing appropriate materials, and implementing regular maintenance, you’ll enjoy both the aesthetic appeal and functional benefits of your curved structure for years to come. Don’t forget to conduct seasonal checks to verify stability and address any issues promptly. Your beautiful terraced landscape is well worth the effort!

Leave a Reply