Building curved willow fences requires basic planning and simple techniques. Start by setting sweet chestnut uprights 1.8m apart, embedded 300mm into the ground. Mark your desired curve with string before installation. Weave five willow rods through each upright, maintaining consistent tension and gentle curves for structural integrity. Secure loose ends by wrapping around the final post and trim for a clean finish. With proper selection of materials and careful weaving, your natural living fence will enhance any garden space.
Building Curved Willow Fences Made Simple
While many gardeners shy away from curved designs, creating a beautiful willow fence with gentle bends is surprisingly straightforward.
Begin by setting sweet chestnut uprights 1.8m apart, ensuring they’re embedded at least 300mm deep for proper stability.
Curves aren’t just visually appealing—they actually strengthen your willow fence structure. When weaving, use five brown willow rods through each upright, always starting from the same side to maintain consistency. This technique is essential when creating living boundaries with natural materials.
Secure excess willow by wrapping it tightly around end posts, then weave it back to lock everything in place. For a professional finish, cut the ends flush at each upright and saw the tops evenly.
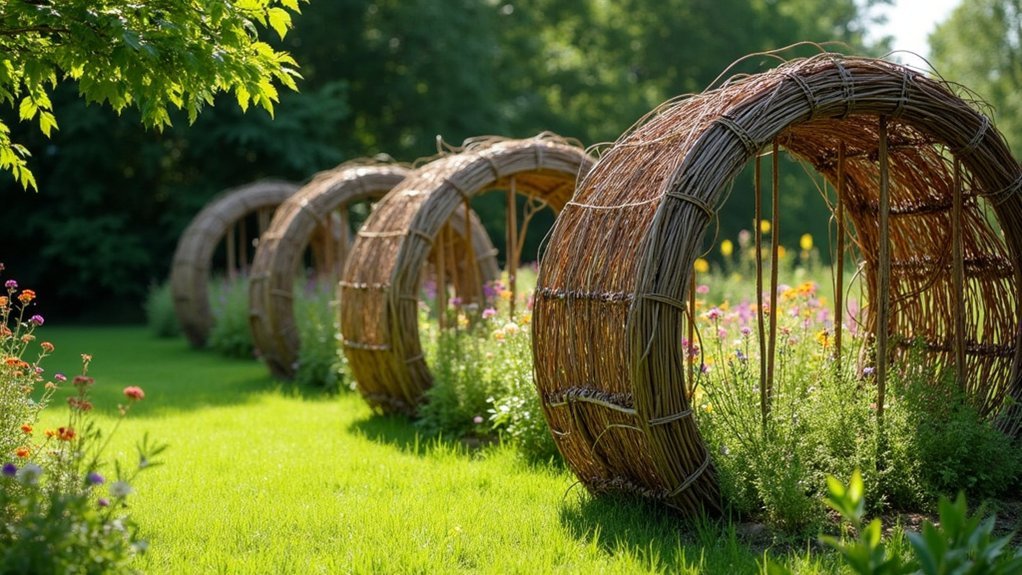
Your curved living willow fence will become both a functional boundary and an artistic garden feature.
The Natural Appeal of Willow Fencing
Harmony between function and beauty defines well-crafted willow fencing in any garden setting.
A garden’s soul emerges when natural willow barriers unite purpose with artful expression.
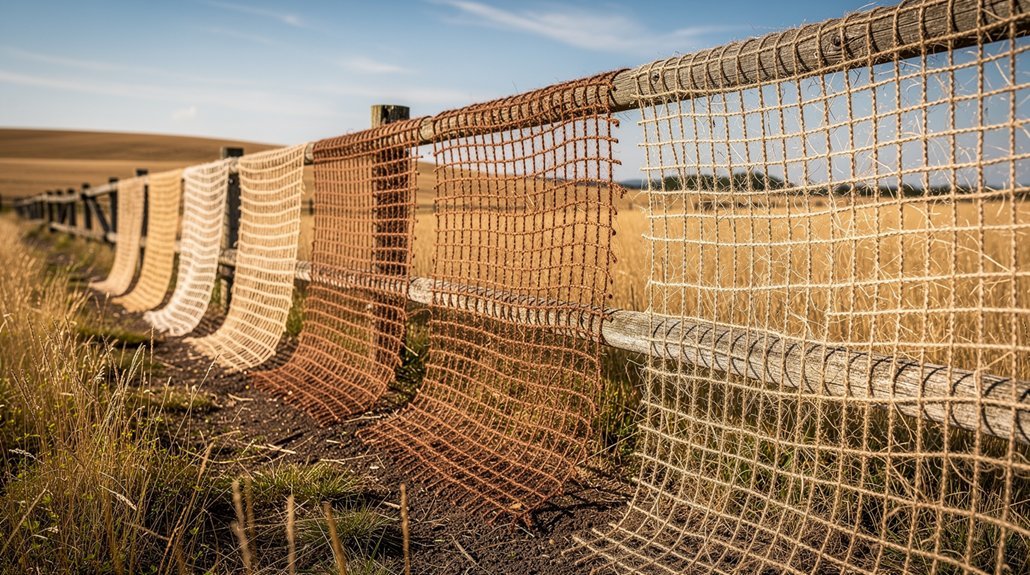
You’ll discover that these natural barriers seamlessly blend into your landscape while effectively defining spaces and boundaries.
When you select different willow varieties like brown willow or Flanders red, you’re not just creating a visual barrier—you’re adding seasonal color and texture that transforms throughout the year.
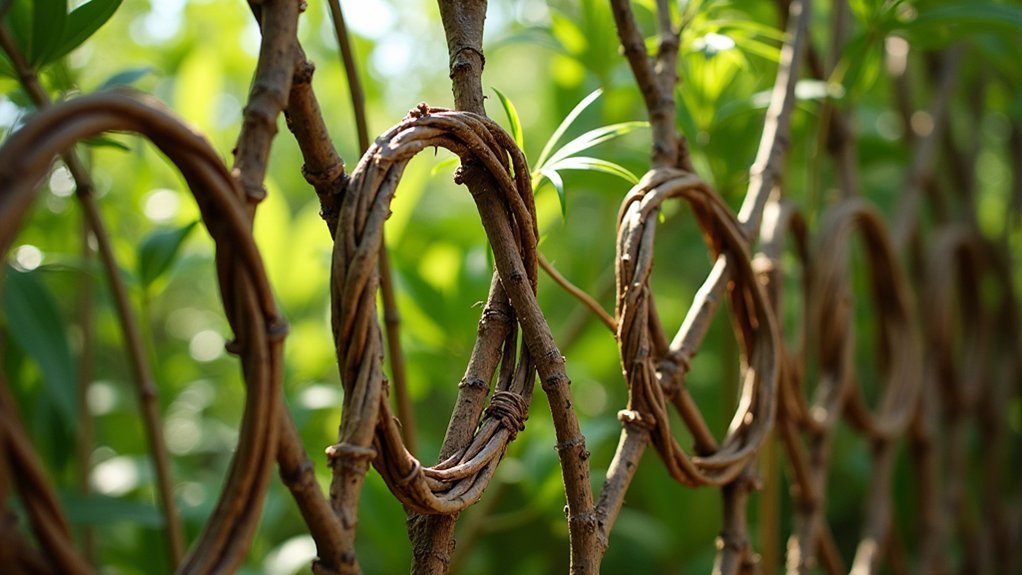
The inherent flexibility of freshly cut willow allows you to weave unique designs with graceful curves that add both strength and visual interest.
Living fences offer additional benefits beyond aesthetics; they support local biodiversity by providing habitat for pollinators and wildlife.
Your willow fence becomes more than just a boundary—it’s an ecosystem contribution that enhances your garden’s natural character while performing its practical function.
Selecting the Right Willow Varieties for Your Fence
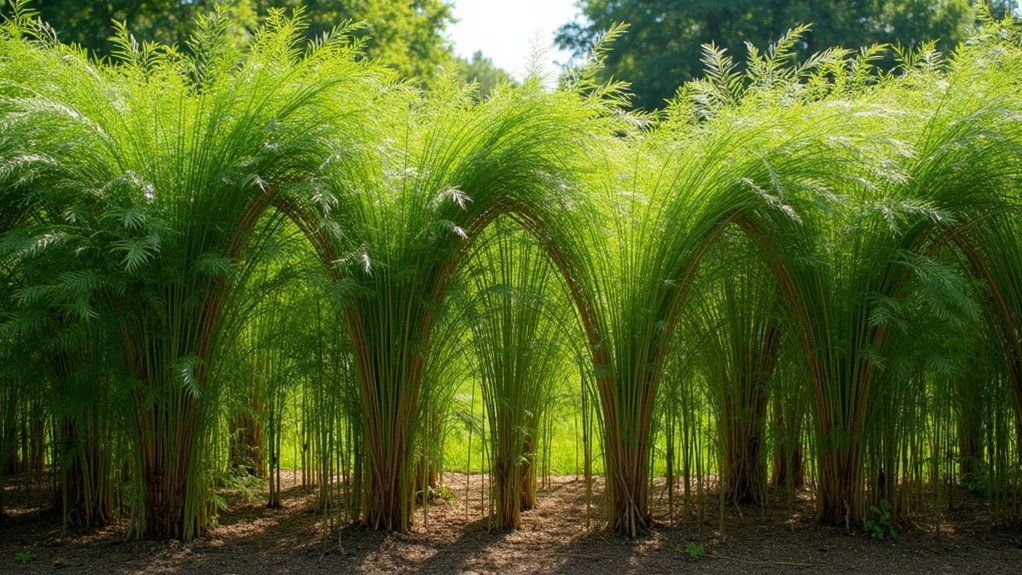
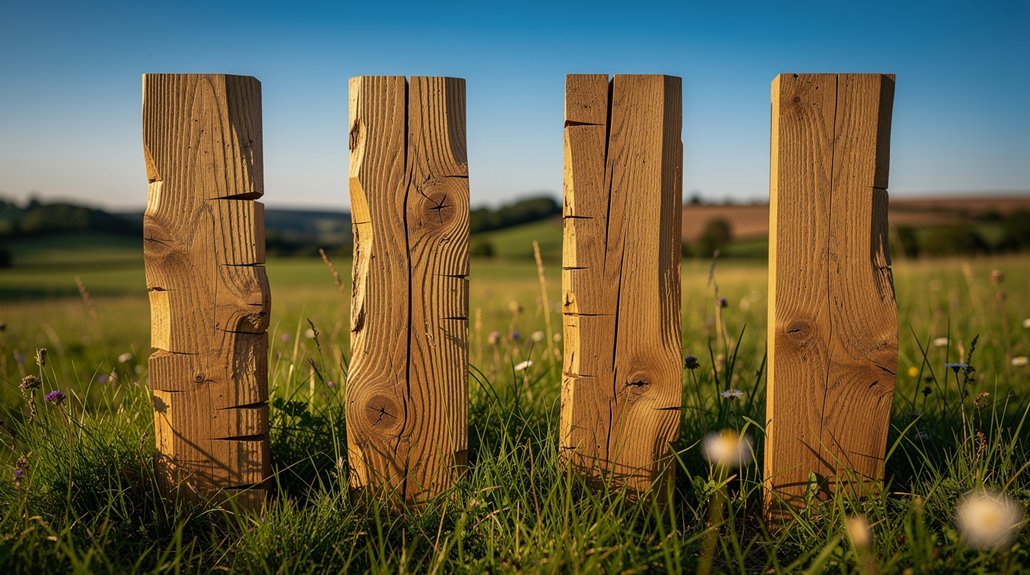
Success in willow fence construction begins with selecting appropriate varieties for your specific needs. Sweet chestnut makes ideal uprights with its natural durability at 50-75mm diameters, while brown willow (Salix viminalis) offers exceptional weaving flexibility when freshly cut.
| Willow Type | Best Use | Characteristics |
|---|---|---|
| Sweet Chestnut | Uprights | Durable, weather-resistant |
| Brown Willow (Salix viminalis) | Weaving | Flexible, easy to manipulate |
| Flanders Red | Accent weaving | Colorful, visual interest |
| Fresh Willow | Primary weaving | Immediately pliable |
| Native Species Mix | Ecological benefits | Biodiversity, varied textures |
For visual interest, incorporate Flanders red willow into your design. Always use freshly cut willow for weaving—it’s naturally pliable, while dried materials require pre-soaking. Consider using multiple native species to enhance both aesthetics and ecological benefits.
Essential Tools and Materials Checklist
With the right willow varieties selected, you’ll need the proper tools and materials to transform those willows into a beautiful curved fence.
Start by gathering sweet chestnut posts (50-75mm in diameter) to serve as your sturdy uprights. You’ll space these 1.8m apart and hammer them at least 300mm into the ground using a sledge hammer.
Strong support needs sturdy foundations. Sink those chestnut posts deep for a willow fence that stands the test of time.
For the woven willow sections, collect plenty of flexible hurdling willow. Fresh green willow works best for creating those appealing curves that add strength and visual interest to your fence.
Don’t forget tools for trimming: secateurs and loppers are essential for cutting excess willow and achieving a neat finish.
Finally, invest in a good pair of gloves to protect your hands during the weaving process—you’ll thank yourself later!
Planning Your Curved Fence Design
Before diving into construction, thoughtful planning of your curved willow fence will save you countless headaches later. Start by sketching your design on paper, visualizing the gentle curves that will enhance both structural integrity and visual appeal of your fence.
Space your sweet chestnut uprights approximately 1.8 meters apart to provide ideal support for the willows you’ll be weaving. When setting these posts, drive them at least 300mm into the ground using a sledgehammer to guarantee they’ll withstand wind while maintaining your curved fence design.
Select appropriate willow varieties specifically grown for weaving, such as brown willow or Flanders red willow. These cultivars offer the flexibility and durability necessary for creating beautiful, long-lasting curved structures that will become a standout feature in your landscape.
Preparing the Ground and Setting Posts
Before breaking ground, you’ll want to assess soil conditions and mark your fence line with string to guarantee proper alignment.
Secure your sweet chestnut posts approximately 1.8 meters apart, driving them at least 300mm into the ground with a sledge hammer for ideal stability.
Creating gentle curves in your fence layout won’t just enhance its aesthetic appeal—it’ll actually strengthen the overall structure while creating a more natural-looking boundary.
Ground Assessment Basics
Successfully establishing a curved willow fence begins with proper ground assessment and post installation.
You’ll need to evaluate your site’s drainage patterns and soil quality before setting a single stake. Willows flourish in moist conditions, so select an area that retains moisture without becoming waterlogged.
Check the ground level along your intended fence line, ensuring it provides consistent support for your structure.
Mark your fence path using string or stakes to create a clear guide for the fence’s curvature. This preliminary mapping helps visualize the final design while identifying potential obstacles.
When planning curves, remember they not only enhance the aesthetic appeal of your fence but also contribute considerably to its structural integrity. A gently curved willow fence will typically stand stronger than a completely straight one.
Post Placement Techniques
With your fence line mapped out, the focus now shifts to proper post installation. Position your sweet chestnut posts approximately 1.8 meters apart along the marked curve, ensuring they’ll create a harmonious flow.
Using a sledgehammer, drive each post at least 300mm into the ground for ideal stability against weather elements.
When implementing post placement techniques for curved sections, make slight adjustments to maintain an even, pleasing arc. After setting each post, verify it stands perfectly vertical before proceeding.
- Space posts consistently at 1.8m intervals to create a balanced aesthetic
- Set posts 300mm deep minimum to guarantee long-term stability
- For curves, slightly adjust post positions to achieve smooth, flowing lines
Check all posts for levelness before moving on to the weaving stage of your project.
Weaving Techniques for Curved Structures
When creating curved willow fences, you’ll need to bend the rods gently to follow your design while placing uprights strategically at the curve points for proper support.
Position your sweet chestnut posts at 1.8m intervals along the planned curve, ensuring they’re embedded 300mm deep to withstand the tension of the weave.
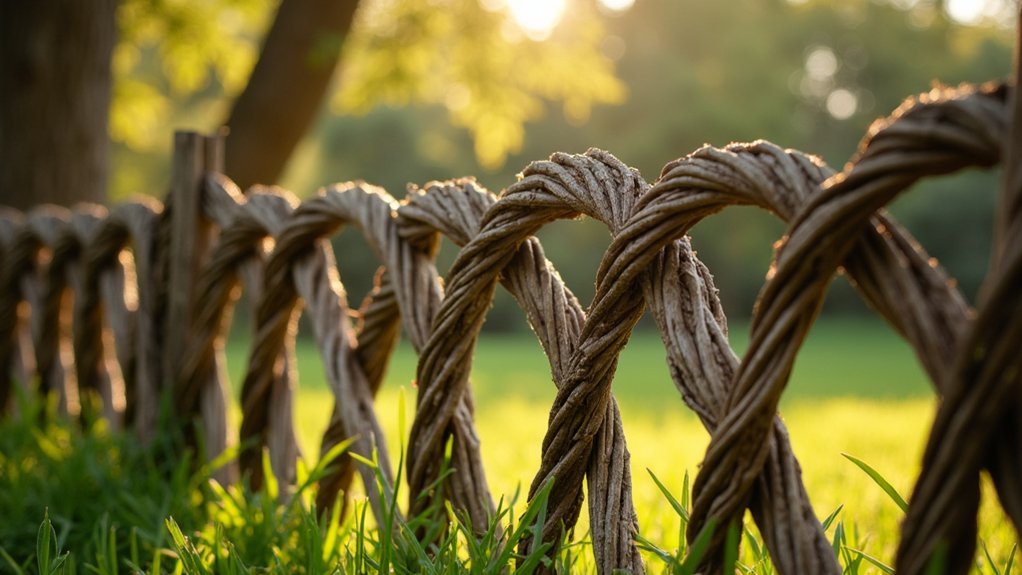
Start your layered weaving by threading five willow rods through each upright from the same side, maintaining consistent tension as you work around the curves to build strength and visual appeal.
Bending Without Breaking
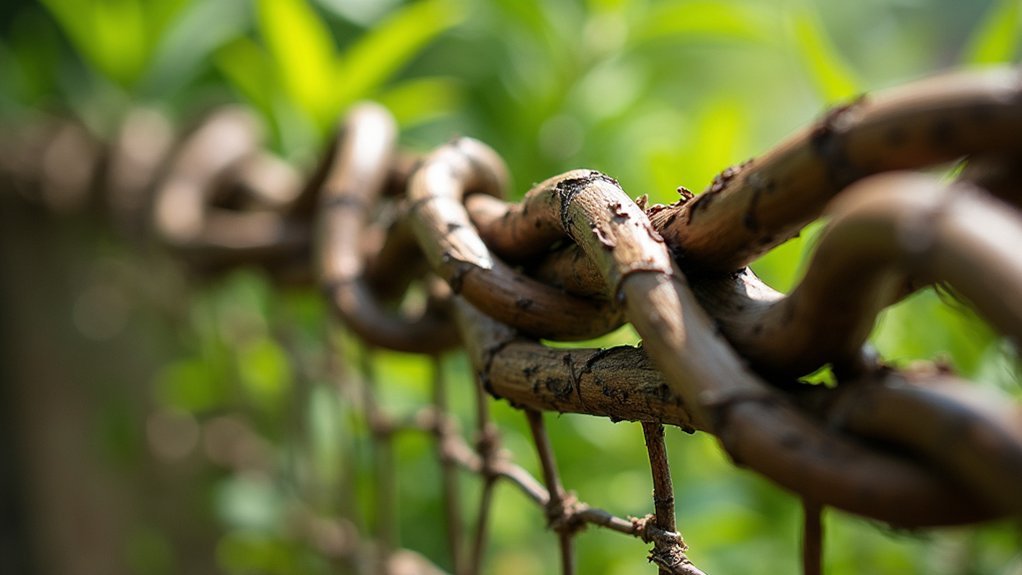
Creating beautiful curved willow fences depends on your ability to bend the material without causing breakage. The key is working with freshly cut green willow, which offers ideal flexibility due to its natural moisture content.
If you’re using dried willow, soak it thoroughly in water first to restore pliability before attempting to weave.
When designing your curved fence, remember:
- Start with gentle curves rather than sharp angles
- Maintain consistent weaving patterns through the uprights
- Always weave from the same side for structural integrity
As you work around curves, keep tension even while wrapping the rods through the sweet chestnut uprights.
Pull firmly but not excessively—you’re seeking that perfect balance where the willow bends gracefully without snapping. This careful technique creates both strength and visual appeal in your finished fence.
Strategic Upright Placement
Three critical factors determine the success of your curved willow fence: spacing, depth, and positioning of the sweet chestnut uprights. For ideal strength and visual appeal, position your uprights 1.8 meters apart, securing them at least 300mm deep in the ground. This foundation provides the necessary structural integrity for your curved design.
When setting your uprights, intentionally incorporate gentle curves. These aren’t just aesthetically pleasing—they actually strengthen the overall structure.
Once your posts are firmly established, begin weaving five brown willow rods consistently from the same side through each upright. As you reach the ends, wrap excess willow tightly around the final posts before weaving back through.
Complete your fence by pulling the final rods up from the base and twisting ends around the last upright for a secure finish.
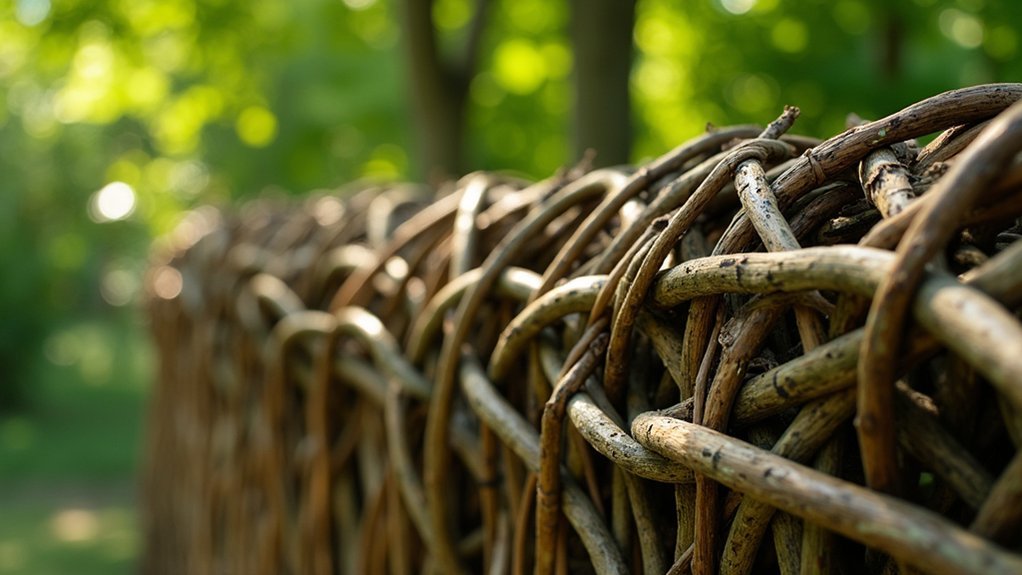
Layered Weaving Method
Through careful layering, the willow weaving technique transforms your curved fence into both an art form and a durable structure.
Begin by weaving five willow rods through each sweet chestnut upright, following the planned curve. Wrap excess willow around end posts to create a return weave that locks the entire woven structure in place.
- Create multiple layers by adding more willow rods at varying angles for increased strength
- Intertwine the willow tightly around each upright to maintain the curved design
- Secure loose ends by wrapping them around the final upright and trim with secateurs
This layered approach guarantees your willow fence maintains its curved profile while providing stability.
Remember to weave the rods firmly against each other for a solid structure that will stand the test of time while showcasing natural beauty.
Creating Strength Through Proper Bending Methods
When you master the art of bending willow rods, you’ll discover that curves actually strengthen your fence rather than weaken it. The natural flexibility of freshly cut willow allows you to create robust shapes that distribute tension evenly throughout your structure.
Always form gentle, gradual curves rather than sharp angles, which can lead to breakage over time. As you integrate curves into the fence design, you’ll need to adjust the spacing of uprights accordingly. Keep posts about 1.8m apart to guarantee your woven willow maintains consistent tension.
Don’t forget to monitor and adjust the curvature during the initial growth phase. This attention to detail guarantees your living fence develops into a strong, visually appealing barrier that can withstand environmental challenges for years to come.
Finishing Touches and Securing the Weave
Your curved willow fence takes shape with proper bending techniques, but the final steps make all the difference in its stability and appearance. To secure your weaving properly, twist the willow ends tightly around the last upright post, preventing future unraveling and ensuring long-term durability.
For a professional finish:
- Lock the weave by pulling up the final rods from the base, reinforcing the entire structure.
- Trim all willow ends flush against each upright using secateurs for a neat appearance.
- Saw the sweet chestnut uprights just above the top of the weave for a clean line.
With these finishing touches, you’ll create a secure fence that can last 5-10 years. The care you take in these final steps directly impacts both the aesthetic appeal and structural integrity of your curved willow creation.
Seasonal Maintenance and Long-Term Care
Protect your curved willow fence through each season by applying organic mulch at the base during winter and monitoring for pest activity throughout spring and summer.
You’ll need to rejuvenate your living structure by pruning excess growth after flowering, cutting back side shoots to maintain its defined curve and promote density.
Remember to prune early flowering varieties more aggressively, removing up to one-third of the older stems to encourage fresh, vigorous growth that strengthens the fence’s overall structure.
Seasonal Protection Essentials
As the seasons change, your curved willow fence requires specific care to maintain its beauty and structural integrity. During seasonal maintenance, trim excess growth in late winter or early spring to promote healthy development and preserve your fence’s shape.
In the first year, regular watering is vital to establish strong roots, especially during hot or dry periods.
Protect your fence year-round with these essential practices:
- Apply mulch around the base to retain moisture and prevent weeds from competing with your willow
- Inspect after harsh weather events for damage, replacing compromised rods promptly
- Consider pollarding or coppicing every few years to encourage fresh growth and maintain fence density
These protective measures will guarantee your living willow fence remains robust and beautiful through all seasons.
Rejuvenation Through Proper Pruning
Pruning serves as the backbone of willow fence maintenance, transforming basic care into true rejuvenation. You’ll want to prune your willows just after flowering to stimulate vigorous growth while maintaining your fence’s elegant curved structure.
For early flowering varieties, don’t hesitate to prune hard, while later-flowering species require gentler treatment to preserve their growth cycle. Consider coppicing—cutting stems to ground level every few years—to dramatically rejuvenate your willow fence and enhance its density.
Regular maintenance should include trimming side shoots and removing dead or damaged branches to prevent overcrowding.
With proper pruning techniques, your willow fence can last between five to ten years. Remember that each cut you make isn’t just maintenance—it’s an investment in the continued health and beauty of your living boundary.
Frequently Asked Questions
How to Create a Willow Fence?
You’ll set sweet chestnut posts 1.8m apart, anchoring them 300mm deep. Weave fresh brown willow rods through uprights consistently. Create curves for strength, lock the weave, and trim ends for a neat, lasting fence.
How Long Will Willow Fencing Last?
Your willow fencing will typically last 5-10 years with proper care. You’ll extend its lifespan by using quality materials, installing it correctly, performing regular maintenance, and protecting it from harsh weather conditions.
How to Shape Willow Branches?
To shape willow branches, select fresh green willow for flexibility. Gently bend the rods as you weave them around posts. Secure them firmly into uprights and trim any side shoots that disrupt your desired curves.
What Type of Willow Is Best for a Living Fence?
Brown willow (Salix viminalis) is your best choice for living fences due to its flexibility and ease of use. For added visual interest, you’ll also find Flanders red willow works well when freshly cut.
In Summary
You’ll find that your curved willow fence becomes more than just a boundary—it’s a living sculpture that enhances your garden’s character. With proper maintenance and seasonal care, your handcrafted creation will mature beautifully for years to come. Don’t be surprised when visitors ask about your weaving techniques—your curved willow fence is truly a reflection of sustainable, artistic landscaping.

Leave a Reply