
Living hedges offer a beautiful, eco-friendly alternative to traditional fencing. You'll create wildlife habitats while enjoying superior privacy and lower long-term costs. Choose plants suited to your soil and climate, spacing them 1-2 feet apart in fall or early spring for best results. Apply regular pruning to develop a thick base, and incorporate multiple species for biodiversity. With proper seasonal maintenance and appropriate fertilization, your natural boundary will flourish for decades. The following guide reveals everything you need to know.
Why Choose Living Hedges Over Traditional Fencing
While traditional fences offer quick solutions for property boundaries, living hedges provide numerous advantages that extend far beyond basic functionality.
You'll benefit from their environmental impact—capturing carbon, preventing soil erosion, and creating wildlife habitats that support local biodiversity.
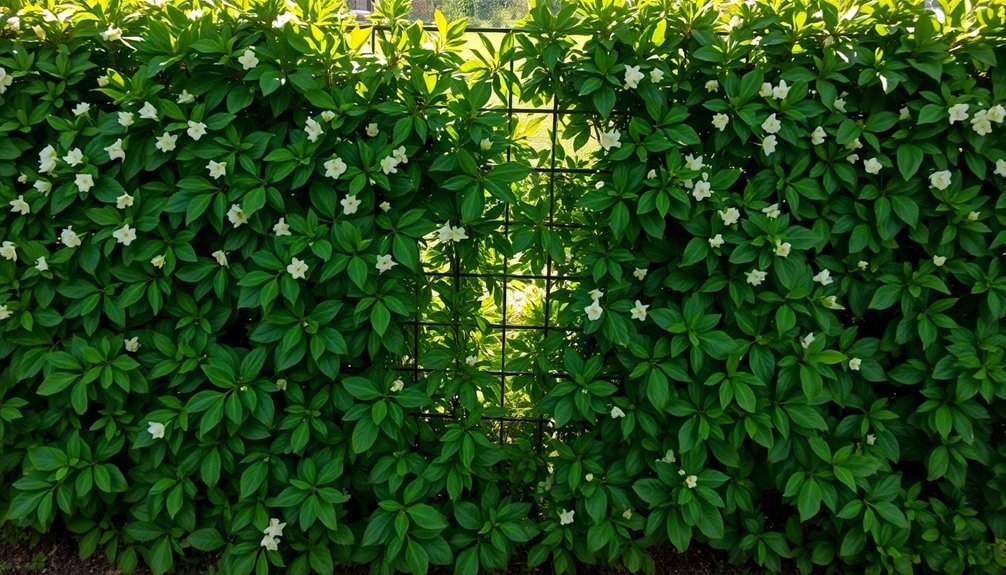
Living hedges deliver superior privacy with their dense foliage while reducing noise pollution from busy streets or neighbors. Hedges provide better noise control compared to hardscape fences thanks to their dense, layered structure.
They're typically more cost-effective than fencing, especially for larger areas, and can last for centuries with proper care.
You can customize your hedge with various plant species offering different colors, textures, and seasonal interest.
Unlike fences, hedges have no height restrictions and can be shaped to your specifications.
They'll also enhance your property's aesthetics and potentially increase its resale value.
Selecting the Right Plants for Your Climate and Soil
Now that you understand the benefits of living hedges, your next step is choosing plants that will actually thrive in your specific environment.
Your local climate zone and soil conditions will determine which species will flourish in your landscape.
Success in hedge gardening begins with knowing your land's unique profile before selecting a single plant.
For successful hedge establishment, consider these key factors:
- Match plants to your conditions – For dry, sunny areas, try bayberry or yellow bush honeysuckle. In shady spots, leatherwood offers a tidy growth habit.
- Consider your soil drainage – Well-drained soils support arrowwood, while poorly drained areas might benefit from moisture-loving plants like sycamore.
- Adapt to local challenges – Coastal gardens need salt-tolerant species like pussy willow and sweetgale, while urban settings require pollution-resistant varieties.
Remember that enhancing soil with compost can improve growing conditions for almost any hedge plant.
Creating interconnected hedgerows can significantly enhance biodiversity by providing continuous habitat corridors for wildlife movement and sustenance.
Step-by-Step Planting Guide for a Dense Natural Boundary
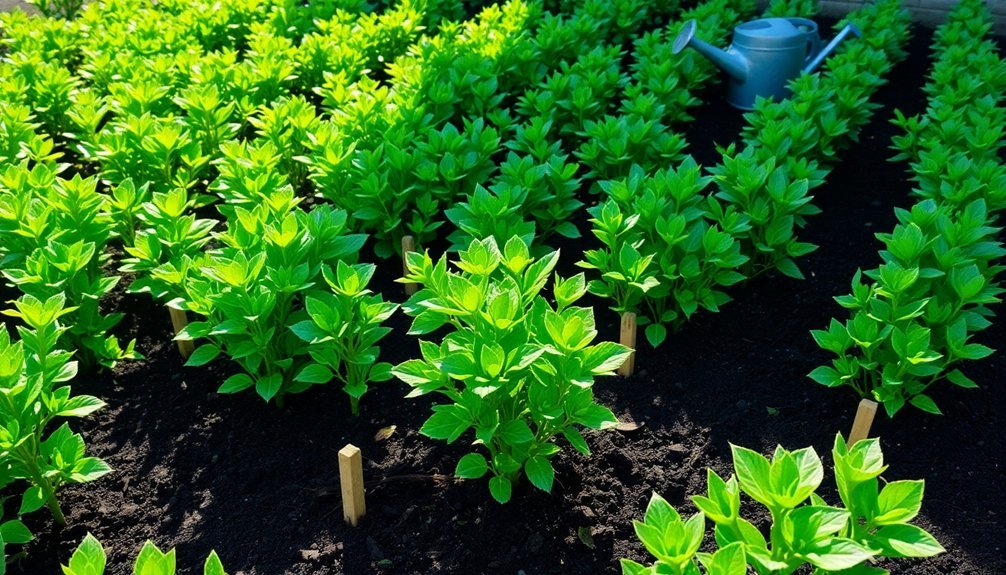
Planting your living hedge during fall or early spring gives roots time to establish before extreme weather hits.
You'll want to space plants 1-2 feet apart for a dense barrier, with slightly closer spacing for smaller varieties and wider for larger shrubs.
Whether you dig a continuous trench or individual holes, guarantee each plant has enough room for root spread while maintaining the tight formation needed for an impenetrable natural boundary. Before planting, ensure the soil is properly enriched with well-rotted compost to promote healthy growth from the beginning.
Choosing Optimal Planting Season
When should you plant your living hedge for the best results? Timing is essential for establishing healthy root systems.
Autumn offers ideal conditions for evergreens like yew and box, as warm soil promotes root development before winter. For deciduous varieties, plant between mid-autumn and late winter after leaf drop.
- Spring planting works well for most hedges, reducing transplant shock and encouraging quick growth.
- Bare root plants are economical options available only during the dormant season (November-May).
- Avoid summer planting when soil dryness requires excessive watering, and never plant in frozen or waterlogged ground. If planting must be delayed due to poor soil conditions, consider heeling-in plants temporarily in a trench to protect their roots.
Remember that certain varieties like Box and Yew offer more flexibility and can be planted year-round, except during hot summer months.
Proper timing greatly impacts your hedge's long-term health and density.
Spacing for Maximum Density
Creating a truly impenetrable living boundary requires strategic spacing—the fundamental factor that determines your hedge's ultimate density and effectiveness.
For privacy hedges, position plants 3-4 feet apart to establish a solid barrier quickly. When working with shorter shrubs (3-4 feet tall), reduce spacing to 18-24 inches apart for maximum density. Prepare a trench 18-24 inches wide and 12-18 inches deep before planting to ensure proper root establishment.
Trees require more room—plan for 6-8 feet between specimens to prevent overcrowding as they mature. Group plants with similar growth habits together to maintain visual harmony and reduce competition.
For formal hedges, closer spacing creates a unified appearance, while informal boundaries benefit from slightly wider spacing to preserve each plant's natural form.
Remember to taper your hedge during pruning, keeping the bottom wider than the top to guarantee all portions receive adequate sunlight.
Trench or Individual Holes
Once you've determined the ideal spacing for your hedge, the next decision involves how to put those plants in the ground. You can opt for trench planting or individual holes—each with distinct advantages.
Trench planting promotes faster establishment by supporting simultaneous growth along the entire length. Dig a trench slightly wider than your root balls, pile soil on a tarp, and use stakes to mark proper spacing within the trench. For best results, consider planting during the dormant period between October and March when conditions are optimal.
For individual holes:
- Dig each hole slightly less deep than the root ball
- Mix organic matter into the soil before backfilling
- Create a soil basin around each plant to retain water
Whichever method you choose, verify you've removed weeds, enriched the soil with compost, and prepared to mulch after planting to retain moisture and suppress competing growth.
Pruning Techniques to Shape and Strengthen Your Hedge
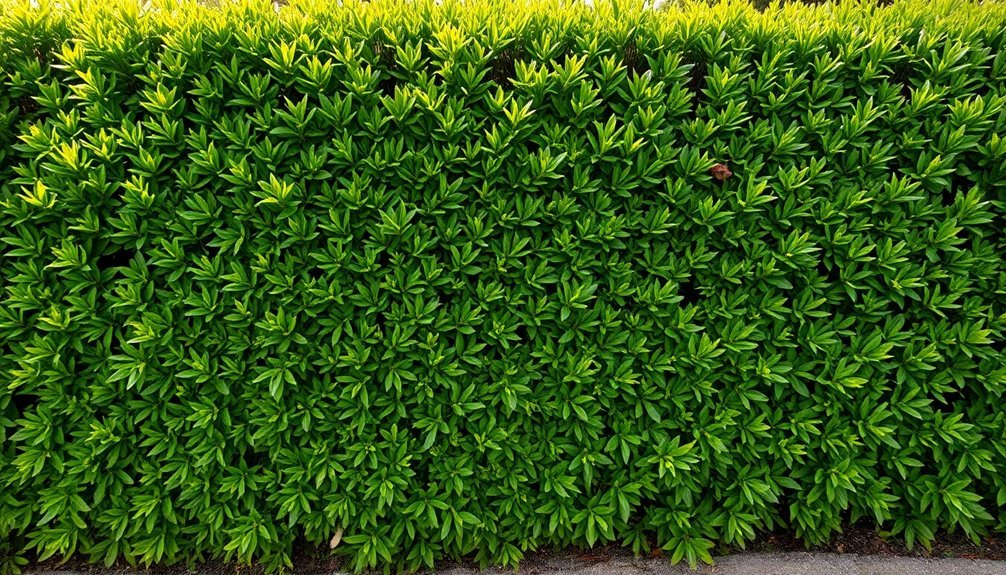
The secret to a robust, vibrant hedge lies in proper pruning techniques. For formal hedges, regular shearing with sharp tools helps maintain specific shapes. Ascertain your hedge is narrower at the top than base to prevent bare patches and allow light to reach lower branches.
A well-pruned hedge requires sharp tools, regular maintenance, and a tapered profile to thrive.
For young hedges, focus on early pruning to develop a thick base of new shoots. This establishes a strong foundation for future growth.
As your hedge matures, incorporate thinning cuts to remove select branches and prevent overly dense canopies.
Don't forget safety—wear goggles and gloves when using power tools. For larger hedges, powered trimmers are more effective than hand shears, which work best for smaller varieties. After pruning, rake off clippings to allow sunlight to stimulate regrowth.
During dry periods, provide additional water, and consider applying fertilizer before mulching to encourage healthy development.
Seasonal Maintenance Calendar for Healthy Growth
Your hedge's year-round care follows a predictable rhythm that you'll want to master for ideal growth.
You should prune during specific seasons—heavy cuts in late winter, light shaping in summer—to encourage dense, healthy development.
Starting renovation efforts in mid-winter helps avoid disrupting nesting birds while giving the hedge time to recover before the growing season begins.
Complement this cutting schedule with targeted fertilization: slow-release nitrogen in early spring, balanced nutrients in early summer, and phosphorus-rich amendments in fall to strengthen roots before dormancy.
Pruning Through Seasons
Although maintaining your living hedge requires year-round attention, following a seasonal pruning calendar guarantees ideal health and appearance. Each season offers specific opportunities to shape your hedge while promoting robust growth.
In spring, focus on light shaping to encourage new growth, followed by your main pruning session in early summer. Late summer calls for touch-up trimming, while fall requires minimal tidying before winter sets in.
For deciduous hedges, winter dormancy provides the perfect opportunity for major structural cuts. Remember to employ the upside-down V-shaping method to ensure adequate light reaches all parts of your hedge.
- Always prune flowering hedges immediately after their blooming cycle ends
- Start at the bottom and work upward, tapering slightly to make sure sunlight reaches lower branches
- Never remove more than one-third of your hedge's growth in a single pruning session
Year-Round Fertilization Schedule
Just as your hedge requires strategic pruning, establishing a year-round fertilization schedule guarantees continuous nutrient supply for ideal growth and resilience.
In spring, apply a balanced NPK fertilizer to support active growth, especially for cool-season varieties. For optimal results, schedule applications between March and May when cool-season grasses thrive in moderate temperatures. Test your soil first to identify specific deficiencies.
During summer, switch to high-nitrogen formulas for warm-season hedges, ensuring deep watering to prevent nutrient runoff.
Fall applications should focus on potassium-rich fertilizers to strengthen roots before winter dormancy. Combine with aeration for improved nutrient uptake.
Winter maintenance requires minimal fertilization—only use winterizer formulas if necessary.
Throughout the year, adjust your schedule based on weather conditions and growth patterns. Keep records of applications to refine your approach and minimize environmental impact from runoff.
Creating Wildlife-Friendly Hedge Habitats
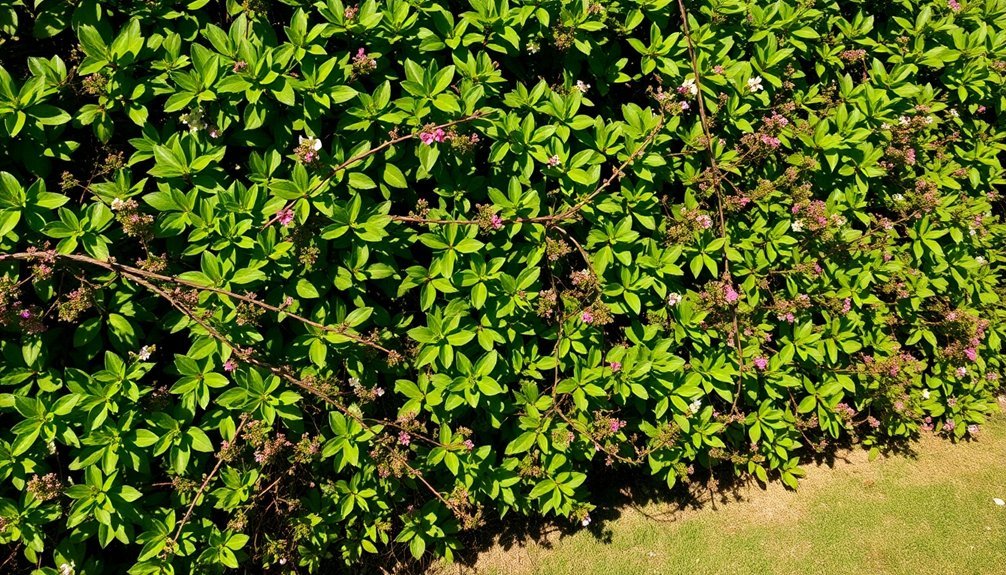
When designing a living hedge, consider that wildlife-friendly varieties serve dual purposes—providing beauty for your garden while creating essential habitats for local fauna.
Native plants require less maintenance and naturally support local species, making them ideal choices for your hedge boundary.
Create a thriving wildlife ecosystem by:
- Mixing different species like hawthorn, beech, and hazel to enhance biodiversity and attract various creatures
- Including plants with berries and nuts alongside dense foliage to provide both food and shelter
- Incorporating flowering plants such as lavender and honeysuckle to attract pollinators throughout growing seasons
For maximum ecological benefit, adopt irregular trimming schedules and maintain thickness from base to top.
This approach preserves flowering and fruiting cycles, ensuring your hedge remains a valuable wildlife corridor year-round.
Consider adding alder to your wildlife hedge, as it thrives exceptionally well in waterlogged soils while growing quickly to establish natural boundaries.
Troubleshooting Common Hedge Problems and Diseases
Even beautiful, thriving hedges can encounter problems that threaten their health and appearance. Regular inspection is your best defense against common issues like aphids and scale insects, which can quickly colonize stems and leaves.
Watch for yellowing or spotted leaves, which often signal nutrient deficiencies or diseases such as powdery mildew or rust. A soil test will help you identify specific nutrient needs before applying slow-release fertilizers.
Yellowing leaves speak volumes about your hedge's health—test soil before treating to solve nutritional issues at their source.
Water issues can devastate hedges—look for shriveled leaves (underwatering) or signs of root rot (overwatering). Deep watering and proper mulching will maintain ideal moisture levels.
Don't overlook the power of proper pruning. An upside-down V shape ensures sunlight reaches all parts of the hedge, improving air circulation and reducing disease risk. Engage in diverse research activities by observing neighboring healthy hedges for comparison when troubleshooting your own hedge problems.
Remove affected areas promptly to prevent further spread.
Enhancing Your Hedge With Complementary Native Plants

Transforming your hedge from a simple boundary into a thriving ecosystem begins with complementary native plants that enhance its beauty and ecological value.
Adding ground-level and understory species creates a multi-layered habitat that supports diverse wildlife while improving your hedge's resilience and visual appeal.
Consider these complementary additions to maximize your hedge's potential:
- Plant native wildflowers like foxgloves or primroses along the base to attract pollinators and create seasonal color bursts.
- Introduce native groundcovers such as wild strawberry or bugle to suppress weeds naturally while providing additional wildlife habitats.
- Add climbing plants like honeysuckle or native clematis to create vertical interest and additional food sources for birds and insects.
- Include species like alder buckthorn that serve as larval food plants for specific butterfly species, creating a complete lifecycle habitat within your hedgerow.
You'll enjoy year-round visual interest while contributing greatly to local biodiversity through these thoughtful additions.
Frequently Asked Questions
How Do I Legally Establish Boundary Ownership With a Living Hedge?
You'll establish legal hedge ownership by recording it in title deeds, conducting an official survey, maintaining clear boundary markers, and securing written agreement with neighbors about maintenance responsibilities and property lines.
Can Living Hedges Effectively Block Noise From Busy Streets?
Living hedges won't greatly reduce street noise, providing only 3-5 dB reduction. You'll experience mostly psychological benefits rather than physical noise blocking. For effective noise reduction, you'll need to combine hedges with solid barriers.
How Quickly Will My Hedge Become an Effective Security Barrier?
Your hedge will become an effective security barrier in 2-5 years. Fast-growing varieties like Leyland cypress establish quicker, while slower species take longer. Regular maintenance will speed up the process and increase density.
What's the Cost Comparison Between Living Hedges and Traditional Fencing?
Living hedges cost less initially ($1,730-$2,350 for 209 feet) compared to traditional fencing ($2,270-$5,760). You'll save about 50% with bare root hedging, but you'll need to budget for regular maintenance long-term.
Are There Living Hedge Options for Coastal or Saline Environments?
Yes, you'll find many coastal-friendly hedge options. Elaeagnus, Griselinia, and Green Leylandii tolerate salt winds excellently. Native choices like Northern bayberry and Beach plum also thrive while stabilizing coastal soils.
In Summary
By establishing a living hedge boundary, you've created more than just a natural fence. You're now nurturing an evolving ecosystem that strengthens with each season. Your hedge will reward your care with privacy, beauty, and wildlife habitat for years to come. Remember, patience is key—the finest hedges develop over time, growing into distinctive landmarks that transform your property's character while connecting you to the natural world.


Leave a Reply