
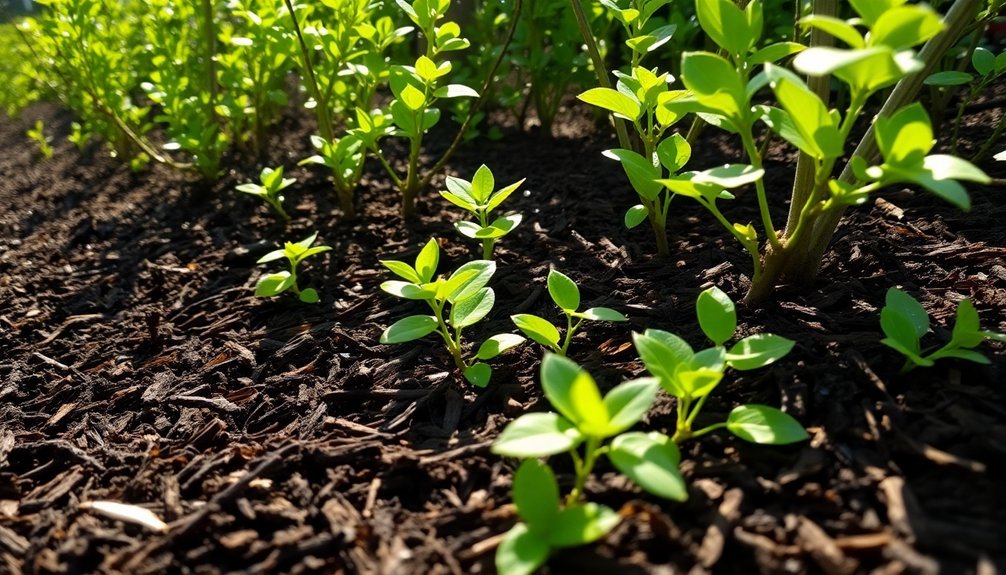
Newly planted hedges need consistent care to establish strong roots. Water deeply but infrequently, applying moisture directly at the base to encourage deep root growth. Apply a 2-4 inch mulch layer while keeping it away from stems to retain moisture and prevent weeds. Protect young plants from wildlife with guards, and prune lightly during the dormant season to promote bushy growth. The right start in these first few months determines your hedge's long-term health and appearance.
Selecting the Ideal Planting Site for Your Hedge
Selecting the right location for your hedge is perhaps the most critical decision you'll make in the establishment process.
Consider your local climate and verify it matches your chosen plants' hardiness requirements. Evaluate sunlight exposure—most hedges need at least 6 hours of direct sun daily.
Climate compatibility and adequate sunlight are non-negotiable foundations for hedge success.
Assess your site's topography and drainage patterns. Avoid waterlogged areas and extremely steep slopes that can erode. You'll need sufficient space for mature growth and equipment access for maintenance.
Don't overlook wildlife impacts—native species support local biodiversity while attracting beneficial insects. Be mindful of potential challenges like deer pressure and neighboring land uses. Install protective guards around young hedging whips to shield them from animal damage and harsh weather conditions.
Finally, check local regulations before planting, especially near property lines. Your hedge's long-term success depends on thoughtfully matching the right plants to your site's unique conditions.
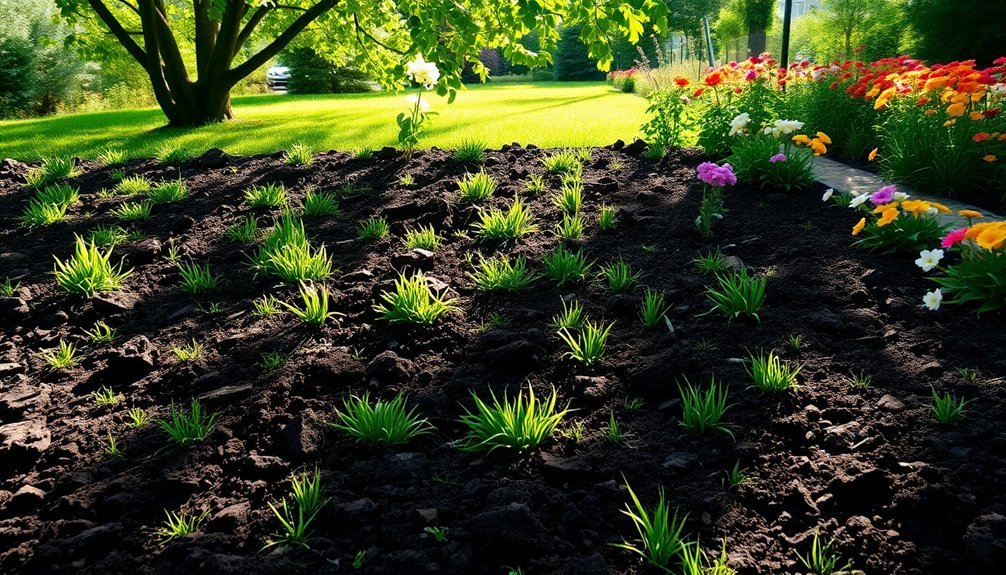
Essential Soil Preparation Techniques
Before planting your new hedge, you'll need to test your soil's pH level to verify it falls within the ideal 6.0-7.0 range for healthy growth.
For proper establishment, dig trenches that are twice as wide as the root balls, which gives roots ample space to spread into loosened soil. For heavy clay soils, creating raised mounds can significantly enhance drainage and prevent waterlogging issues that often lead to root rot.
You should incorporate organic matter like compost or well-rotted manure into these trenches to improve both fertility and drainage for your hedge's long-term success.
Test Soil Ph
Determining your soil's pH level is a critical first step in preparing the ground for new hedges, as it directly impacts how well your plants will access essential nutrients.
Use litmus paper or an electronic pH meter to quickly assess your soil's acidity or alkalinity on the 0-14 scale, with 7 being neutral.
Most hedges thrive in slightly acidic to neutral soils (pH 6.0-7.0). If your soil's too acidic, add lime to raise the pH; if it's too alkaline, incorporate sulfur to lower it.
Follow recommended application rates carefully to avoid dramatic shifts. Adding organic matter like compost not only improves soil structure but also helps stabilize pH levels.
Consider using your local agricultural extension service for comprehensive soil analysis if you're uncertain about your testing results.
Remember to test annually, as pH can change over time, affecting nutrient availability and your hedge's overall health.
Dig Wide Trenches
Properly dug trenches form the foundation of healthy, flourishing hedges by giving roots the room they need to establish and grow. Aim for trenches that are 60cm wide (though 45cm works for smaller projects) and a full spade's depth to accommodate root systems without restriction.
Before digging, verify you've prepared the ground properly:
- Clear the area completely of weeds, debris, and rocks larger than your fist to prevent root damage.
- Loosen compacted soil with a garden fork to facilitate easy root penetration.
- Use a string line when digging to maintain straight, evenly spaced trenches.
- Consider implementing proper drainage by incorporating organic matter like compost or well-rotted manure.
Remember to level the ground after digging for even planting and ideal hedge development.
For optimal results with larger plants, use the trench planting technique rather than slit planting for any bareroot plants taller than 80cm.
Proper Root Management and Exposure Considerations
The success of your newly planted hedge depends largely on how well you manage its root system during and after planting. Keep roots moist throughout the process and plant them at the same depth they were previously grown. Trim damaged roots and remove any synthetic wrapping to guarantee proper soil contact. During the first 2-3 years, ensure you keep the area around your hedge clear of weeds and grass to prevent competition for nutrients.
| Root Care Action | Purpose | Timing |
|---|---|---|
| Gentle watering | Prevent drying | First year (frequent) |
| Apply mulch | Retain moisture | After planting |
| Inspect roots | Check for exposure | Monthly |
Cover all roots with soil and firm gently without compacting. Using Rootgrow can promote healthy establishment, while a layer of mulch helps retain moisture—just avoid piling it against stems to prevent rot. Monitor regularly for signs of stress like yellowing leaves or wilting.
Optimal Spacing and Planting Density Guidelines
Having established proper root care practices, spacing your hedge plants correctly plays an equally important role in their long-term health and appearance. The spacing you choose depends on your hedge type, desired height, and budget considerations.
For best results, consider these key guidelines:
- Formal hedges require closer spacing (5-7 plants per metre for small varieties, 3-5 for medium-sized) to create a uniform appearance.
- Evergreens like Yew and Box need less density at about 3 plants per metre.
- Taller hedges benefit from wider spacing, allowing better nutrient and water distribution. Taller varieties require more resources such as soil and minerals, suggesting they should be planted less densely.
- Double staggered rows create denser barriers but require more plants and resources.
Remember that while higher density planting delivers quicker results, it's more expensive.
Lower density spacing saves money but requires more patience as your hedge fills in.
Effective Watering Strategies for New Hedges

You'll need to water deeply but infrequently to encourage roots to grow downward rather than spreading near the surface.
Adjust your watering schedule seasonally, providing more moisture during summer heat and cutting back during cooler, rainier periods.
Watch for yellowing leaves, wilting, or brittle foliage as these signal your hedge isn't getting proper hydration.
The initial establishment period typically requires consistent watering for at least the first two years until the hedge develops a strong root system.
Establish Deep Root Systems
To develop healthy, drought-resistant hedges, proper watering strategies must encourage roots to grow deep into the soil rather than spreading horizontally near the surface. Deep roots access more nutrients and water, helping your hedge withstand dry periods.
Water thoroughly but less frequently to train roots to search deeper for moisture. A deep soak that reaches 15-30 cm underground is far more effective than frequent shallow watering. Remember that consistent watering is crucial for development of a strong root system that will support your hedge for years to come.
- Apply water directly at the base using drip irrigation or leaky hoses.
- Gradually reduce watering frequency from daily to once or twice weekly as plants establish.
- Use the soil squeeze test to accurately assess moisture needs before watering.
- Apply a 7 cm layer of mulch around plants to retain soil moisture and prevent weed competition.
Seasonal Watering Adjustments
New hedges require different watering routines as the seasons change, making seasonal adjustments critical for their survival and healthy development.
In spring, provide consistent moisture to support new growth, checking soil regularly and mulching to retain moisture. Water deeply with about 1 gallon per square foot of hedge area to establish strong root systems.
Summer demands increased frequency—water deeply once or twice weekly, ensuring moisture reaches the root zone. Newly planted hedges need more attention than established ones, especially in sandy soils.
As autumn arrives, reduce watering frequency but continue monitoring soil moisture. The natural rainfall helps, but don't neglect checking for drought stress.
Winter requires minimal watering, though occasional hydration during dry spells remains necessary.
Water carefully to prevent ice formation around roots, and maintain mulch as insulation against freezing temperatures.
Water-Stress Warning Signs
Four clear warning signs indicate when your newly planted hedge is suffering from water stress.
Learn to recognize these symptoms early to prevent permanent damage to your investment.
- Yellowing foliage often appears first, signaling that your hedge isn't receiving adequate moisture.
- Drooping or curling leaves that don't recover in cooler evening temperatures indicate significant stress.
- Leaf drop occurs in severe cases when plants can no longer sustain all their foliage.
- Changes in leaf texture or color, such as a grayish cast or unusual stiffness, suggest drought conditions.
When plants experience water stress, their stomata close to conserve moisture, which reduces photosynthesis and overall plant health.
Check soil moisture by pressing your finger an inch into the soil—it should feel damp but not soggy.
Adjust your watering schedule immediately if you notice these warning signs.
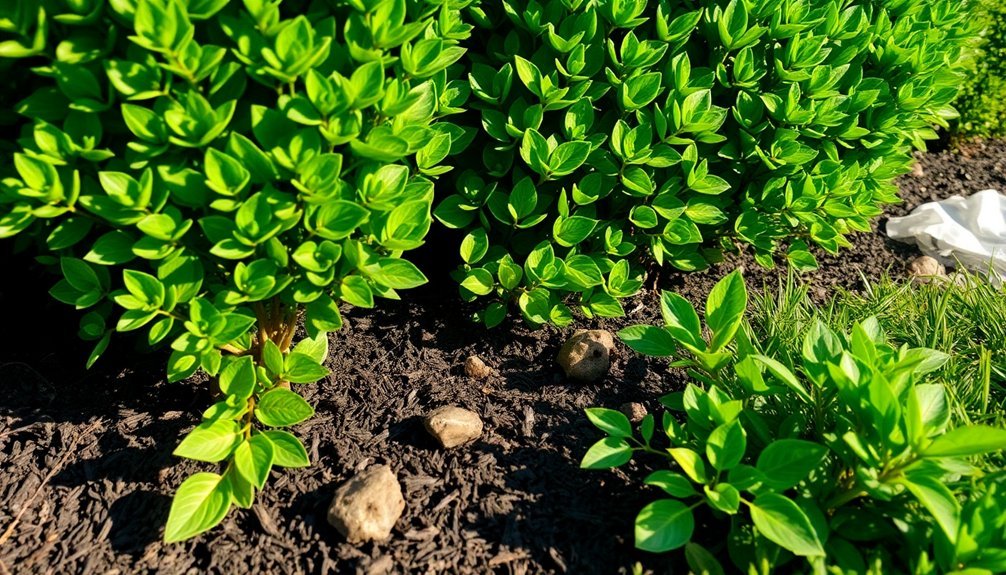
Seasonal Mulching and Weed Control Methods
While establishing your newly planted hedge, proper mulching and weed control will greatly impact its health and growth rate.
Apply a 2-4 inch layer of organic mulch like compost, bark, or wood chips around your hedge in spring, keeping it a few inches away from stems. Extend the mulch at least 2 feet in diameter to maximize weed suppression and moisture retention.
Proper mulching creates a protective barrier that nourishes your hedge while naturally deterring unwanted competition.
Before mulching, verify the soil is moist and free of debris. Autumn mulching provides excellent protection for hedge roots during winter months. Hand weed regularly to prevent competition for nutrients. For stubborn weeds, carefully apply post-emergent herbicides without harming your hedge plants. Pre-emergent treatments can prevent new weeds from sprouting.
Check your mulch throughout the year, particularly in summer. Turn it periodically to prevent compaction, and replace or refresh it when it thins below 2 inches.
Strategic Pruning for Healthy Hedge Development
When pruning your newly planted hedge, you'll need to time your first cuts during the dormant season to encourage bushy growth from the base.
The initial shape you establish will determine your hedge's long-term structure, so focus on creating a slightly tapered profile that's wider at the bottom than the top.
Using the right tools—sharp, clean secateurs for younger plants and quality shears as the hedge matures—will guarantee clean cuts that heal quickly and prevent disease. This approach to maintenance pruning helps preserve both the health and aesthetic appearance of your hedge throughout its development.
Timing Your First Cuts
The timing of your first pruning cuts dramatically influences how your newly planted hedge will develop. For best results, wait until the following spring after planting before making your first significant cuts. This allows plants to establish their root systems first.
Your first pruning session should follow these guidelines:
- Initial cut: Reduce the height by approximately one-third to stimulate lateral growth.
- Spring-flowering varieties: Prune after blooming ends to avoid removing next year's flower buds.
- Evergreens: Light pruning can be done year-round, but avoid heavy cuts during extreme heat.
- Deciduous hedges: Major pruning is best during winter dormancy.
Shaping your hedge with the upside-down V-shape technique ensures better light distribution to lower branches, preventing bare patches at the bottom.
Remember to use sharp, clean tools and avoid over-pruning young plants, which can stress them and slow establishment.
Shape Matters Most
Properly shaping your hedge from the beginning establishes a foundation for long-term health and visual appeal. Always maintain a tapered profile with a wider base than top, allowing sunlight to reach all foliage. This prevents the lower branches from dying back due to shade.
For regions with heavy snowfall, consider creating rounded or sloped tops to prevent snow accumulation that could damage branches.
While formal hedges require precise, regular shearing, informal hedges need only occasional selective pruning to maintain their natural form. Using hand-held pruners for new hedges ensures greater precision when establishing the initial shape.
Remember that different species respond differently to pruning. Fast-growing varieties like privet need frequent trimming, while slow-growers like yew require less intervention.
When shaping flowering hedges, wait until after they've bloomed to avoid removing next season's flower buds.
Tools For Success
Successful hedge pruning requires the right tools to achieve both aesthetics and plant health. For your newly planted hedge, start with quality hand shears for precise cuts on fresh growth, removing only about one-third annually to avoid stress.
When selecting and using your pruning equipment, focus on:
- Hand shears for detailed work and light pruning on young hedges
- String guides and stakes to establish straight lines for formal shapes
- Pruning saws for occasional thicker branches that develop
- Plant guards to protect vulnerable new growth from animals and weather damage
Remember that light, careful pruning is best for newly established hedges. Pinching back new growth during the first year will encourage fullness and create a denser hedge from the bottom up.
As your hedge matures, you can gradually introduce electric trimmers for maintenance, but they're typically too aggressive for young plants.
Protecting Young Hedges From Common Pests
Young, vulnerable hedges face several threats from wildlife that can severely impact their establishment. Rabbits, deer, and hedgehogs frequently damage new plantings by nibbling tender shoots and stripping bark. Installing plant guards is your best defense – these sturdy mesh or plastic protectors shield plants while allowing adequate airflow.
| Pest Type | Damage Caused | Protection Method |
|---|---|---|
| Rabbits | Bark stripping | Plastic guards (30cm tall) |
| Deer | Foliage browsing | Taller mesh guards (1m+) |
| Insects | Leaf damage | Predatory insects/neem oil |
For serious pest problems, consider biological controls like introducing ladybugs for aphid management. While chemical repellents exist, they should be used sparingly. Regular monitoring allows you to catch issues early – inspect your hedge weekly during the establishment phase for signs of damage.
Disease Prevention and Management Approaches
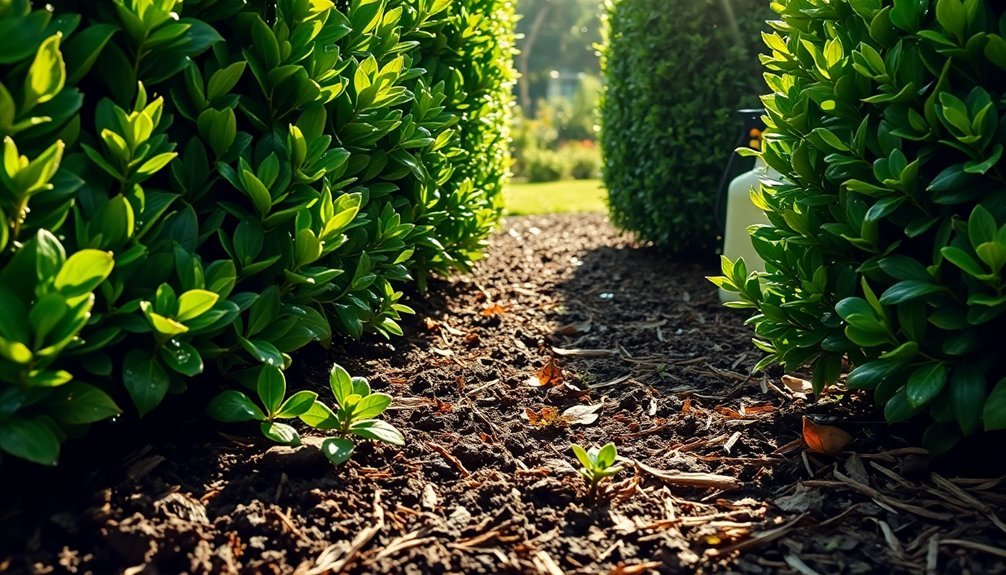
Disease prevention forms the backbone of healthy hedge establishment, complementing the pest protection strategies mentioned earlier.
You'll need to implement several proactive measures to keep your newly planted hedges disease-free.
- Space plants properly to promote airflow and reduce humidity that encourages fungal growth. Overcrowded hedges are more susceptible to disease.
- Water at the base in early morning hours, avoiding overhead irrigation that leaves foliage wet and vulnerable to fungal spores.
- Inspect regularly for discoloration, spots, or stunted growth, removing affected parts immediately to prevent spread.
- Apply mulch around the base to regulate soil temperature, suppress weeds, and create a cleaner environment that reduces disease transmission.
For severe outbreaks, consider applying fungicides according to manufacturer instructions or try natural remedies like neem oil.
Fertilization Schedule for Strong Root Establishment
Establishing a proper fertilization schedule is critical for newly planted hedges to develop robust root systems. Start by conducting a soil test to determine existing nutrient levels and soil type. This analysis will guide your fertilizer choice and application frequency.
For most hedges, apply a balanced 10-10-10 fertilizer in early spring when active growth begins. Water thoroughly after application to prevent leaf burn and help nutrients reach the root zone. Consider slow-release formulations that provide steady nutrition over several months.
Apply a second round in late summer for continued development, but avoid fertilizing during extreme heat or drought.
Always mulch around your hedges to retain moisture and moderate soil temperature. Remember, over-fertilization can damage young plants, so follow recommended application rates specific to your hedge variety.
Winter Protection for First-Year Hedges
While mature hedges can withstand harsh winter conditions, newly planted hedges require special protection during their first winter. Before the ground freezes, give your new hedges a thorough watering to prevent winter desiccation.
Young hedges need winter protection their first year, unlike established plants. Water thoroughly before frost to prevent drought damage.
Apply a 2-4 inch layer of mulch around the roots, extending beyond the root zone but keeping it away from the stems.
For maximum protection, implement these essential measures:
- Cover vulnerable hedges with burlap or horticultural fleece, using wooden frames to prevent the material from touching the foliage.
- Install windbreaks to shield plants from harsh winds and road salt spray.
- Gently firm the soil to eliminate air pockets that can cause frost damage.
- Remove covers during sunny days to allow light penetration, then replace them in the evening.
Frequently Asked Questions
How Long Before My New Hedge Reaches Full Density?
Your hedge will typically reach full density in 3-5 years. Growth rate depends on your plant species, soil conditions, watering practices, and pruning techniques. Fast-growing varieties like Privet establish quicker than Boxwood.
Can I Mix Different Species in the Same Hedge?
Yes, you can mix different species in the same hedge. It creates visual interest, supports more wildlife, and provides disease resistance. Just make sure all plants have similar growth rates and light requirements.
Will My Hedge Attract Beneficial Wildlife?
Yes, your hedge will attract beneficial wildlife. Mixed native species are best, providing food, shelter, and nesting sites. You'll see birds, pollinators, and small mammals enjoying the berries, nuts, and dense foliage.
Should I Trim My Hedge Into Shapes Immediately?
No, don't trim your hedge into shapes immediately after planting. Wait until it's established, usually after the first growing season. Early formative pruning should focus on promoting bushiness rather than decorative shaping.
How Do I Repair Gaps That Develop in My Hedge?
You can repair hedge gaps by replacing dead plants, training adjacent growth, or using temporary fillers. Identify the cause first—whether it's disease, improper pruning, or environmental stress—to prevent future gaps.
In Summary
With dedicated care in the first year, you'll set your hedge up for decades of beauty and function. Remember to water deeply, mulch properly, and protect from pests and harsh weather. Don't forget seasonal fertilization and regular inspections. Your commitment now guarantees a thriving, dense hedge that'll enhance your landscape and provide privacy for years to come.


Leave a Reply