
Successful root ball planting hinges on proper positioning—place the top 5-10% above ground level to prevent suffocation while keeping the root ball level. Dig a hole matching the depth but one-third wider, with loose soil at the bottom for drainage. Don't backfill over the top, only around the sides, and maintain a 3-4 inch mulch layer that avoids touching the trunk. Your careful attention to these details will transform struggling plantings into thriving specimens.
Proper Root Ball Positioning for Healthy Hedge Growth
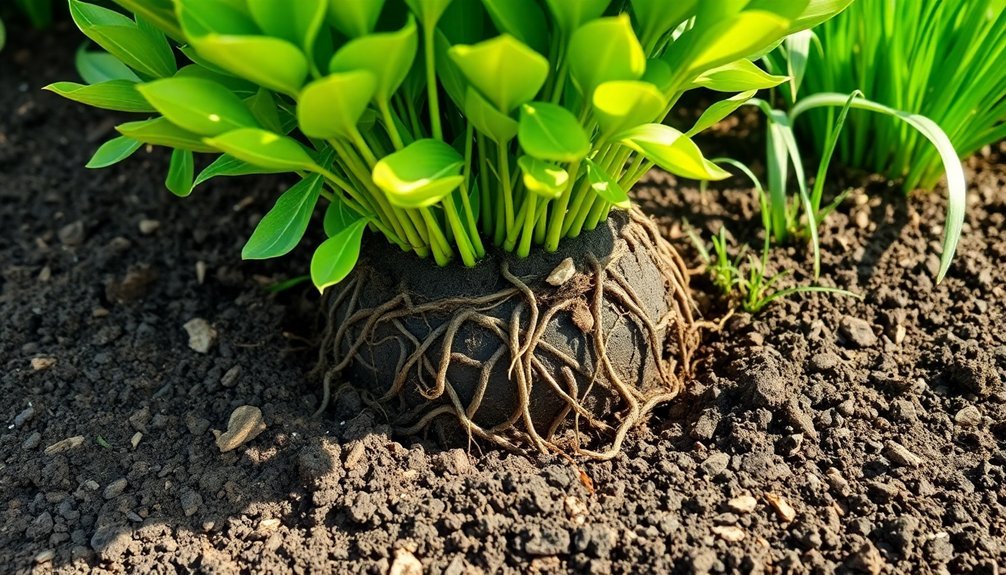
When planting your hedge, proper root ball positioning makes all the difference between thriving plants and struggling specimens. Confirm the top 5-10% of the root ball sits above ground level, preventing deep planting that can suffocate roots.
Proper root ball position is the foundation of hedge success—slightly elevated planting prevents root suffocation and ensures vigorous growth.
Use the nursery mark on the root ball as your guide for correct height. Position the plant perfectly upright to avoid future leaning that stresses root systems.
Check that the root ball is level with surrounding soil to promote even water distribution and prevent pooling. Dig a hole slightly larger than the root ball to ensure there's loose soil for better drainage and root establishment.
For taller specimens or in windy locations, you'll need to stake the plant. This provides essential stability during the establishment phase when new roots are developing.
Just don't over-stake, as plants need some movement to develop strong support systems.
Creating the Ideal Planting Hole for Hedge Root Balls
Creating the right planting hole can make or break your hedge's success, just as proper positioning guarantees growth.
Dig your hole to match the root ball's depth precisely, but make it about a third wider to give roots space to spread. The top of the root ball should sit level with the surrounding soil surface. For optimal root development, consider digging the hole 2 to 3 times wider than deep to encourage healthy outward growth.
Ensure the soil at the bottom is loose to promote drainage and prevent waterlogging. Use a string line to maintain a straight hedge formation, spacing plants 2-3 feet apart for density.
Before placing your plants, enrich the trench with compost or well-rotted manure to boost nutrient content.
For best results, plant during the dormant season (October-March) when roots establish more effectively with less stress.
Managing Soil Texture Differences Around Root Balls
You'll need to address soil texture differences to prevent moisture problems at the root ball interface.
Create smooth changes between nursery soil and native soil by ensuring proper planting depth and avoiding backfill over the top of the root ball.
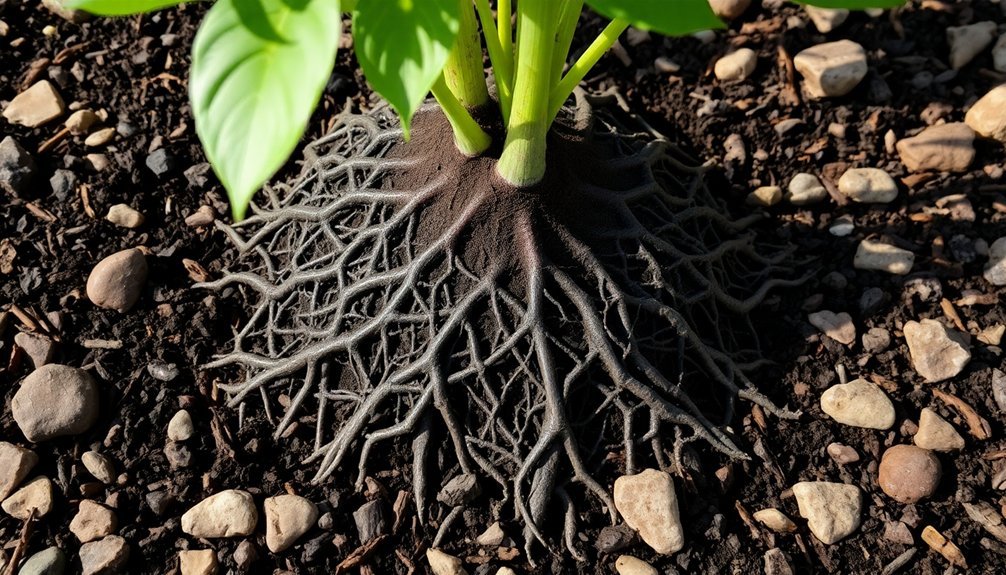
Maintain oxygen flow to new roots by planting slightly above grade and using wide, sloped holes that encourage outward root growth into well-aerated surrounding soil. When backfilling, remember that a texture interface affects water and air movement, which can impede successful root establishment if not properly managed.
Preventing Interface Moisture Problems
The interface between root ball soil and backfill presents one of the most challenging aspects of successful tree planting. When these different soil textures meet, water movement becomes restricted, potentially causing root stress or death.
To prevent these moisture issues, position your root ball slightly above grade with no backfill covering the top. This elevation difference encourages proper drainage and oxygen flow to roots. Only backfill around the "knees" of the root ball, keeping the root flare exposed.
Monitor soil moisture regularly on both sides of the interface. You'll need to adjust watering based on how moisture moves between these zones. Perform a soil test dig of 6-8 inches deep to accurately assess moisture levels at the critical interface area.
Avoid placing mulch directly on the root ball, as this traps excessive moisture. Instead, mulch around the perimeter to maintain consistent soil temperature while preventing water accumulation that leads to oxygen deficiency.
Texture Transition Solutions
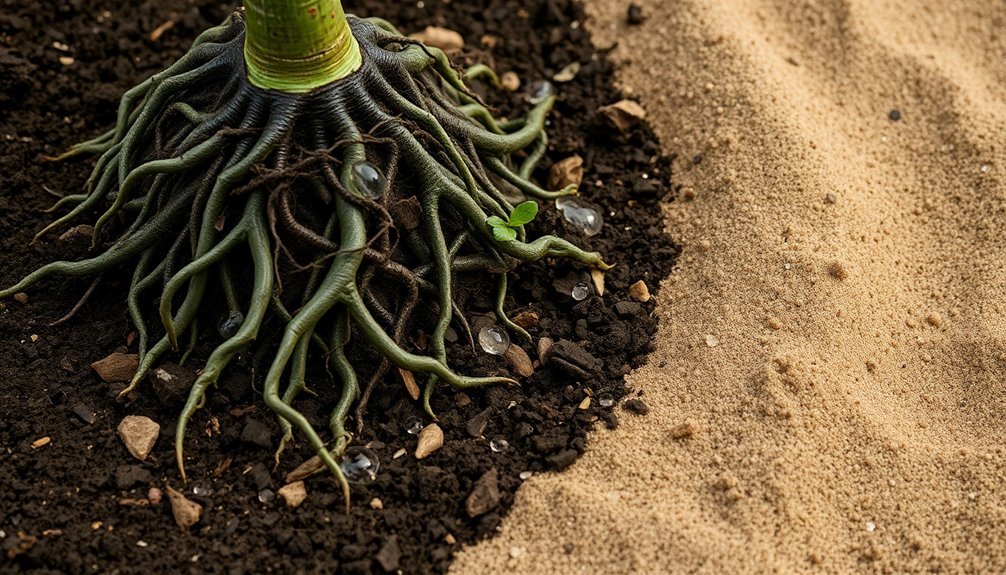
Soil texture differences between the root ball and surrounding landscape can create invisible barriers to water and air movement, often leading to transplant failure. To overcome these challenges, you'll need to manage the texture shift carefully.
Start by ensuring the top of your root ball sits 1-2 inches above the original soil grade. Taper the backfill soil gradually to cover only the "knees" of the root ball, never placing soil over the top. This prevents water movement impediments at critical junctures.
For more extensive solutions, rototill a ring around the planting area to blur the sharp texture interface between soils. This cultivation increases pore space and improves water movement between the root ball and backfill soil. Horticulturists particularly recommend this approach when planting trees with clayey root balls in sandy landscapes.
In compacted areas, widen your rototilled zone to three times the root ball diameter for ideal root establishment.
Oxygen Flow Maintenance
Proper oxygen flow around newly planted root balls represents one of the most overlooked factors in transplant success. When you backfill around a new planting, avoid covering the root ball completely to guarantee oxygen can easily reach roots. Fine roots require adequate oxygen for cellular respiration, which drives essential nutrient absorption. The disturbed soil from transplanting can severely impair natural soil aggregation, affecting the tree's ability to establish effectively.
| Oxygen Challenge | Solution |
|---|---|
| Compacted soil | Rototill around backfill area |
| Poor drainage | Create alternating wet/dry cycles |
| Interface issues | Leave root ball slightly exposed |
| Root drowning | Use perforated piping systems |
| Reduced respiration | Guarantee planting hole is 2× root ball width |
Maintaining soil structure preserves crucial pore spaces that facilitate oxygen diffusion. Remember that earthworm activity naturally improves aeration at depth while also enhancing soil structure. Your tree's survival depends on this delicate balance between water and oxygen availability.
Adapting Planting Techniques for Challenging Soil Conditions
While standard planting methods work well in ideal conditions, gardeners often face soil challenges that require specialized approaches.
For compacted soils, rototill an area 4-5 times wider than the root ball and guarantee shallow placement to prevent suffocation.
In poorly drained areas, elevate the root ball with one-third above grade and use tapered backfill to improve drainage. Avoid covering the exposed portion with mulch when it dries.
When planting on slopes, position trees "out-of-the-hill" by adjusting the surrounding grade to guarantee roots grow outward rather than deep. This prevents roots from becoming too deep on the uphill side.
For clay or sandy soils, modify your approach accordingly. Roughen the sides of planting holes to help root penetration through glazed surfaces that often form in these soil types.
Always postpone fertilization until growth stabilizes to avoid hindering root development.
Understanding Root System Development in Natural Hedgerows
When you study natural hedgerows, you'll notice fascinating variations in root architecture across different plant species.
You can observe how some roots spread laterally just beneath the soil surface, while others penetrate deeply to access groundwater and stabilize the hedgerow structure.
These distinct growth patterns explain why diverse hedgerows with multiple species create more resilient ecosystems than monoculture plantings. Incorporating at least twelve species in hedgerow design maximizes ecological benefits and supports greater biodiversity within the landscape.
Root Architecture Variations
As plants have evolved over millennia, their root systems have developed distinct architectural patterns that reflect both their evolutionary history and environmental adaptations.
You'll find remarkable diversity in root structures, from herringbone patterns that efficiently explore soil to dichotomous branching systems that maximize resource capture. This variation isn't random—it's a strategic adaptation that allows plants to thrive in their specific environments. These specialized architectures are particularly important for plants growing in nutrient-poor soils, where efficient resource acquisition is critical for survival.
- Root tissue density varies considerably between species, affecting drought tolerance
- Branching patterns determine how effectively roots explore soil volumes
- Evolutionary history often influences root architecture more than current conditions
- Plants balance resource acquisition with conservation through root trait covariation
- Root systems show remarkable plasticity, adapting to changing soil conditions
Growth Patterns Observed
Root architecture variations reveal nature's design, but examining real-world growth patterns brings theory into practical focus.
You'll notice deciduous species like hazelnut develop extensive surface root systems that efficiently uptake nutrients, while some plants spread laterally, requiring containment strategies.
In natural hedgerows, native grasses establish deep roots that secure soil and house ground-dwelling organisms.
When you add organic matter to the soil, you'll observe more robust root development and improved moisture retention during dry periods.
Plants respond differently to irrigation methods—drip systems stimulate lateral root growth, enhancing nutrient acquisition.
The most effective root ball harvesting focuses on width rather than depth, capturing more productive feeder roots while minimizing excess soil weight.
The interplay between soil composition and root development creates diverse growth patterns.
This diversity contributes to hedgerows' effectiveness in erosion control, carbon sequestration, and providing wildlife habitat throughout seasonal changes.
Essential Post-Planting Maintenance for Root Ball Stability
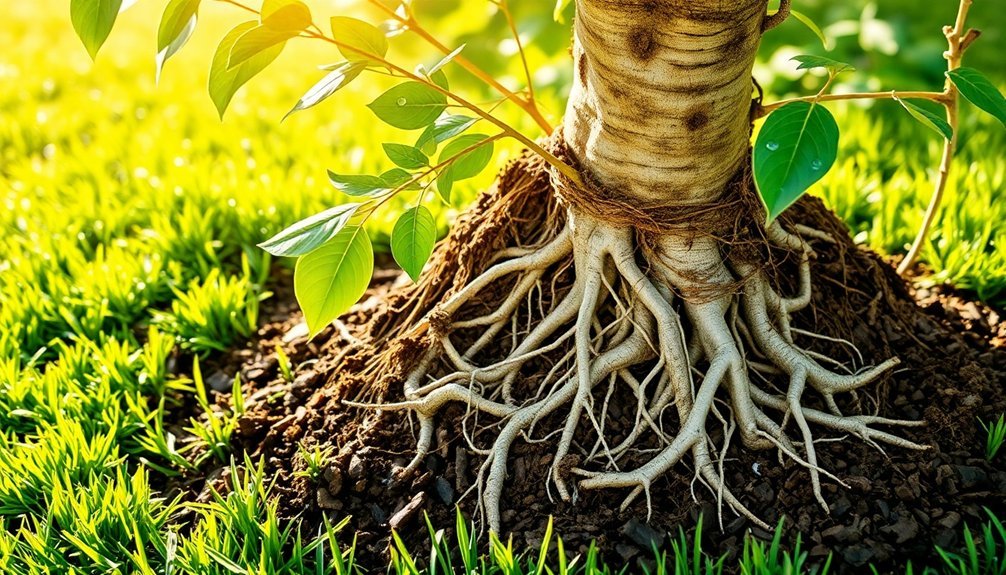
Once your tree is in the ground, proper maintenance becomes critical for establishing root ball stability and ensuring long-term growth success.
Focus your efforts on proper watering techniques while monitoring soil moisture regularly to prevent both waterlogging and drought stress. Immediate watering after planting helps establish soil contact with roots and reduces transplant shock.
- Water newly planted trees with 1-2 gallons per inch of trunk diameter every 3-4 days, adjusting based on weather conditions
- Maintain a 3-4 inch layer of mulch around (but not touching) the trunk to regulate soil temperature and retain moisture
- Inspect trees regularly for early detection of pest issues or growth problems
- Avoid fertilization until the tree has established a healthy root system
- Apply water radially around both the root ball and surrounding soil to encourage outward root growth
Avoiding Common Root Ball Placement Mistakes in Hedge Installations
Four critical errors frequently derail hedge installations before they've a chance to thrive.
First, improper depth placement—ensure the top of your root ball sits level with the soil surface, neither buried (which suffocates roots) nor elevated (which exposes them to air).
Second, neglecting to check for circumnating roots that strangle future growth if left uncorrected.
Third, many gardeners compact soil excessively around newly planted hedges, restricting vital root expansion. Instead, firm the soil gently while eliminating air pockets that could lead to frost damage. During backfilling, maintain proper soil structure to provide a nutrient-rich environment for establishing root systems.
Finally, uneven spacing creates irregular hedgerows that never achieve that polished, professional appearance. Measure carefully between plants based on your specific species and desired density.
Frequently Asked Questions
How Long Does It Take for Root Balls to Establish?
Your root ball's establishment time varies: small trees typically establish within one year, while larger trees may take several years. Plant during dormancy and guarantee proper planting depth for quicker establishment.
Can Root Balls Be Divided Before Planting?
Yes, you can divide root balls for many plants before planting. Guarantee each division has adequate roots and growth points. Use sharp tools, replant immediately, and maintain moisture. Not all species tolerate division well.
Should Fertilizer Be Added to the Planting Hole?
Don't add fertilizer to the planting hole as it can burn new roots. You're better off waiting several weeks after planting and then applying a slow-release fertilizer to the soil surface instead.
How Do Containerized and Balled-And-Burlapped Root Balls Differ?
Containerized trees have intact roots in soilless media, while B&B trees are dug from fields with soil attached and wrapped in burlap. You'll notice containerized trees may have more circling roots but experience less transplant shock.
When Is the Best Season to Plant Root Balls?
Plant your root balls in late autumn to early spring. You'll benefit from dormancy periods that reduce plant stress. In milder climates, you can plant year-round, but always avoid extreme weather conditions.
In Summary
You'll find root ball planting success depends on proper positioning, hole preparation, and addressing soil texture shifts. Don't overlook post-planting care to guarantee stability while your hedge establishes. By avoiding common placement errors and understanding natural root development, you're setting your hedgerow up for healthy growth. Remember, it's the careful attention to these initial steps that determines whether your hedge thrives long-term.
Leave a Reply