
Perfect hedge trenches require proper dimensions (1 foot depth and 2-3 feet width), appropriate tools (trenching shovel, drain spade), and careful soil preparation. You'll need to match the soil line to nursery level, thoroughly test pH levels, and space plants according to species (25-100cm apart). Using stakes and string guarantees proper alignment while addressing soil-specific challenges like clay or sandy conditions improves long-term growth. Master these fundamentals and your hedge will thrive beyond your expectations.
The Science Behind Proper Trench Depth and Width
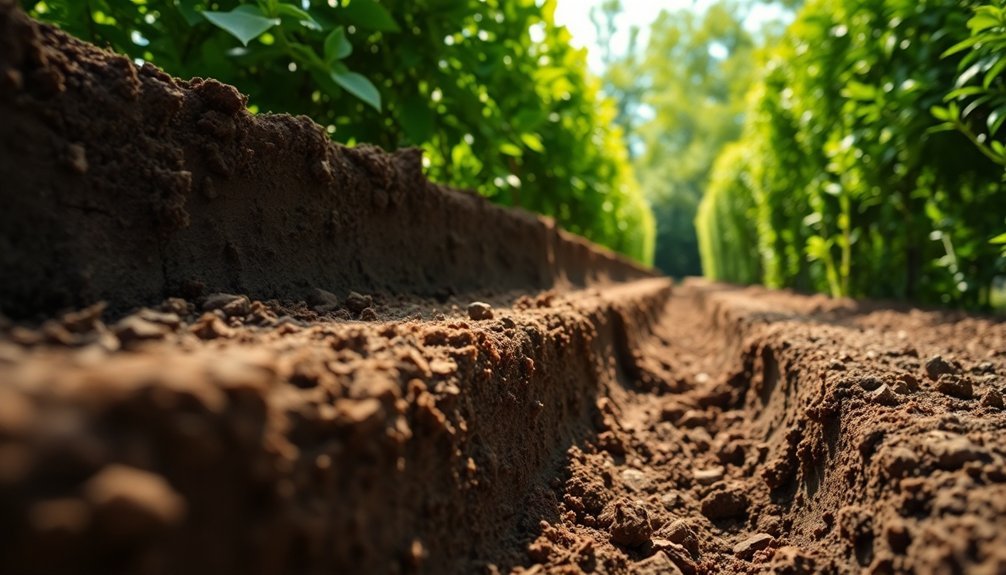
When digging a trench for your hedge, precision matters more than depth. Aim for a trench that's slightly shallower than your plants' root balls—typically around 1 foot deep. This guarantees roots won't sit in water and can establish properly at soil level.
Width is equally important; your trench should span 2-3 feet to accommodate spreading root systems and give plants room to establish. This generous width allows you to mix organic matter directly with the backfill soil, improving aeration and nutrient availability. When installing the hedge, ensure the new soil line matches exactly with the nursery level to prevent root exposure or burial.
Remember not to place compost at the trench bottom, as this can cause settling and sink your plants over time. Instead, incorporate amendments throughout the backfill soil. This approach creates ideal growing conditions while guaranteeing your hedge's long-term stability and health.
Essential Tools for Professional-Grade Hedge Trenches
Now that you understand proper trench dimensions, having the right tools will make the difference between struggling for hours and completing your hedge trench efficiently.
The right tools transform hedge trenching from backbreaking labor into a manageable weekend project.
For most residential hedge projects, you'll need hand tools that offer precision and control.
Select equipment based on your project size and soil conditions:
- Trenching Shovel: Essential for initial digging with its narrow blade designed specifically for trench work
- Drain Spade: Perfect for cleaning trench sides and creating clean vertical edges
- Long Pick Mattock: Invaluable for breaking through hard or compacted soil before digging
- Clean-out Shovel: Helps remove loose dirt without disturbing your carefully shaped trench
- Handheld Trencher: Worth considering for longer hedge lines to save significant time and effort
Ensuring safety should be your priority by contacting Call Before You Dig to identify utility lines before starting any trenching project.
Regular maintenance of these tools will guarantee they remain effective for future projects.
Soil Preparation Secrets for Healthy Root Development
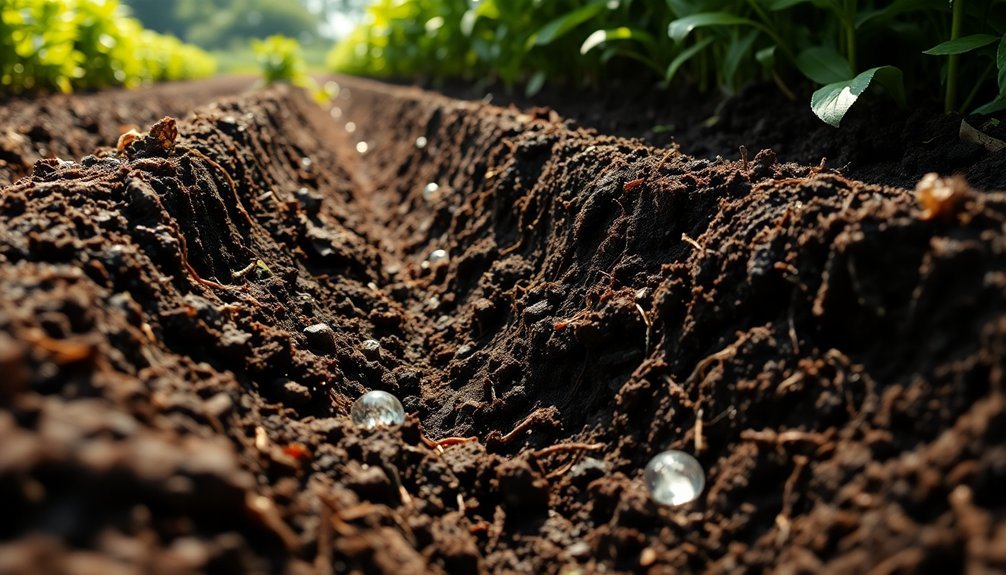
The foundation of thriving hedges lies in how you prepare your soil before planting. Start by testing your soil to determine pH levels, which should ideally fall between 6.0-7.0 for most hedge species. Break up compacted soil to improve aeration and dig trenches twice as wide and deep as your root balls. For optimal nutrient absorption during establishment, consider treating roots with Rootgrow treatment before placing plants in the trench.
| Soil Component | Function | Best Practices |
|---|---|---|
| Organic Matter | Enhances fertility | Add compost or well-rotted manure |
| Drainage | Prevents waterlogging | Create raised mounds in heavy soils |
| Soil Conditioners | Boosts nutrient retention | Apply products like TerraCottem |
Don't forget to mulch after planting to retain moisture and suppress weeds. For heavy soils, consider incorporating grit or sand to improve drainage, while sandy soils benefit from additional organic matter to improve water retention.
Spacing and Alignment Techniques for Uniform Hedges
With proper soil preparation complete, your hedge's success now depends on proper placement. Spacing plants correctly guarantees uniform growth and appearance while proper alignment creates that picture-perfect garden boundary you're aiming for.
Perfect hedge placement is the secret to that flawless garden boundary you've been dreaming of.
For dense, healthy hedges, space plants 25-100cm apart depending on species and desired timeline. Closer spacing fills in faster, while wider spacing promotes healthier long-term growth. Utilizing the mature width measurement as your spacing guide ensures optimal results for informal hedges like Pittosporum and Gardenias.
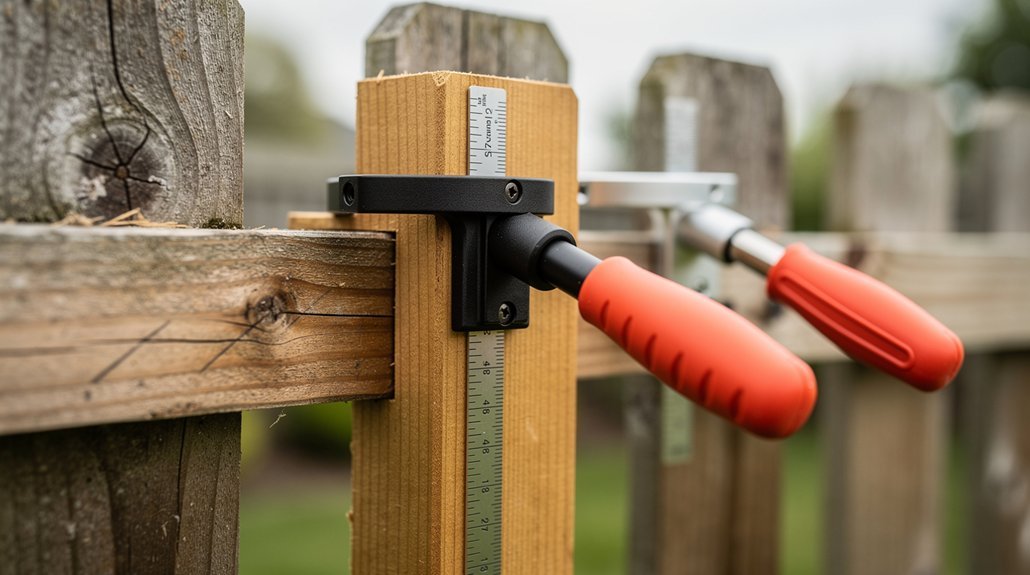
Create straight, professional-looking hedges by using simple tools:
- Set stakes and run string lines to maintain perfect alignment
- Use a staggered, diagonal planting pattern for maximum density
- Consider mature width when determining spacing between plants
- Create a measurement grid before digging to guarantee consistency
- Level the ground thoroughly to prevent uneven growth patterns
Solving Common Trench Challenges in Different Soil Types
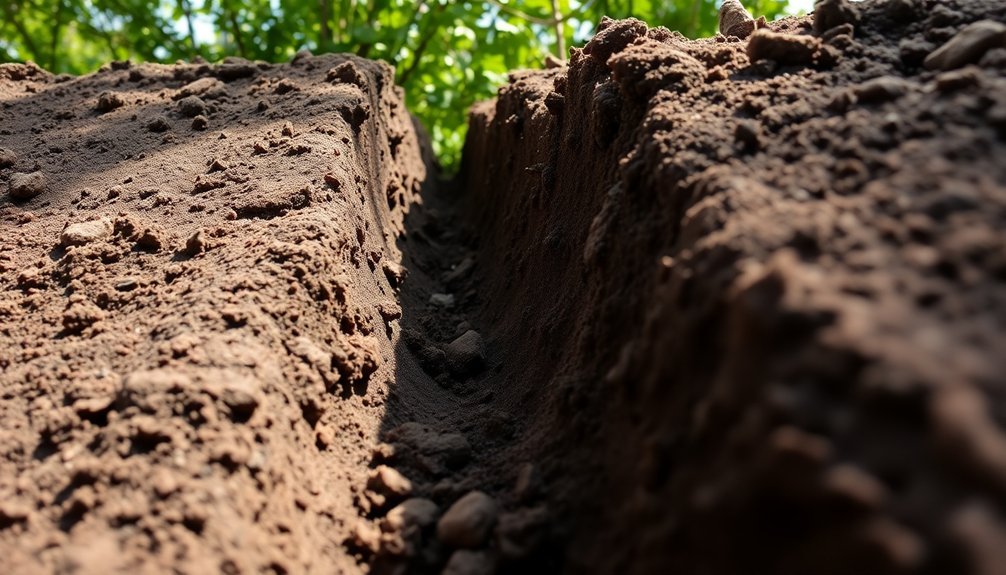
Preparing perfect hedges requires overcoming soil-specific obstacles that can hamper growth and establishment. You'll need different approaches based on your soil type.
In clay soils, use subsoiling to improve aeration and reduce compaction. For sandy soils, incorporate organic matter to boost moisture retention. Chalky soils support species like Yew, while peaty soils need careful moisture management.
When facing waterlogged conditions, add sand or grit to improve drainage. For poor pH levels, apply lime to raise pH or sulfur to lower it. Always prick trench bottoms with a fork to prevent root entanglement and encourage penetration. Thoroughly water the soil before planting to help it settle and create an ideal environment for new hedge plants.
Maintain uniform trench depths (twice the root ball width) and mix in fresh growing medium when refilling.
Choose appropriate species for your region—Griselinia for windy areas, Privet for urban environments, and Holly for shade.
Frequently Asked Questions
Can I Plant Hedges in Winter or During Frost Periods?
You can plant hedges in winter if soil isn't frozen, but avoid frost periods. Choose dormant bare-root plants, keep roots moist, and apply mulch for protection. Wait for milder conditions if possible.
How Do I Manage Irrigation Systems Around Newly Trenched Hedges?
Install drip irrigation lines along your newly trenched hedges. You'll need to water deeply but infrequently to encourage root growth. Set timers for early mornings and adjust your watering schedule based on soil type and season.
What's the Best Approach for Curved or Circular Hedge Designs?
For curved or circular hedge designs, you'll need to use a hose as a guide, select dense-growing plants, and trim regularly. Step back often to evaluate your shape from multiple angles for even results.
How Soon After Trenching Should Plants Be Installed?
You'll want to install your plants soon after trenching to prevent soil settling and drying. For best results, don't delay planting—get your hedge specimens in the ground immediately after trench preparation.
Can I Use the Same Trench for Replacing Dead Hedge Plants?
Yes, you can use the same trench for replacing dead hedge plants, but you'll need to remove old roots, add fresh soil, and guarantee proper drainage before planting new specimens.
In Summary
Creating perfect hedge trenches isn't magic—it's methodology. You'll achieve professional results when you combine proper depth measurements, quality tools, thorough soil preparation, precise spacing, and soil-specific techniques. Don't rush the process. Take time to plan, measure twice, and adapt to your garden's unique conditions. Your patience now will reward you with straight, healthy, uniform hedges that enhance your landscape for years to come.
Leave a Reply