Successful living wattle fences start with selecting supple willow branches harvested during dormancy. Place stakes 2-3 feet into soil, spacing them according to material size. Plant during late winter or early spring for ideal root establishment. Weave tightly at the base, loosening toward the top for light. Water consistently while establishing, avoiding waterlogged soil. Prune on sunny days in early spring using clean, sharp tools. Mix evergreen and deciduous materials for year-round visual interest. These foundational techniques open the door to creating lasting, beautiful boundaries.
Selecting and Preparing Willow for Living Wattle Structures
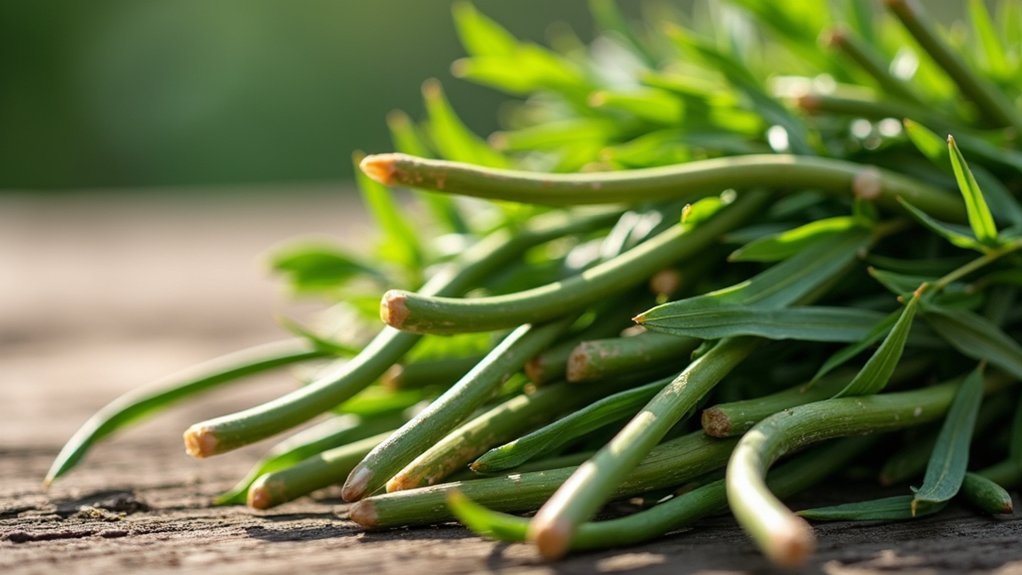
The journey toward a beautiful wattle fence begins with selecting the right willow. Look for straight, supple branches that offer flexibility when woven. You’ll find several varieties suitable for wattle structures, with some capable of rooting to create living fences over time.
Harvest your willow during the dormant season when branches maintain ideal flexibility and resist pest infestation. If you’re working with dried willow, soak branches for 24 hours to restore pliability. Use loppers and secateurs to cut branches to your desired length, and don’t forget to wear gloves to protect against splinters.
Consider sourcing willow locally to reduce costs and environmental impact. Mixing different varieties can add visual interest and unique coloration to your finished fence, creating both functionality and aesthetic appeal. For durability in outdoor settings, you might want to incorporate cedar slats with the willow to enhance structural integrity.
Determining Ideal Stake Placement for Root Development
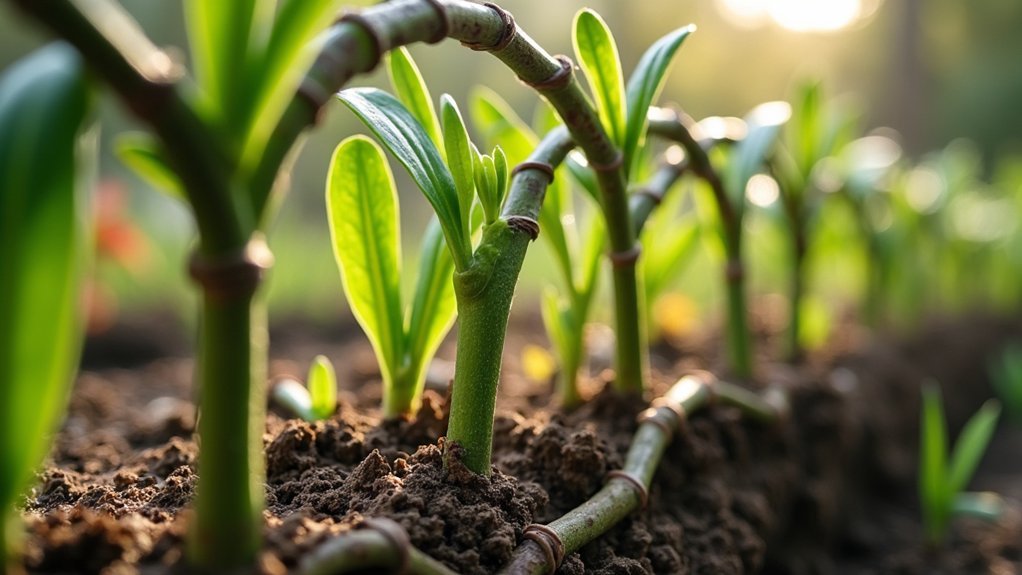
When establishing a living wattle fence, proper stake placement serves as the foundation for successful root development and long-term stability.
You’ll want to drive stakes 2-3 feet into the soil, adjusting depth based on your specific plant species and soil type.
Space your stakes according to material size—smaller stakes require closer spacing than larger ones. A hurdle jig helps maintain consistent intervals.
The soil composition greatly impacts root spread, so consider your site’s conditions. Clay, sand, and loam each create different growing environments.
Ensure your wattle weaving isn’t too tight, as dense patterns can restrict root growth.
Regular maintenance, including trimming and mulching around stakes, promotes healthy development. Using green wood materials provides optimal flexibility for weaving while increasing the likelihood of successful rooting in living fences.
Seasonal Timing: When to Plant Your Living Fence
Timing your living fence planting correctly can mean the difference between thriving plants and struggling specimens.
You’ll find the best results when planting during dormancy—typically late winter to early spring before new growth emerges, or fall after leaves drop but before hard freezes.
Planting during these dormant periods reduces transplant shock and gives your wattle fence time to establish strong roots before facing the demands of active growth seasons.
This approach complements the initial wattle structure perfectly, allowing your hedge plants to gradually establish while sheep access is managed by the temporary fence.
Best Planting Windows
Successful living wattle fences require precise timing for planting to secure proper establishment and vigorous growth. Your region’s climate will largely determine your ideal planting window.
| Region Type | Spring Window | Fall Window | Special Considerations |
|---|---|---|---|
| Temperate | Late Feb-April | Oct-Nov | Avoid frozen soil |
| Cool Climate | April-May | September | Protect from late frosts |
| Warm Climate | Feb-March | Oct-Dec | Water frequently in heat |
| Mountainous | May-June | August-Sept | Shorter growing season |
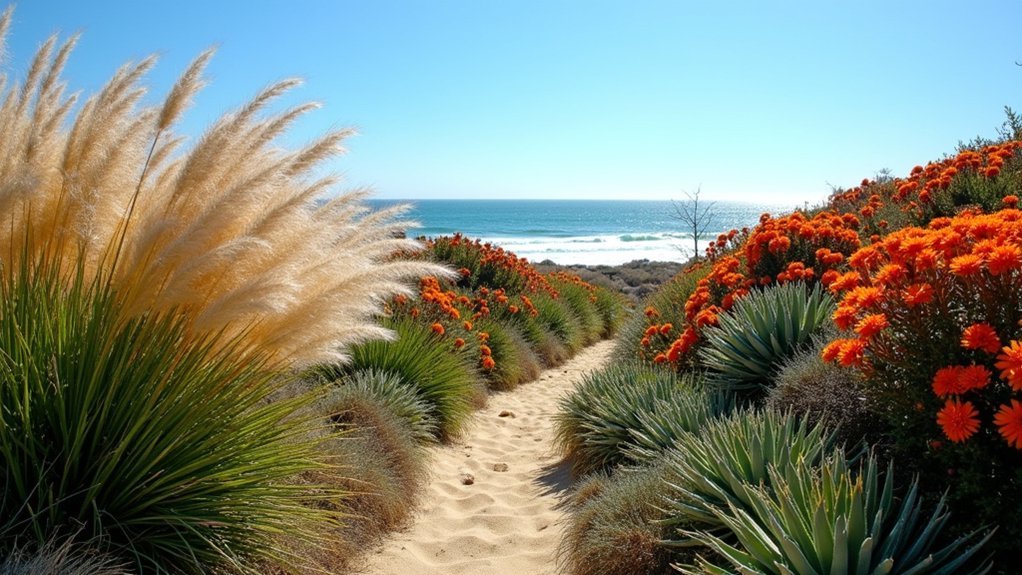
For most locations, early spring offers the best opportunity as it allows roots to establish before summer heat arrives. In milder climates, fall planting works well too, giving your fence time to develop roots before the next growing season. Always verify your soil is moist but not waterlogged when planting willow or hazel cuttings. When selecting materials, willow is favored for living wattle fences due to its exceptional elasticity when soaked and its ability to root quickly from cuttings.
Dormancy vs. Growth
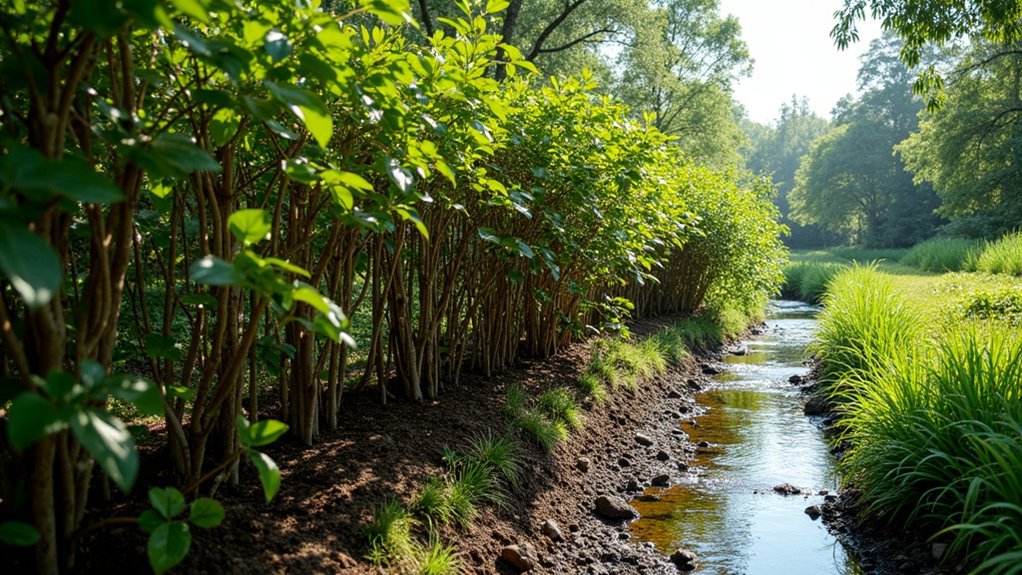
Understanding dormancy periods lies at the heart of creating thriving living wattle fences. You’ll want to plant your whips during winter or early spring when they’re dormant, as this guarantees successful rooting and establishment.
When temperatures rise, your fence will exit dormancy and begin its growth phase—some varieties growing an impressive 10-13 feet annually. This shift transforms your woven structure into a living, strengthening barrier that provides ecological benefits like habitat creation and nutrient absorption.
For best results, consider soil moisture when planting. In drier conditions, place whips deeper to encourage stronger root development. The best materials for wattling come from slender, straight shoots harvested during pruning season when branches are most pliable.
The dormant planting period also allows for better structural weaving and minimizes maintenance as the fence grows naturally with the seasons, becoming more resilient over time.
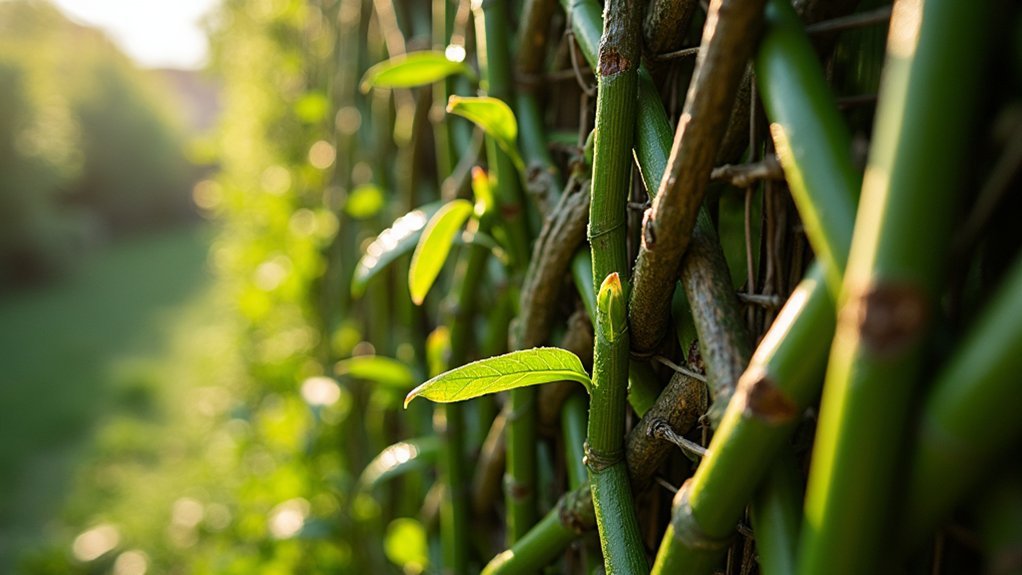
Weaving Techniques That Encourage New Growth
The artistry of regenerative wattle fencing lies in weaving techniques that don’t just create a barrier but establish a living structure. When weaving, alternate your crisscross directions every 3-4 layers to minimize stress on branches and create a stronger framework.
Overlap your weavers by 6-12 inches at joints to maintain continuous nutrient pathways. You’ll want to weave tightly at the base while gradually loosening toward the top, allowing essential light penetration.
For lasting tension without impeding growth, twist saplings into living ropes (“withies”) around end posts. Incorporate diagonal braiding to distribute weight evenly across your fence. This prevents concentration of stress that could lead to breakage. Soaking your branches in water beforehand will significantly improve branch flexibility during the weaving process.
Remember to leave 2-4 inches above your weave pattern—these cut ends will sprout new vertical growth, continuously strengthening your living fence.
Water and Soil Requirements for Thriving Living Wattles
Your living wattle fence’s success hinges on properly addressing soil drainage, which must allow water to flow freely without becoming waterlogged.
You’ll need to balance moisture levels by providing regular watering during establishment while gradually reducing frequency as plants develop their drought tolerance. Choose indigenous species for areas prone to frost as they offer better cold tolerance while maintaining the attractive qualities needed for an effective living fence.
Consider applying organic mulch around the base of your wattles to maintain soil moisture, suppress weeds, and create the ideal environment for root development.
Soil Drainage Essentials
When establishing living wattles, proper soil drainage forms the foundation of your entire project’s success. Select well-drained sites with sandy or loamy soils, as waterlogged conditions can quickly kill your wattles. Before installation, test drainage by digging a 30cm hole and filling it with water—it should empty within 30 minutes. Wattles require full sun exposure for optimal growth and establishment in your living fence design.
- Install trenches on contour across slopes to prevent water channeling and erosion.
- Make certain trench depth matches wattle diameter to prevent undercutting.
- Space trenches 1-1.5m apart in loose soils, wider in cohesive soils.
- Redirect groundwater seepage by placing wattles along spring lines.
- Use complementary drainage swales or berms to manage excess water.
For clay-heavy sites, amend with organic matter or sand to improve permeability.
Remember to monitor after rainfall to identify any pooling or undercutting issues.
Moisture Balance Techniques
Beyond proper drainage, maintaining ideal moisture balance determines whether your living wattle fence will merely survive or genuinely thrive. When establishing new wattles, provide consistent watering to develop strong root systems, then adjust your schedule based on seasonal changes and local climate conditions.
Select plants strategically for your moisture situation. Drought-resistant varieties like apple or hawthorn offer stability in drier areas, while willows excel in wetter environments. Incorporating diverse species creates resilience against varying moisture conditions. Willow branches can be harvested, sorted, and stored for use throughout the year when building your wattle fence.
Enhance soil moisture retention by adding organic matter and applying mulch around the base of your wattle. For established fences, regularly monitor soil moisture levels and adjust care accordingly.
Remember that well-moisturized plants maintain better structural integrity and weather resistance, ultimately extending your living fence’s lifespan and reducing long-term maintenance needs.
Pruning Strategies to Maintain Fence Structure and Vitality
Regular pruning forms the backbone of successful wattle fence maintenance, ensuring both structural integrity and plant health throughout the seasons.
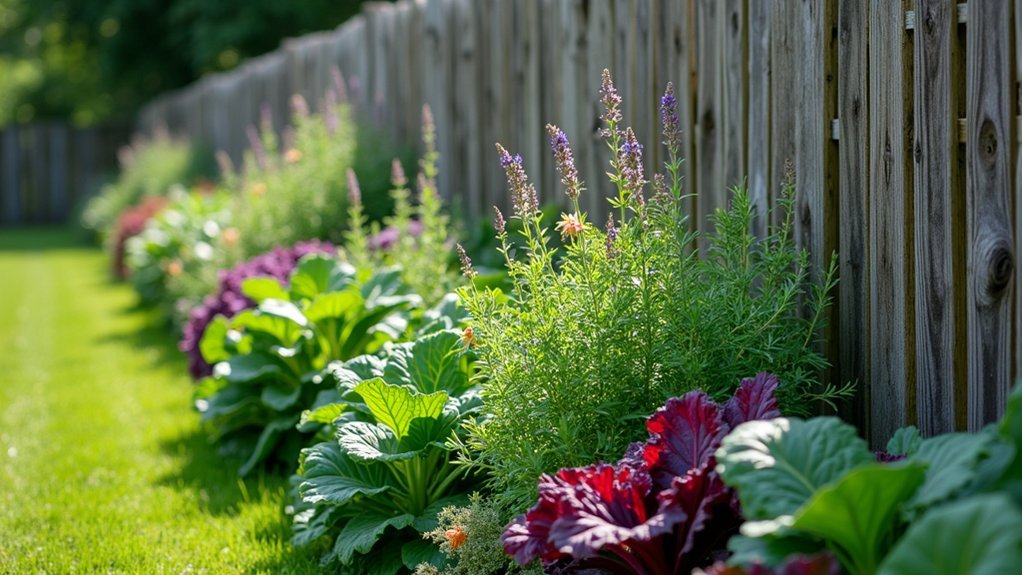
Choose sunny, dry days for pruning, particularly in early spring or late summer when plants respond best. Always use clean, sharp tools to make angled cuts away from main stems, preventing water retention and disease. Willows and hazels are particularly responsive to regular pruning, encouraging the growth of new pliable shoots perfect for weaving.
- Maintain fence height at 3-4 feet for easy maintenance without ladders
- Thin overcrowded stems to improve air circulation and reduce disease risk
- Remove dead or diseased material completely to redirect energy to healthy growth
- Preserve the original lattice pattern when pruning to maintain structural strength
- Cut back to stem collars for proper healing and prune before new seasonal growth begins
Combining Living and Dried Materials for Instant Impact

Creating a dynamic fence that balances immediate structure with living growth potential requires thoughtful integration of both dried and living materials. Start by setting rot-resistant stakes (cedar or locust) as your foundation, then weave flexible living willow rods around them. This provides immediate stability while allowing for future growth.
Alternate weaving directions between rows and compress each layer with a mallet to eliminate gaps. For durability, position thicker dried branches at the base and coat them with linseed oil to resist decomposition. Elevate this section with gravel for improved drainage. This approach reflects traditional wattle techniques that have been used for centuries in rustic garden designs.
For visual interest, mix evergreen and deciduous materials, or create sunburst patterns radiating dried branches from living posts. Consider incorporating flowering vines through upper dried sections for seasonal color that complements your developing living structure.
Frequently Asked Questions
How Long Does a Living Wattle Fence Typically Last?
Your living wattle fence will last 5-15 years, depending on climate, materials, and maintenance. In high rainfall areas, you’ll see shorter lifespans. With proper care and using durable woods, you’ll maximize longevity.
Can Living Wattle Fences Be Created With Non-Willow Species?
Yes, you can create living wattle fences with non-willow species. Try using alder, hazel, maple, or birch for flexibility and durability. Species like dogwood and oak add unique textures, while bamboo offers versatility.
Do Living Wattle Fences Attract Pests or Wildlife?
Living wattle fences don’t inherently attract pests but create natural habitats for beneficial wildlife. You’ll find birds nesting in dense sections while proper maintenance prevents aphid infestations and fungal growth in your fence structure.
How Quickly Will My Living Fence Create a Privacy Barrier?
You’ll enjoy basic privacy within 3-6 months as vines fill your wattle structure. For full screening, expect 1-2 growing seasons, though you’ll speed this up with proper watering and fast-growing vine selections.
Can Living Wattle Fences Be Installed on Sloped Terrain?
Yes, you can install living wattle fences on slopes. They’re ideal for sloped terrain as their flexible structure and developing root systems help prevent erosion while adapting to the contours of your land.
In Summary
You’ll discover that living wattle fences blend beauty with functionality in your landscape. By selecting the right willow, positioning stakes properly, planting at ideal times, and mastering weaving techniques, you’re creating a growing boundary. Remember to maintain proper watering, soil conditions, and regular pruning. Don’t hesitate to mix living and dried materials for immediate structure while your fence establishes itself and transforms your outdoor space.

Leave a Reply