Successful pleaching requires selecting ideal trees like hornbeam or lime, building a sturdy framework with stakes and horizontal supports, spacing plants approximately 1.5 meters apart, weaving flexible young branches horizontally, conducting seasonal pruning for dense foliage, maintaining clear stem heights around 180cm, and implementing long-term care through regular inspections. You’ll need to prune once or twice annually to maintain a 30-40cm screen depth. These seven techniques will transform your ordinary trees into magnificent living architecture with proper dedication.
Selecting the Right Tree Species for Pleaching

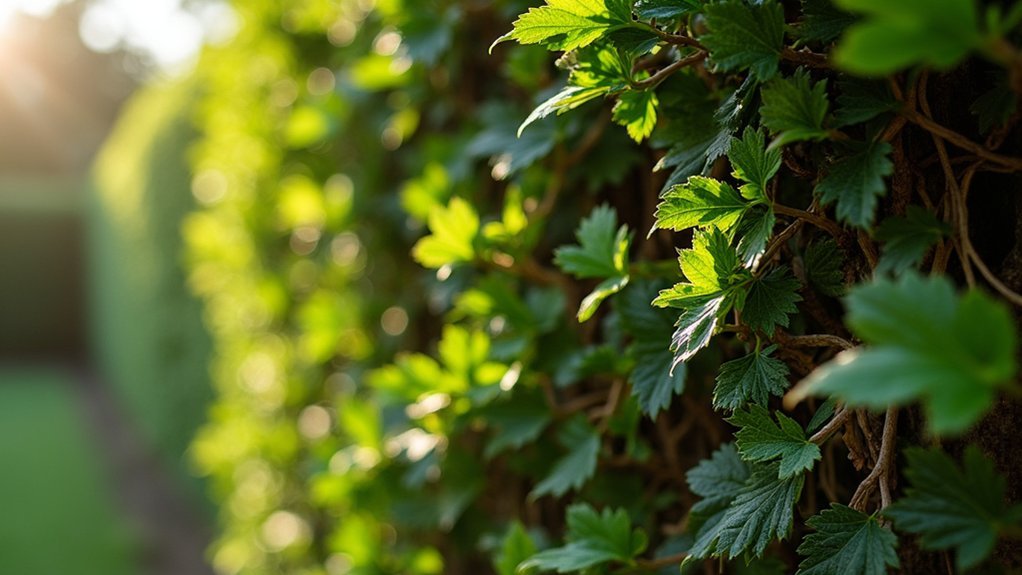
When establishing a pleached hedge, choosing the right tree species stands as your most critical decision. Deciduous trees like Carpinus betulus (hornbeam) and Tilia (lime) are among the best species, featuring flexible branches that respond excellently to pruning techniques and form dense barriers.
If you’re seeking year-round structure, consider evergreen options such as yew and boxwood, which maintain their foliage throughout the seasons.
Hornbeam deserves special attention for its vigorous growth patterns, making it ideal for creating formal, dense pleached trees relatively quickly.
As you select your trees, you’ll need to account for their light requirements – adequate sunlight guarantees healthy foliage development.
Proper species selection enhances both the aesthetic appeal and functionality of your pleached trees, especially when designed as privacy screens or architectural garden features.
Building a Sturdy Framework for Training Growth
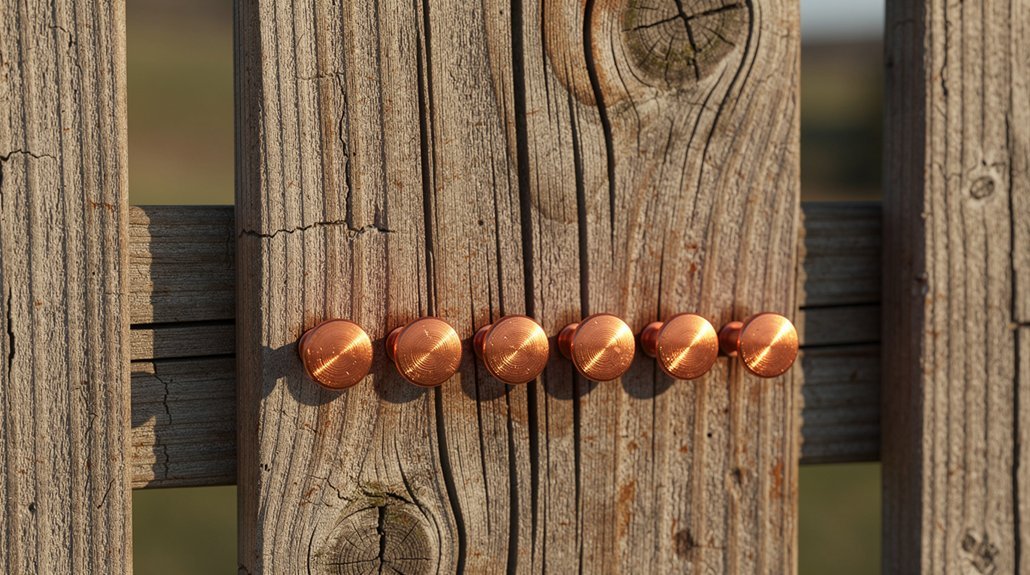
Before you can begin the art of pleaching, you’ll need to construct a robust framework that serves as the architectural backbone for your living hedge. Install vertical stakes first, then add evenly spaced horizontal lines to guide your pleached branches toward the desired density.
| Material | Advantages | Maintenance Needs |
|---|---|---|
| Bamboo | Natural look, flexibility | Replace every 3-5 years |
| Metal posts | Maximum durability | Check for rust annually |
| Wood stakes | Traditional aesthetic | Treat against rot biannually |
| Wire systems | Less visible | Tension adjustments needed |
| Composite | Weather resistant | Minimal upkeep required |
Set up your framework before planting to guarantee proper training growth from the start. You’ll need to make regular adjustments as branches develop, ensuring your structure offers both durability and flexibility to accommodate expanding growth.
Proper Spacing and Planting Techniques

You’ll need to space your pleached trees about 1.5 meters apart for healthy growth, while maintaining at least 40 centimeters from fences and 1 meter from buildings to accommodate root systems.
When preparing root balls, make certain they’re moistened thoroughly before planting and positioned at the same depth as they were in their nursery containers.
For best results, plant during October or November after autumn rains when the soil retains warmth, giving roots time to establish before spring’s active growth period begins.
Optimal Sapling Distances
The foundation of successful pleaching begins with proper spacing between saplings. When planting your pleached trees, aim for approximately 1.5 meters between each specimen to guarantee healthy growth and adequate air circulation.
The ideal planting season falls in October or November, giving your trees time for proper establishment before spring growth accelerates.
Consider these essential measurements for best outcomes:
- Building proximity: Keep trees at least 1 meter from structures to accommodate restricted root systems.
- Fence clearance: Maintain 40 centimeters minimum distance from fences or walls to prevent root constraints.
- Aesthetic spacing: For elegant screening effects, space trees 10-12 feet apart; for continuous hedging, plant them just touching.
Your strategic spacing decisions now will determine the long-term success and appearance of your pleached hedge layers.
Root Ball Preparation
Once your saplings are properly spaced, attention must shift to root ball preparation—a fundamental step determining long-term hedge success.
When planting pleached trees, verify the root system is well-formed and undamaged, as this directly impacts your tree’s survival and future growth rate.
For bare-root trees, which should be planted between November and March, gently spread the roots when placing them in the soil.
Pot-grown trees offer more flexibility, allowing year-round planting except in frozen soil conditions.
Remember that crown management restricts root systems, so maintain at least 40cm distance from fences and 1m from buildings.
Before backfilling, position the root ball at the correct depth—neither too deep nor too shallow—to promote healthy growth and establishment, especially important for trees planted during the ideal October-November period.
Seasonal Planting Windows
Although many trees can adapt to various planting schedules, successful pleaching demands careful attention to seasonal timing. The ideal planting time falls in October or November, when autumn rains provide natural irrigation and allow roots to establish before winter sets in.
When planting pleached trees, follow these key guidelines:
- Space trees 1.5 meters apart to guarantee healthy growth and achieve desired density.
- Position bare-root pleached trees from November to March when dormant.
- Plant pot-grown trees year-round, avoiding only frozen soil conditions.
Remember to maintain at least 40 cm distance from fences or walls and 1 meter from buildings to accommodate developing root systems.
Proper timing within these seasonal windows greatly improves survival rates during the vital early establishment years.
Weaving and Binding Young Branches
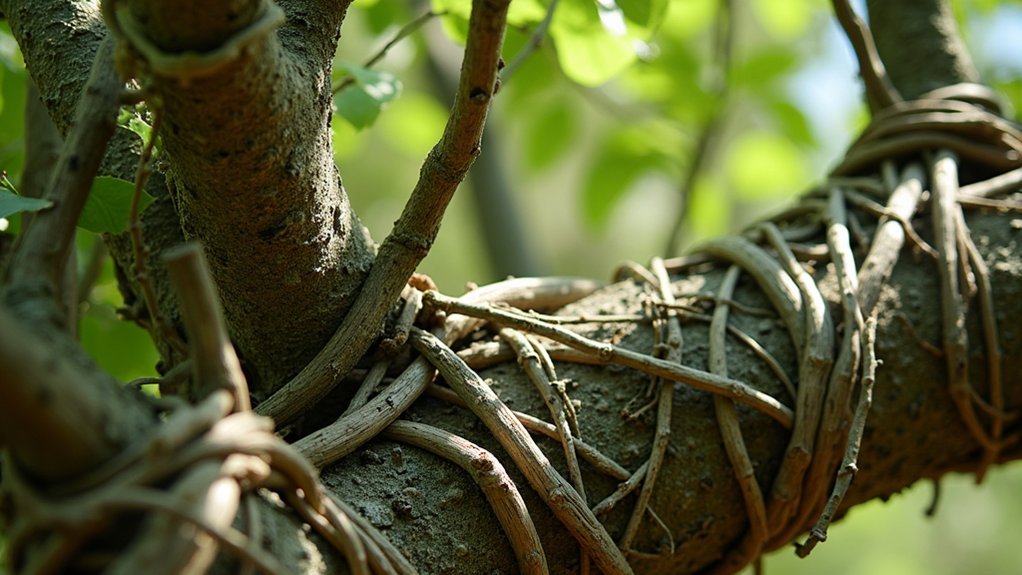
When selecting shoots for pleaching, you’ll want to choose the most flexible, young branches that bend without breaking.
You can weave these pliable shoots horizontally through your vertical supports, creating the lattice pattern that defines a well-pleached hedge.
Secure your woven branches with garden twine or soft plant ties at intersection points, ensuring they’re firm enough to maintain the pattern but not so tight that they damage the growing bark.
Selecting Flexible Shoots
The success of your pleached hedge largely depends on choosing the right shoots for weaving. When selecting flexible shoots, look for long, pliable branches that bend easily without snapping. Species like hornbeam and lime offer excellent candidates for your pleaching project.
Winter months provide the ideal time for working with young trees, as their dormancy allows for easier manipulation without causing damage.
To guarantee your pleaching thrives:
- Choose branches that are at least one growing season old but still flexible enough to form your desired lattice pattern.
- Inspect each shoot for signs of disease or damage before incorporating it into your framework.
- Consider branch thickness—thinner shoots are easier to weave but thicker ones provide stronger structural support.
Regular pruning will help maintain the shape of your pleached hedge for years to come.
Securing Woven Patterns
Once you’ve gathered your flexible shoots, mastering the weaving technique becomes your next challenge. Bind the branches to your framework using garden twine or soft ties, guaranteeing they’re secure without restricting natural growth patterns.
You’ll need to weave during winter when pleached trees are dormant, making the branches more pliable and reducing stress on the plants.
As you work, maintain symmetry by monitoring how branches interact with each other. Adjust your weaving pattern regularly to fill gaps and create a uniform appearance.
Consistent binding is essential—it’s what transforms individual growing branches into a solid, interconnected hedge layer. Remember to prune strategically to encourage growth that aligns with your desired structure.
Through careful attention to your binding technique, you’ll guarantee your pleached framework develops into an elegant living wall.
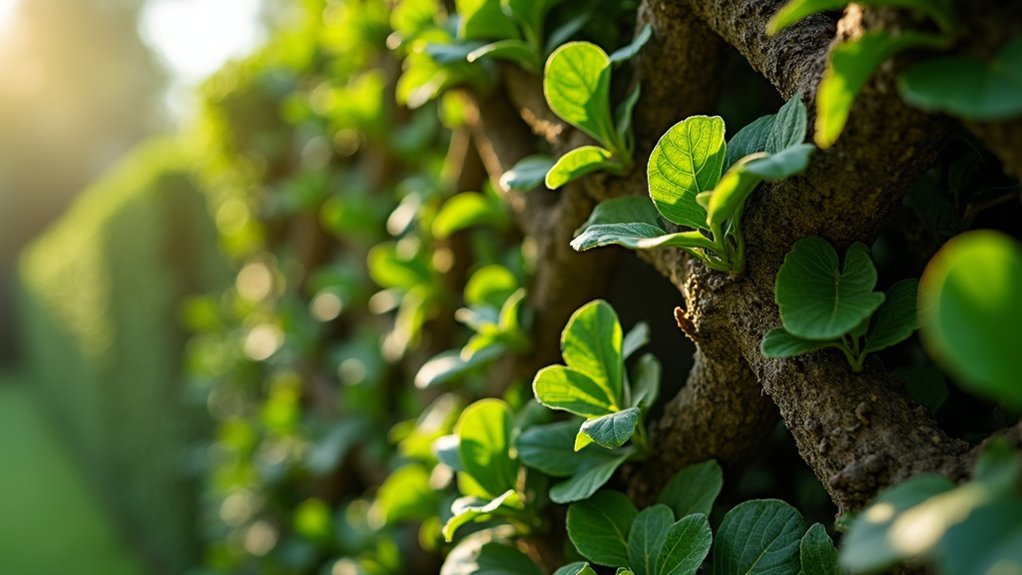
Seasonal Pruning for Dense Foliage Development
Successful pleaching depends on strategic pruning cycles that align with the tree’s natural growth patterns.
To maintain dense foliage and establish healthy growth patterns in your young trees, time your seasonal pruning for late winter or early spring. This allows you to shape the framework before active growth begins, ensuring your pleached hedge develops the desired height and spread.
For best results:
- Conduct regular maintenance pruning 1-2 times yearly to remove excessive growth.
- Focus on maintaining a clear stem height of approximately 180cm for effective screening.
- Perform formative pruning by bending and tying young laterals to establish strong structure.
Remember to monitor for pests and diseases during pruning sessions, as healthy trees develop denser foliage and better withstand environmental stressors.
Maintaining Structure Through Formative Training
While young pleached trees establish their growth patterns, formative training provides the essential foundation for their long-term structural integrity.
You’ll need to bend young laterals downward and secure them to a bamboo framework during winter dormancy when branches are most pliable and less prone to damage.
Identify and prune excess laterals and sub-laterals that don’t conform to the desired growth plane. This targeted pruning guarantees a clean, efficient structure.
Creating evenly spaced horizontal lines within your framework guides branch development and maintains uniform shape.
Don’t neglect ongoing maintenance—regularly tie new growth to your established framework and trim as needed. This consistent attention preserves the pleached trees’ architectural form.
The formative years require patience, but your diligence will reward you with beautifully structured living screens that maintain their elegance for years.
Long-Term Care for Mature Pleached Hedges
After your pleached hedges reach maturity, they’ll require specific maintenance to preserve their architectural beauty and structural integrity. Regular maintenance is essential, with late winter pruning sessions being ideal for shaping the hedge and removing diseased wood to maintain a uniform screen effect.
Your mature pleached trees need:
- Pruning and training once or twice annually to maintain the 30-40cm screen depth and desired form
- Pest and disease monitoring through routine inspections, as early detection guarantees longevity
- Adequate watering and sunlight exposure, particularly during dry periods to support healthy growth
During maintenance, focus on preserving the continuous screen appearance while removing any unhealthy sections.
With proper care, your pleached hedges will continue to provide an elegant, structured element to your landscape.
Frequently Asked Questions
What Is the Best Hedge for Pleaching?
For pleaching, you’ll find hornbeam (Carpinus) and lime (Tilia) are your best options. They’ve got flexible branches that train easily. If you want year-round screening, consider yew or boxwood instead.
What Is the Pleaching Technique?
Pleaching is a technique where you train and weave young tree branches onto a framework of stakes or wires. You’ll create living architectural elements by intertwining branches to form a dense, structured screen or hedge.
How Do You Layer a Hedge?
To layer a hedge, you’ll bend flexible branches to the ground, securing them with soil or stakes. Do this in late winter when they’re dormant. Keep branch tips exposed and water regularly as they root.
What Is the Difference Between Espalier and Pleach?
You’ll find espalier creates a flat, two-dimensional pattern with branches trained horizontally on a wall, while pleaching forms a three-dimensional living screen with clear stems below and branches trained horizontally above.
In Summary
You’ve now mastered the essential methods for creating stunning pleached hedges. Remember, it’s all about selecting the right species, establishing proper framework, and maintaining consistent care. Don’t neglect seasonal pruning and formative training—they’re vital for dense growth and structural integrity. With patience and these seven techniques, you’ll enjoy your living green architecture for years to come. The results are worth your dedicated effort.

Leave a Reply