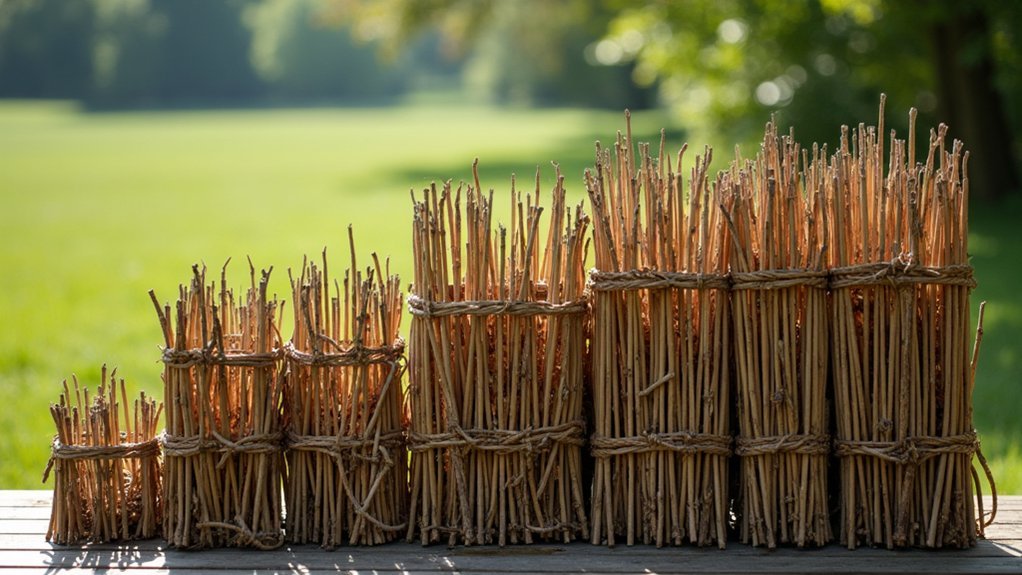
For easy portable wattle fencing, use freshly cut greenwood for flexibility and lightweight materials like willow to reduce weight. Design panels 6-8 feet long with stakes spaced 12-18 inches apart. Create modular sections that partially disassemble for transport. Pre-weave sections on sawhorses before installation. Use removable holders instead of permanent stakes. Apply natural preservatives like linseed oil for durability. Incorporate metal pins or wooden dowels for secure connections. These seven techniques will transform your garden fencing experience.
7 Tips for Easy Portable Wattle Fencing
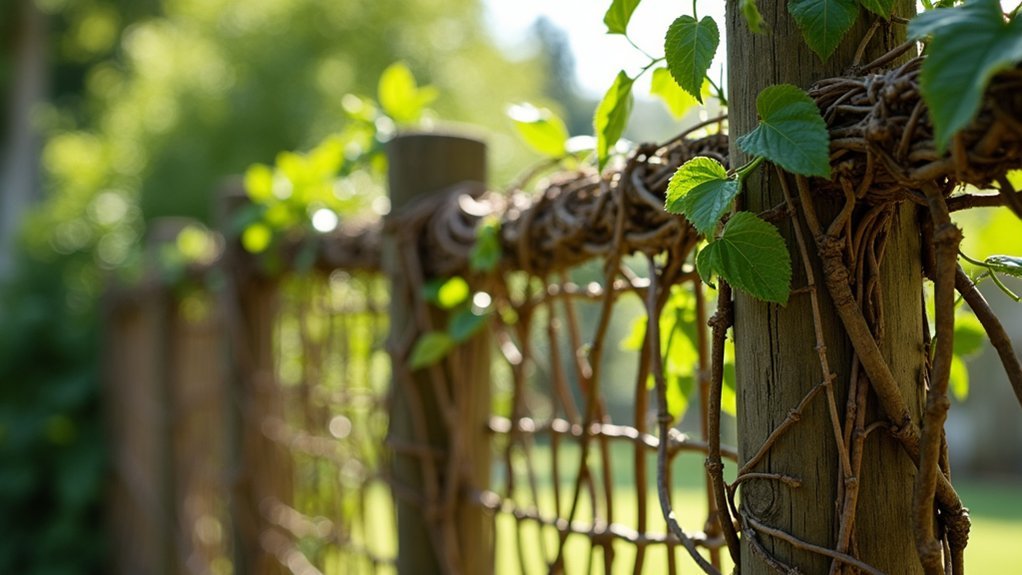
While traditional wattle fencing typically remains stationary, creating portable versions requires thoughtful adaptations to the classic technique. Instead of permanent ground stakes, use temporary holders like bricks or removable wooden jigs.
Space uprights 12-18″ apart based on branch thickness for ideal stability and weaving ease. For freestanding sections, employ interlocking corner designs by crisscrossing doubled stakes. Consider attaching wheels to base supports for truly mobile panels.
Keep panel height to 3-4 feet to maintain stability without permanent anchoring. Pre-weave sections on sawhorses before installing uprights to speed up construction. Using freshly cut materials will provide the flexibility needed for portable panels that may require occasional reshaping.
When weaving, use a figure-eight pattern, alternating directions every few rows. Store panels vertically on racks when not in use, and protect with breathable tarps to prevent mildew.
Selecting the Right Wood for Flexibility and Durability
Since the success of your portable wattle fence depends largely on material selection, choosing the right wood becomes essential for both weaving ease and longevity. Focus on freshly cut greenwood for weaving elements, as higher moisture content prevents breakage during construction. For vertical stakes, opt for more durable species that resist rot. One-year-old sprouts from trees like maple provide excellent flexibility while maintaining structural integrity.
| Wood Type | Flexibility | Durability | Best Use |
|---|---|---|---|
| Willow | Excellent | Moderate | Weaving material |
| Hazelwood | Very good | Good | Stakes & weaving |
| Cedar | Fair | Excellent | Support posts |
| Bamboo | Good when split | Very good | Lightweight panels |
Consider your local environment and availability. For temporary structures, you’ll have more flexibility in wood choice, while permanent installations demand weather-resistant species like redwood or cedar.
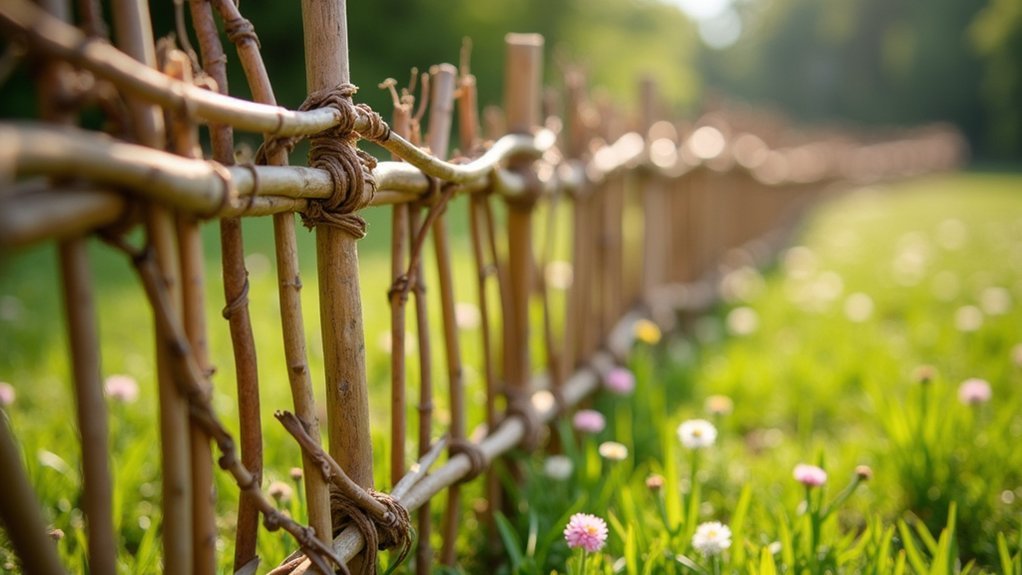
Designing Modular Sections for Easy Transport
Creating portable wattle fencing requires thoughtful modular design to guarantee your panels remain manageable during transport while maintaining structural integrity. Aim for panels between 6-8 feet long with consistent wood thickness throughout for balanced flexibility and durability.
Design your sections with connectivity in mind—panels should easily join to form longer fencing runs when needed. Incorporate adjustable corner posts to accommodate various configurations and terrains. Using lightweight materials like willow reduces overall weight without sacrificing quality.
For transportation efficiency, consider panels that partially disassemble or fold. Add sturdy frames around each panel and employ tight weaving patterns to enhance rigidity against wind. The rustic aesthetic of wattle fencing makes it an attractive addition to any outdoor setting while still being functional.
Portable stand kits and customizable baseplates will help you quickly set up on uneven ground. Reusable fasteners make assembly and breakdown straightforward, saving you time at each installation.
Proper Stake Installation Techniques
Proper stake installation serves as the foundation for any successful portable wattle fence project. Choose durable materials like impregnated wood or metal stakes, and space them according to your wattle thickness. For hard soils, pre-drill holes using a ground drill or metal rod to prevent stake splitting.
The key to portable wattle fencing lies in proper stake installation—choose quality materials and prepare your ground carefully for lasting results.
Align your stakes using a string line to maintain consistent height, ensuring they’re slightly taller than your desired fence height. When inserting stakes, tap them gently to avoid damage, and position them vertically for maximum stability. Stakes should be spaced approximately 45 cm apart for optimal weaving support.
On uneven ground, adjust stake heights to keep the fence level. Secure your wattle material with a hand staple gun or wire at multiple points along each stake.
Remember to check your fence regularly and replace any damaged stakes promptly to maintain its portability and structural integrity.
Efficient Weaving Methods for Consistent Results

Achieving consistent results with portable wattle fencing depends on mastering efficient weaving methods.
Start by sorting and preparing your materials – soak dry branches briefly for flexibility and remove side shoots for smooth weaving. Use thicker branches at the base and thinner ones toward the top.
Alternate your weaving direction with each new layer, going clockwise then counterclockwise to prevent gaps. Add weavers every 10-12″ vertically and secure ends by twirling them around stakes.
For perfect alignment, use temporary guide strings and insert filler twigs diagonally through loose sections. Remember to compact the weaving every few rows to maintain structural integrity.
Create modular 4-5′ panels for portability, leaving 6-8″ branch overlaps at ends for field connections.
Regularly check tension by pressing on weaver-seat contact points – there shouldn’t be any visible movement.
Creating Secure Connection Points Between Sections
When assembling portable wattle fencing, you’ll need effective methods to join sections securely yet allow for easy reconfiguration.
You can implement interlocking stake systems that slide together, attach quick-release joint hardware for tool-free assembly, or use traditional woven binding techniques where supple branches tightly wrap connection points.
These secure yet removable connection methods guarantee your fence remains sturdy during use but can be readily transported when needed. Creating a woodland rope from flexible hazel branches provides excellent tension for connecting fence sections while maintaining the natural aesthetic of your wattle fencing.
Interlocking Stake Systems
Every successful portable wattle fence depends on a well-designed interlocking stake system that creates secure connection points between sections.
Choose stakes with at least 1½ inches diameter, preferably from flexible woods like willow or hazel that won’t break during weaving.
Space your stakes 16-18 inches apart using a drilling jig for consistency. The basket weave pattern you’ll create by alternating sides when starting new branches naturally reinforces connections between sections.
For maximum stability, use tapered stakes that wedge securely when sections meet.
You’ll find that overlapping hurdle ends at posts and securing corners with wire creates strong joints while maintaining portability. Creating curved or irregular fence sections allows your wattle barriers to integrate more naturally with the landscape’s contours.
Remember to balance spacing—wider for thicker materials, closer for thinner ones.
Using locally abundant materials guarantees your interlocking system will withstand environmental conditions while keeping costs down.
Quick-Release Joint Hardware
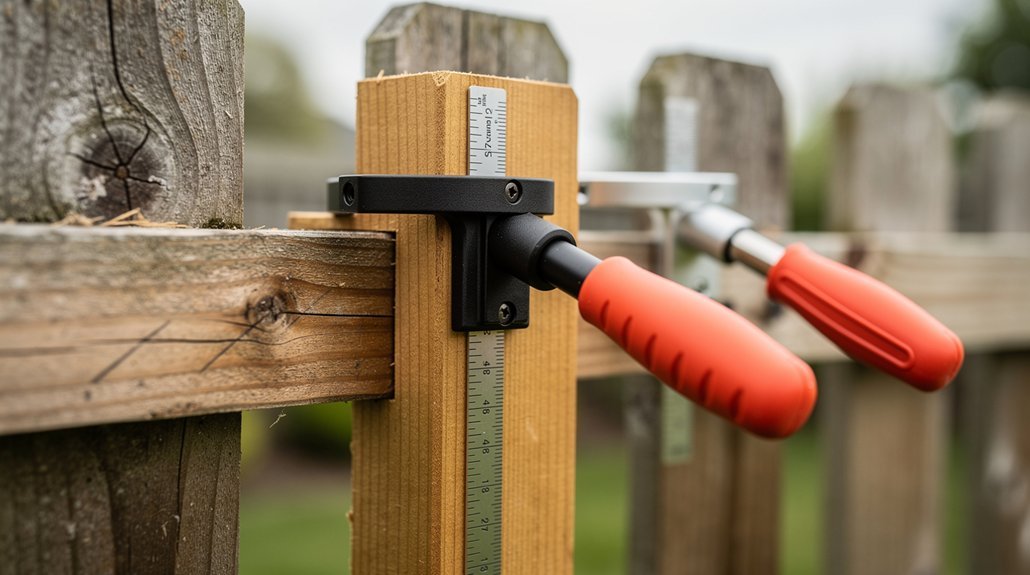
The three most essential quick-release joint systems for portable wattle fencing combine security with easy disassembly. You’ll find that metal pin connections, compression fittings, and cable systems offer the best balance of strength and convenience for your portable wattle fence sections. For uneven terrain installation, consider using a system similar to the Tilt Attachment Plate which provides flexibility when placing fence sections on sloped ground.
| Hardware Type | Material Options | Durability | Ease of Use |
|---|---|---|---|
| Metal Pins | Galvanized steel | High | Very easy |
| Cable Systems | High-tensile wire with tensioners | Very high | Moderate |
| Compression Fittings | Aluminum or nylon | Moderate | Easy |
| Wooden Dowels | Cedar or cypress | Medium | Simplest |
For DIY options, create custom fittings from local materials or repurpose existing hardware. Commercial suppliers like Kencove offer ready-made solutions if you’re looking for professional-grade equipment. Remember to distribute weight evenly across connection points to maintain stability when your fence is fully assembled.
Woven Binding Techniques
Mastering woven binding techniques for your portable wattle fence creates connection points that rival hardware in strength while maintaining the natural aesthetic of traditional wattling.
Start by using the hazel witty technique, twisting end poles into “woodland rope” that locks separate panels together securely.
For best results, prepare green wood connections by slightly debarking junction points to reduce friction during assembly.
Incorporate twisted branch locks using fibrous materials that self-bind when overlapped, and apply counter-weaving in opposing directions to neutralize slack between sections. Consider harvesting fresh willow branches in winter when the sap is down for optimal flexibility in your binding work.
Don’t overlook the strength that comes from double uprights at connecting points. This prevents splaying under lateral pressure when moving your fence.
For additional security, use compression binding with flexible shoots to tighten any loosened sections after installation or transportation.
Weather-Proofing Your Wattle Fence for Longevity
Your wattle fence will last for years with proper seasonal protection, including extra daub application before winter and removal of climbing plants in late fall.
Apply natural preservatives like linseed oil or beeswax to your wood twice annually, focusing on connection points and areas with high moisture exposure.
Design your fence with proper drainage in mind by keeping the bottom slightly elevated, ensuring posts are set in well-draining soil, and creating gentle slopes away from the fence line. Consider using naturally rot-resistant options like cedar or redwood for your stakes to provide additional durability against moisture damage.
Seasonal Protection Strategies
While wattle fences offer rustic charm and functionality to your garden space, they require specific protection measures throughout the year to maintain their integrity. Inspect your fence regularly, repairing weak spots promptly to prevent structural failure. Creating a sturdy structure through proper weaving techniques is essential for weather resistance and durability.
During extreme weather, consider temporary storage or adding protective barriers to shield your fence from harsh elements.
| Season | Protection Strategy |
|---|---|
| Spring | Apply natural sealant after rain season |
| Summer | Create partial shade to prevent drying |
| Fall | Clear debris to prevent moisture trapping |
| Winter | Add supports for snow load or store completely |
Select durable materials like willow or hazel for better weather resistance. Position your fence to allow some wind passage rather than creating a solid barrier that might collapse under pressure. For maximum longevity, make certain proper drainage around the fence base to prevent rot from ground moisture.
Natural Preservative Applications
Beyond seasonal protection strategies, weatherproofing your wattle fence with natural preservatives can extend its lifespan dramatically.
Apply tung oil in thin layers to prevent cracking in dry climates, or use linseed oil to create water-resistant barriers for wooden components. Before application, clean surfaces with vinegar-water solutions to guarantee better adhesion. For optimal longevity, try a yearly application of oil-based treatment which penetrates deeply into the wood fibers.
For ongoing protection, consider these eco-friendly options:
- Mix pine resin with natural oils to create breathable membranes that move with the wood
- Apply neem oil solutions to deter boring insects and condition fibers simultaneously
- Enhance rot resistance with walnut oil, especially for deciduous branch wattles
- Add thyme or cedar essential oils to your mixture for antimicrobial properties
- Integrate charcoal powder into your sealant for UV protection and moisture regulation
Drainage Design Essentials
Proper drainage design forms the foundation of any long-lasting wattle fence installation, particularly in regions prone to heavy rainfall or flooding.
Dig your trenches slightly deeper than your panels and fill the base with gravel or sand to prevent waterlogging and rot.
Create a slight incline in the ground surface around your fence, ensuring water naturally flows away from the structure.
Consider elevating the bottom of your wattle panels slightly off the ground to minimize moisture exposure and extend their lifespan.
The unique splash apron attachment system of WattleFence Technology helps manage water flow efficiently while capturing sediment.
For additional protection, fill gaps between panels with gravel to aid water filtration and prevent silt buildup.
This approach is especially effective when combined with tightly interwoven panels that limit water seepage while maintaining necessary drainage properties.
Frequently Asked Questions
Can Wattle Fencing Be Used for Livestock Containment?
Yes, you can use wattle fencing for livestock containment, especially for smaller animals like sheep and goats. It’s effective when tightly woven, though you’ll need regular maintenance and should consider wildlife interactions when installing it.
How Much Weight Can Each Modular Section Typically Support?
You’ll find most portable wattle fence sections support 15-25 pounds of lateral pressure. They’re not designed for heavy loads, but can withstand light livestock pressure when properly staked with sufficient overlap between sections.
Are There Regulations Limiting Wattle Fence Height in Residential Areas?
In residential areas, you’ll need to follow local fence height limits: 4 feet maximum for front yards and up to 6 feet for side/rear yards. Opaque wattle designs may be restricted to 3 feet in front.
Can Synthetic Materials Replace Natural Wood in Wattle Fencing?
Yes, you can use synthetic materials instead of natural wood in wattle fencing. They’re more durable, require less maintenance, and resist weathering better, though they lack the rustic charm and eco-friendliness of traditional materials.
How Do Wattle Fences Perform During Extreme Frost-Thaw Cycles?
Wattle fences struggle during extreme frost-thaw cycles. You’ll notice material degradation as moisture weakens the framework. Consider reinforcing with metal stakes or wire to improve stability when temperatures fluctuate dramatically.
In Summary
Portable wattle fencing doesn’t have to be complicated. By choosing flexible woods, designing modular sections, mastering stake installation, and perfecting your weaving technique, you’ll create fencing that’s both beautiful and practical. Don’t forget to connect sections securely and apply weather protection. With these simple tips, you’re ready to craft wattle fencing that’s easy to move, install, and enjoy for years to come.
Leave a Reply