To strengthen hedge roots for lasting natural fences, guarantee proper soil preparation with 4-6 inches of organic matter and maintain pH between 6.0-7.0. Water deeply but infrequently to encourage downward root growth, and apply 2-3 inches of mulch while keeping a 3-inch gap around stems. Prune during dormancy, removing only one-third of growth annually to balance root-to-shoot ratios. Strategic spacing (2-3 feet for denser hedges) prevents resource competition. These foundational practices will transform your hedge into an enduring boundary.
Understanding Hedge Root Systems For Stronger Fences
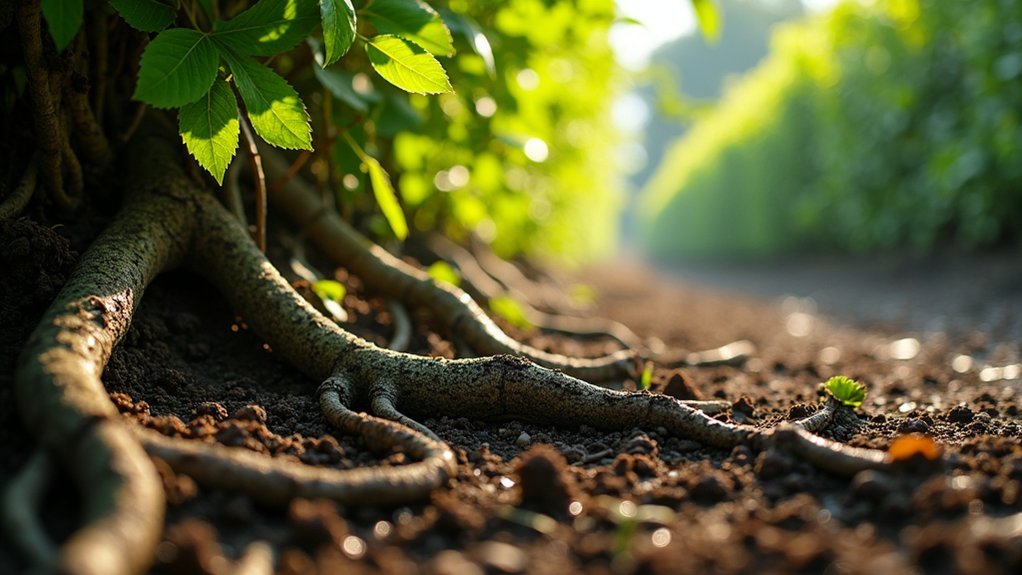
When establishing a robust living fence, understanding how hedge root systems develop and function is vital for long-term stability. Different hedge types develop distinct root architectures that determine their strength and resilience.
Strong hedges begin with healthy roots – the hidden architecture that determines your living fence’s future.
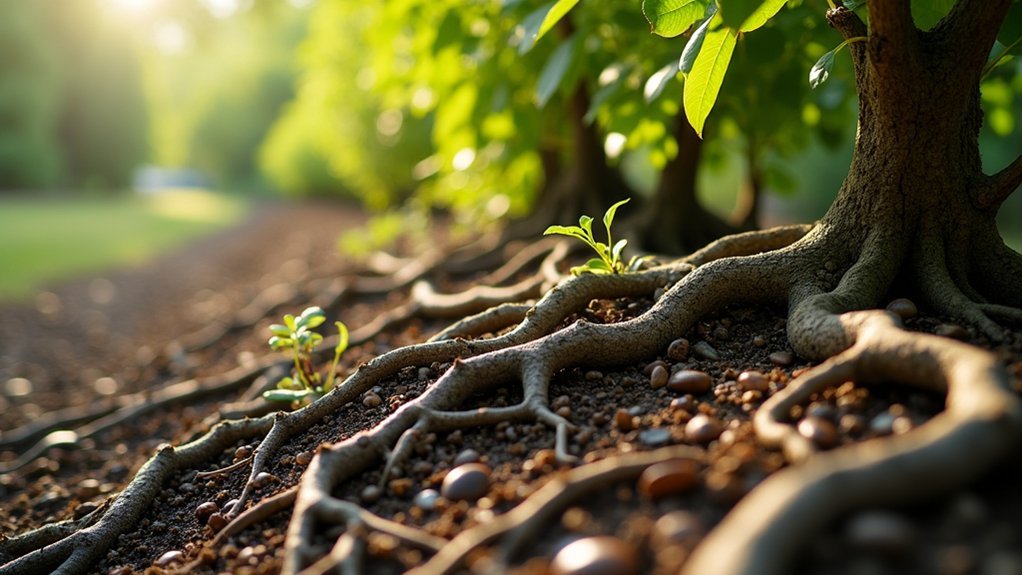
Lateral root development provides essential stability, with shallow outward growth that both anchors the plant and absorbs nutrients effectively.
While bare root hedges offer cost-effective planting, they face a 10% failure rate without mycorrhizal treatments. Using Rootgrow treatment can improve success rates to nearly 100% by enhancing nutrient absorption and root establishment. Root ball systems retain native soil around roots, improving transplant success through enhanced moisture retention.
Your hedge’s root depth varies greatly by species—from 60cm for Box to over 150cm for established Yew.
Evergreens maintain leaf coverage even as bare roots, reducing transplant shock, while deciduous varieties regenerate quickly after planting despite initial leaf loss.
Optimal Soil Preparation For Deep Root Development
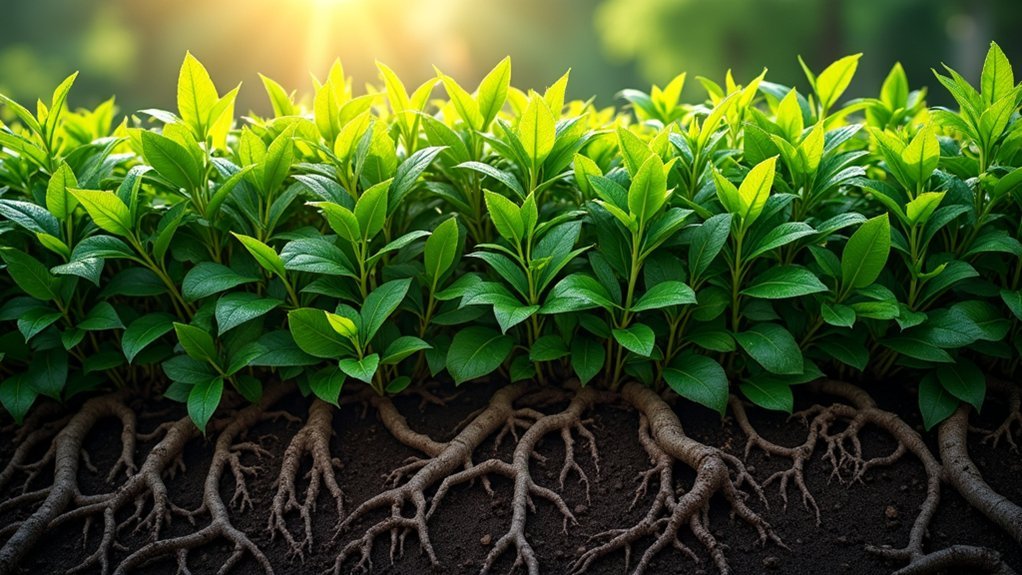
Preparing soil properly before planting your hedge creates the foundation for robust root development that will sustain your living fence for decades.
Begin by leveling the area and removing rocks, roots, and perennial weeds that compete for nutrients and impede growth.
Test your soil’s pH—most hedges prefer a slightly acidic to neutral range (6.0-7.0). This knowledge guides your amendment strategy.
Improve drainage by incorporating sharp sand into heavy soils, preventing waterlogging that leads to root rot.
Add 4-6 inches of organic matter like compost or well-rotted manure to enhance fertility and moisture retention. Breaking up compacted soil areas with a garden fork allows roots to penetrate more easily and access essential resources.
When planting, dig trenches wider and deeper than root balls, then loosen the sides and bottom with a fork.
Enriching with bonemeal provides nutrients without damaging delicate roots.
Root-Focused Watering Techniques For Hedge Durability

Proper watering forms the backbone of hedge root establishment, connecting soil preparation to long-term durability.
Deep root irrigation delivers water directly where it matters most, encouraging hedges to develop extensive underground networks that withstand drought and storms.
To maximize hedge resilience, implement these targeted watering approaches:
- Install soaker hoses beneath mulch along your hedge line, allowing moisture to seep slowly into the root zone without wasteful runoff.
- Water deeply but infrequently to train roots downward, creating self-sufficient plants that require less maintenance.
- Use early morning irrigation timing to minimize evaporation while giving roots ample time to absorb moisture before nightfall.
- Check for hydrophobic soil conditions before installation, as repellent soil may require pre-watering to properly accept moisture.
Essential Nutrients That Promote Healthy Hedge Roots
Just as a building needs a strong foundation, hedge roots require specific nutrients to develop robust underground systems.
Focus on balancing your NPK ratio—phosphorus particularly enhances root length and structure, while potassium improves stability and disease resistance.
Phosphorus builds the foundation, potassium strengthens the walls—together they create a hedge’s underground fortress.
Don’t overdo nitrogen, as excess can actually harm roots. Instead, incorporate natural phosphorus sources like bone meal and rock phosphate. For potassium, try kelp, granite meal, or wood ashes.
Your soil’s pH greatly affects how well roots absorb these nutrients. Healthy roots transport vital nutrients to the upper parts of hedges, ensuring their overall vigor and longevity.
Support beneficial microbes with organic matter and amendments like humic acid. These microscopic allies help roots absorb nutrients and protect against disease.
Products like ArborGain, which contains humic acid and sea kelp, optimize nutrient availability while supporting the soil’s microbial community—creating the ideal environment for strong, resilient hedge roots.
Strategic Pruning For Balanced Root-To-Foliage Ratios
You’ll strengthen your hedge’s foundation by timing pruning to optimize root development during dormant seasons.
Cutting back about one-third of foliage annually balances the root-to-shoot ratio, ensuring roots can adequately support above-ground growth.
Regular interior thinning creates openings that not only improve air circulation but also direct energy to root development rather than maintaining excessive foliage. Implementing spading technique several months before transplanting can significantly improve the survival rate of your hedge when relocation becomes necessary.
Timing Root-Focused Cuts
Timing your hedge pruning correctly can make the difference between strengthening roots and weakening your entire plant. Schedule most significant pruning during dormancy when plants can devote energy to root development rather than foliage recovery.
When planning your pruning strategy, focus on:
- Using sharp, clean tools to make precise cuts that heal quickly and minimize plant stress
- Making thinning cuts that remove entire branches at their origin to maintain balance without triggering excessive new growth
- Creating an even distribution of cuts throughout the hedge to promote uniform root development
For flowering hedges, delay pruning until after blooming occurs to preserve next season’s flowering buds and maintain the plant’s natural reproductive cycle.
Avoid removing more than 20% of root mass during any root pruning session. This conservative approach prevents shock while still encouraging healthy new growth and stronger structural development throughout your hedge’s root system.
Balance Growth Controls
Achieving proper balance between your hedge’s roots and foliage requires strategic pruning techniques that work with the plant’s natural growth patterns. When you remove leafy growth, your hedge responds by producing new shoots to restore equilibrium, which you can leverage for stronger development.
Focus on improving branch aspect ratios by selectively reducing foliage on dominant branches. This strengthens branch-trunk unions while redirecting resources toward root development. Limit pruning cuts to 2-5 inches in diameter to avoid stressing your plants. For optimal growth and structure, maintain a dominant leader trunk in single-stemmed hedging plants to improve stability and longevity.
Avoid heavy pruning in late summer or early winter, as this compromises cold tolerance and produces vulnerable new growth. Instead, schedule moderate pruning during dormancy to invigorate plants without disrupting the root-to-foliage ratio.
This balanced approach guarantees your hedge develops strong roots that properly support its aboveground structure.
Root-Promoting Trim Techniques
Strategic pruning techniques create the foundation for robust root development in hedges while maintaining ideal foliage density.
By implementing angle cuts that taper your hedge into a pyramid shape, you’ll guarantee sunlight reaches lower branches, supporting both foliage and root systems simultaneously.
Don’t remove more than one-third of growth at once—this preserves photosynthetic capacity essential for nourishing roots. Instead, opt for frequent light trims 2-3 times yearly rather than one heavy annual cut to maintain balanced root-to-foliage ratios. Pre-potting root trimming encourages fibrous root growth that significantly improves establishment rates when the plant is moved to its final location.
- Selectively thin dense areas to improve light penetration without sacrificing overall structure
- Create angled sides that widen at the bottom to maximize sunlight distribution
- Focus trimming on new growth tips to stimulate lateral branching and corresponding root development
Spacing Considerations That Prevent Root Competition
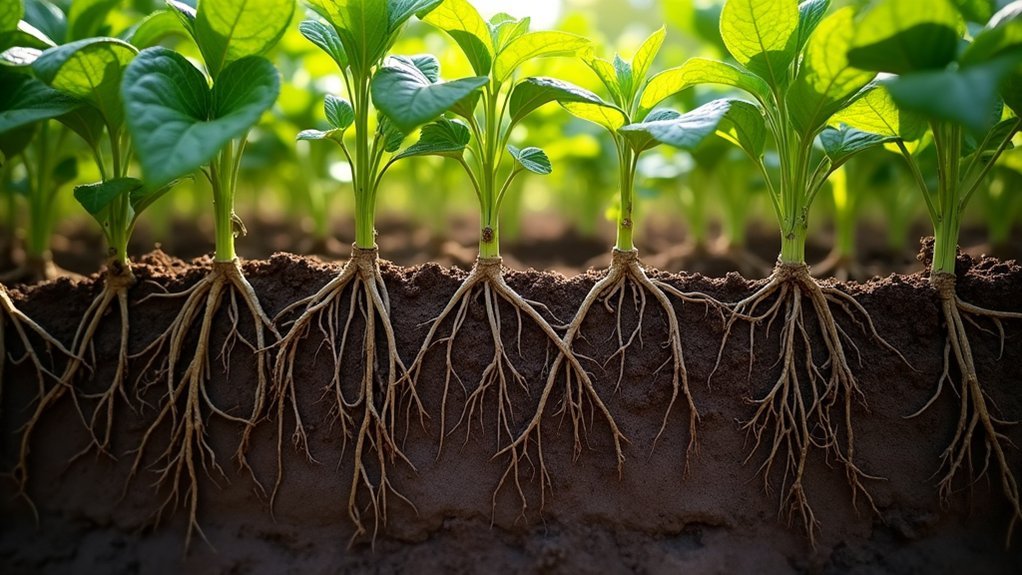
Proper spacing between hedge plants serves as the foundation for healthy root development and long-term stability.
You’ll need to adjust spacing based on your hedge’s mature size—generally 2-3 feet apart for denser hedges and 3-5 feet for taller varieties reaching 8-12 feet.
For best results, space plants at approximately two-thirds of their mature width. Narrow-leaved species can handle closer positioning, while broadleaf varieties require more room to thrive.
When planting, dig trenches twice as wide as the root balls to encourage lateral growth.
Consider your soil conditions carefully. Clay soils demand looser spacing for evergreens to prevent waterlogging, while sandy soils may require tighter spacing for tall hedges to counter erosion and maintain stability.
This strategic spacing prevents root competition that would otherwise stunt growth.
Some specialized nurseries like those in the Netherlands use close planting techniques that create instant privacy but require specific maintenance practices to manage the competition for resources.
Mulching Methods That Protect And Strengthen Root Systems
Proper mulch layering offers essential protection for your hedge root systems by regulating soil temperature and retaining critical moisture.
Apply 2-3 inches of organic mulch around your hedges, maintaining a 3-inch gap from the stems to prevent rot while extending coverage to the drip line.
You’ll strengthen root development and prevent damage when you annually refresh decomposed areas, breaking up any compacted layers to guarantee continued oxygen flow to the developing root network. Using hardwood bark mulch provides the greatest soil enhancement benefits while suppressing competing weeds around your hedge plants.
Mulch Layering Techniques
While many gardeners simply dump mulch around their hedges, mastering the art of mulch layering dramatically strengthens root systems and promotes healthier plants.
Create a multi-layered approach by starting with a thin compost layer, followed by your primary mulch material at the ideal 2-4 inch depth. Always maintain a 3-inch mulch-free zone around stems to prevent rot and pest infestations. This careful spacing prevents surface roots from developing and keeps the plant healthier long-term.
For maximum hedge health:
- Extend mulch precisely to the drip line, creating a defined ring that captures all active root zones
- Apply coarse materials like shredded bark on top for better airflow while using finer materials underneath
- Integrate a pre-emergent herbicide beneath your bottom layer for season-long weed suppression
Check existing mulch annually, breaking up any matted layers before adding fresh material to maintain proper oxygen balance.
Root Zone Protection
Root systems serve as the foundation for robust hedges, yet they remain the most vulnerable part of your plants when exposed to environmental stressors and physical damage.
Establishing designated root protection areas is vital for maintaining hedge health and longevity.
Create barriers using plastic or metal fencing to prevent foot traffic and vehicle access near your hedges. Incorporate geotextiles to shield roots from contamination during nearby construction or landscaping activities.
For areas with unavoidable traffic, install mechanically stabilized layers to minimize soil compaction.
You’ll need to comply with local regulations regarding root zone protection, especially for hedges bordering public spaces. Remember that cutting or damaging roots is not allowed under most municipal regulations and can result in significant penalties.
Collaborate with arborists when planning significant landscape changes near established hedges.
These protective measures won’t just preserve your natural fence—they’ll guarantee your hedge thrives for years to come.
Frequently Asked Questions
How Can I Revive a Hedge With Damaged Root Systems?
To revive your hedge with damaged roots, assess the damage first, then prune dead branches, improve soil drainage, apply root stimulants, add compost, and water deeply but infrequently. Don’t overfertilize while it’s recovering.
When Is the Best Time to Transplant Mature Hedges?
Transplant mature hedges in fall, late winter, or early spring during dormancy. You’ll have the best success when the plants aren’t actively growing. Fall’s cooler, moister conditions or early spring before bud break are ideal times.
Do Hedge Roots Damage Nearby Structures or Underground Pipes?
Yes, your hedge roots can damage nearby structures and pipes. They’ll displace soil under walls and fences, potentially causing cracks, and may infiltrate pipe joints or cracks, leading to blockages or leaks.
How Do Seasonal Changes Affect Hedge Root Development?
Your hedge roots respond differently each season: vigorous growth in spring, maintenance in summer, preparation in fall, and slowing in winter. They’ll adjust carbohydrate storage and hormonal activity to match changing conditions.
Can Companion Planting Strengthen Hedge Root Systems Naturally?
Yes, you’ll strengthen hedge root systems by companion planting. Nitrogen-fixing legumes, mycorrhizal-promoting marigolds, and pest-repelling herbs create ideal soil conditions and protect roots from damage while promoting natural, healthy development.
In Summary
By investing in your hedge’s roots, you’ll create a natural fence that stands the test of time. Focus on proper soil preparation, strategic watering, and balanced pruning to develop a robust underground foundation. Don’t overlook spacing and mulching—they’re essential for preventing competition and protecting root systems. With these root-strengthening techniques, you’re not just growing a boundary; you’re establishing a living legacy in your landscape.


Leave a Reply