
Traditional hedge laying is a centuries-old countryside craft that transforms overgrown hedgerows into living fences. You’ll partially cut stems (pleachers) and weave them horizontally between stakes, creating dense barriers that protect livestock while providing wildlife habitats. This dormant-season activity (October-March) requires specific tools like billhooks and involves distinct regional styles including Midland and Derbyshire techniques. Though it declined after WWII, this sustainable practice is now experiencing revival for its environmental benefits and cultural heritage value.
What Is Traditional Hedge Laying: Complete Guide

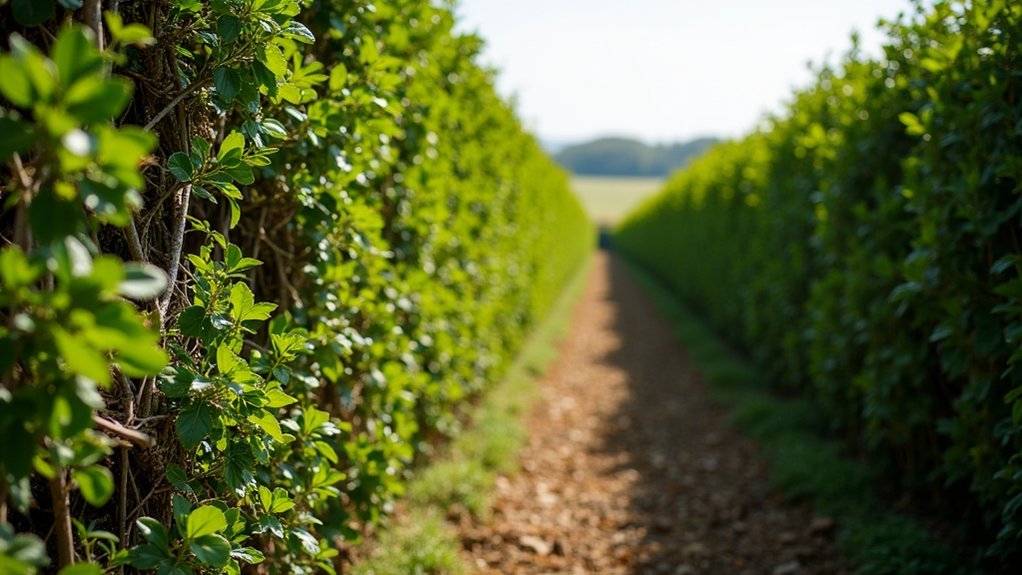
Craftsmanship from a bygone era, traditional hedge laying transforms ordinary hedgerows into living fences that stand the test of time.
This centuries-old agricultural skill involves partially cutting stems and carefully bending these “pleachers” to create a dense, interwoven barrier that regrows stronger than before.
When you lay a hedge, you’re practicing sustainable land management that benefits wildlife, conserves soil, and enhances landscape beauty.
The process requires cutting stems at a precise 30-degree angle during the dormant season (October to March), then securing them with stakes and binders made from materials like hazel or willow.
Regional variations like Midland and Derbyshire styles each offer unique approaches to hedge laying, developed to address specific agricultural needs while maintaining this environmentally friendly alternative to conventional fencing.
The Historical Origins and Evolution of Hedge Laying
The roots of traditional hedge laying stretch back thousands of years to Celtic Britain, where early farmers discovered the remarkable durability of living barriers. Julius Caesar documented these techniques in his ‘Commentaries on the Gallic Wars,’ noting how effectively these managed boundaries protected both crops and livestock.
You’ll find that hedge laying evolved distinctly across regions, with styles like Midland, Derbyshire, and Yorkshire each reflecting unique local needs and environmental conditions.
Following World War II, this ancient craft declined as modern farming embraced barbed wire and metal fencing alternatives.
Today, you’re witnessing a revival of traditional hedge laying that extends beyond its practical origins. This resurgence celebrates not only its environmental benefits and habitat creation but also preserves a living connection to our agricultural heritage.
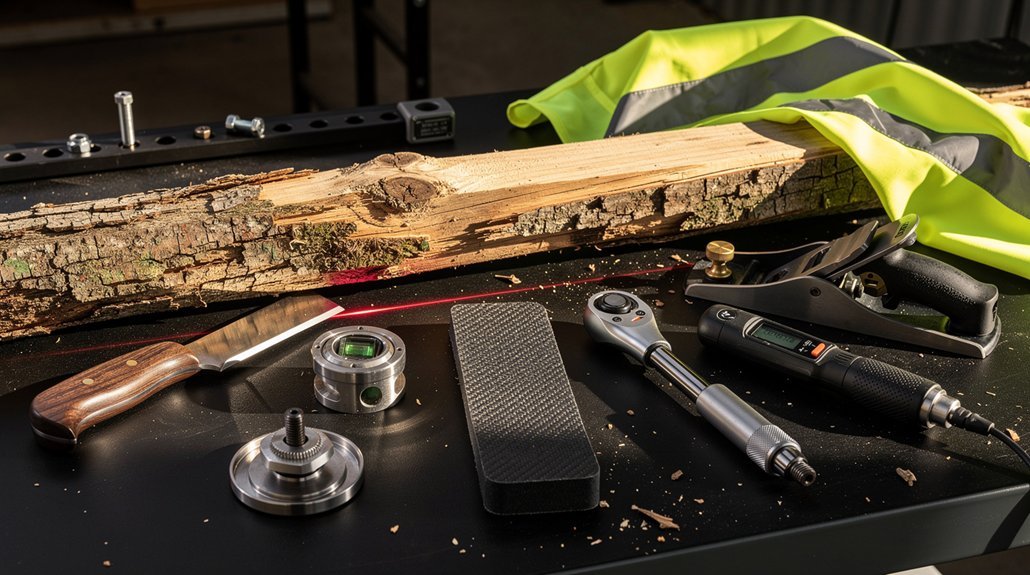
Essential Tools and Materials for Traditional Hedge Laying
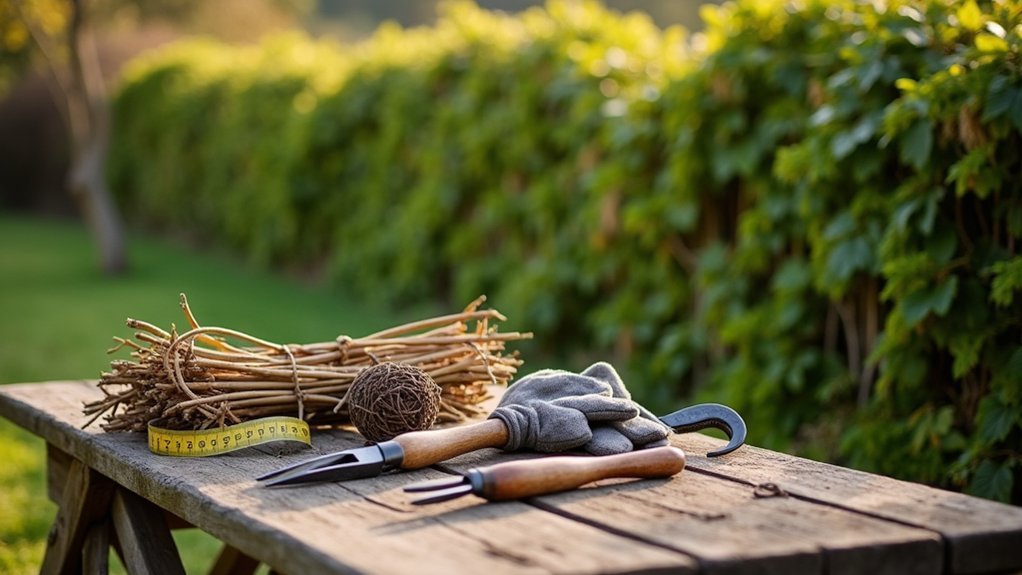
Traditional hedge laying requires specific tools that you’ll need to gather before starting your project.
You’ll need cutting implements like billhooks and small axes, safety equipment including sturdy gloves, and materials such as hazel binders measuring about 10ft long and 1½ inches thick.
Selecting the right stakes (approximately 5ft 6in high and 2in in diameter) and maintaining your tools with a sharpening stone will guarantee your hedge laying efforts result in a strong, lasting structure.
Essential Tools for Cutting
Successful hedge laying begins with having the right cutting implements at your disposal. When you lay a traditional hedge, you’ll need a billhook as your primary tool for cutting and shaping pleachers.
For thicker branches, good-quality loppers are essential, while a small axe helps with clearing and trimming. Some qualified hedge layers also use small chainsaws for larger stems, increasing efficiency.
- Billhook – The quintessential hedge laying tool for cutting, slicing, and shaping pleachers
- Loppers – Perfect for cleanly cutting branches up to the thickness of your thumb
- Small axe – Ideal for trimming and preparing stakes
Remember to maintain your tools with regular sharpening using a sharpening stone. This not only improves cutting efficiency but also reduces injury risks when working alongside your stakes.
Safety Equipment Necessities
While your cutting tools remain the heart of hedge laying, protecting yourself must take top priority before any work begins.
Always wear sturdy gloves to prevent cuts when handling sharp materials and tools like billhooks and axes. Sturdy boots provide essential protection from dropped tools and uneven terrain.
A detailed first aid kit should always be on-site to address potential injuries from sharp tools or unexpected hazards like broken glass and old wire fencing.
Before gathering your stakes and binders for the laying process, conduct a thorough risk assessment of your work area.
Dress appropriately for weather conditions—layers work best for temperature regulation.
Material Selection Guidelines
The foundation of proper hedge laying begins with selecting the right materials and tools for the job.
You’ll need quality stakes measuring about 5ft 6in high and 2in in diameter, which should be inserted approximately 18 inches apart and driven 50cm into the ground for maximum stability.
Choose pleachers from young, flexible stems with diameters of 20-30mm to guarantee successful laying and healthy regrowth.
- Essential tools include a billhook for precise cutting, a small axe for shaping, and wire cutters for managing existing fencing.
- Binders should be made from hazel, measuring roughly 10ft long and 1½in thick to effectively secure your pleachers.
- Always keep safety equipment like gloves and a first aid kit readily available throughout the hedge laying process.
Preparing Your Site: Assessment and Clearing Techniques
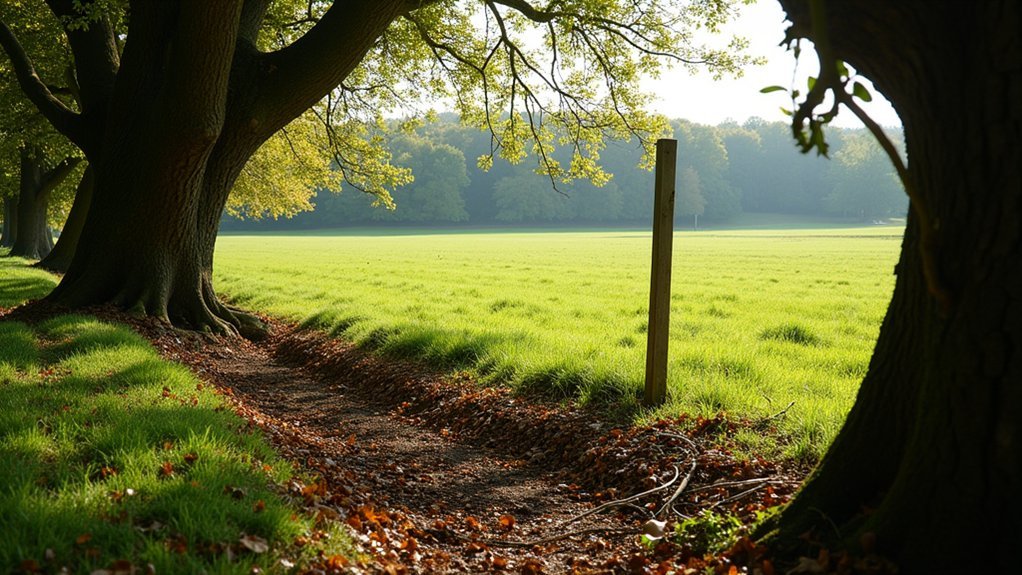
Proper preparation forms the foundation of successful hedge laying. Before you begin to lay the hedge, thoroughly clear the area around its base. Remove any broken glass, rubbish, and dead timber to create a safe workspace where you can maneuver freely.
Conduct a thorough risk assessment of both the site and project. Look specifically for hidden hazards like old wire fencing that could cause injuries. Evaluate whether the hedge needed for laying is suitable for your group’s skill level and physical capabilities.
Trim excess brush from the nearside to improve visibility and access during the laying process. This strategic clearing makes the subsequent work much more efficient.
Finally, gather all necessary tools and materials beforehand—gloves, billhooks, and stakes—to guarantee a smooth, uninterrupted workflow once you begin.
Selecting and Cutting Pleachers: The Foundation of a Good Hedge
Selecting appropriate pleachers forms the critical first step in traditional hedge laying, as these flexible stems will determine your hedge’s overall strength and longevity.
Choose young stems between 20-30mm in diameter, as they regenerate better than older wood and lay more effectively.
Younger stems provide superior regeneration and flexibility, ensuring a robust, long-lasting traditional hedge structure.
When cutting your pleachers, make clean cuts 3-10cm above ground level. Remove any dead wood and out-of-line growth before proceeding.
It’s wise to retain spare stems until you’ve confirmed they aren’t needed elsewhere in your hedge.
- Always remove vigorous elder growth – it lays poorly and can smother other plants
- Trim excess brush from the nearside for easier access during the laying process
- Cut branches at the appropriate height to guarantee proper regrowth while maintaining structural integrity
Regional Styles and Techniques: From Midlands to Yorkshire Methods
Five distinct regional hedge laying styles have evolved across Britain, each adapted to local livestock, climate, and available materials.
The Midland style retains foliage with distinctive packing and binding techniques, making it perfect for containing cattle in larger enclosures. In contrast, Derbyshire’s approach uses shorter stakes without binding, ideal for sheep grazing areas.
The Two Stake method offers simplicity by positioning pleachers between stakes with only tips pulled outside and no binding needed.
Yorkshire’s technique produces lower laid hedges (2-3 feet) with closer planting, often using purchased materials for efficiency.
The nearly extinct Isle of Wight style features a unique alternating pleacher direction while preserving foliage.
Each regional approach demonstrates how hedge laying techniques evolved to serve specific agricultural needs while using locally available resources.
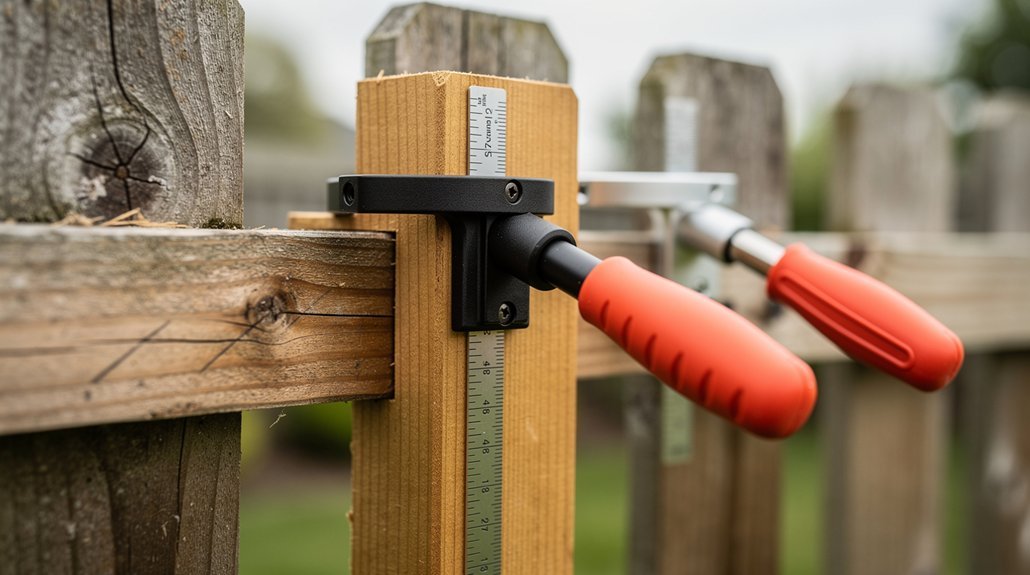
Staking and Binding: Securing Your Living Fence
While regional styles each have their unique characteristics, the structural integrity of any laid hedge ultimately depends on proper staking and binding techniques.
The key to a resilient hedge lies not in regional variations, but in masterful staking and binding execution.
When staking your living hedge, insert stakes about 4cm in diameter approximately 50cm into the ground, spacing them 18 inches apart. You’ll want to weave pleachers between these stakes and secure them with binding materials like hazel, which should be 3m long and 25mm thick.
- Insert stakes 50cm deep and space them 18 inches apart for ideal support
- Weave pleachers between stakes to create a strong, interlocked structure
- Use hazel bindings (3m long, 25mm diameter) for secure fastening
After binding, trim stake tops to maintain even height.
These techniques guarantee your living hedge remains strong and continues to regenerate, creating an effective and long-lasting boundary.
Frequently Asked Questions
What Is the Basics of Hedge Laying?
You’ll cut branches partially, bend them horizontally, and secure with stakes during dormant season. This creates a living barrier that encourages new growth while providing wildlife habitat and protection for crops or livestock.
What Is the Welsh Style of Hedge Laying?
In Welsh hedge laying, you’ll use the “pleaching” technique where you cut and bend stems in zigzag patterns. You’ll create distinctive “cobs” that strengthen your hedge, typically using native species like hawthorn during the dormant season.
What Are the Disadvantages of Hedge Laying?
You’ll find hedge laying requires significant labor, specialized skills, and ongoing maintenance. It’s not suitable for all hedges, can look messy initially, and if done improperly, won’t provide the strong barrier you’re hoping for.
How Long Does Hedge Laying Last?
Your laid hedge will typically last about 10 years before needing major maintenance. You’ll need to trim it regularly and eventually re-pleat it to maintain its structure and effectiveness as a barrier.
In Summary
Traditional hedge laying isn’t just a rural craft—it’s a sustainable way to create beautiful, functional boundaries that support wildlife while connecting you to centuries of countryside heritage. Whether you’ve chosen the Midlands style or Yorkshire method, you’ll find that your newly laid hedge rewards your efforts with decades of service. By mastering this ancient skill, you’re preserving both landscape tradition and essential wildlife habitat for future generations.
Leave a Reply