Using proper tools for wattle fence making guarantees cleaner cuts, precise stake placement, and stronger weaving patterns. You’ll waste less material when your saws, loppers, and shears create smooth, consistent cuts. Quality drilling equipment and alignment jigs help maintain the essential 16-18 inch spacing between stakes, while safety gear protects you during construction. Your fence will last longer and look more professional when built with the right equipment for each specific task.
Essential Cutting Tools for Efficient Wattle Work
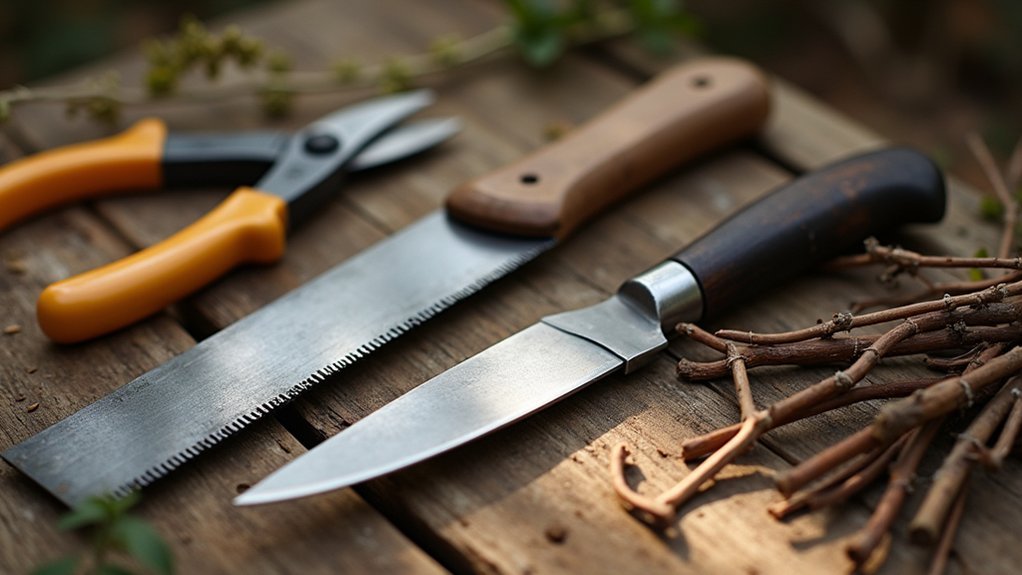
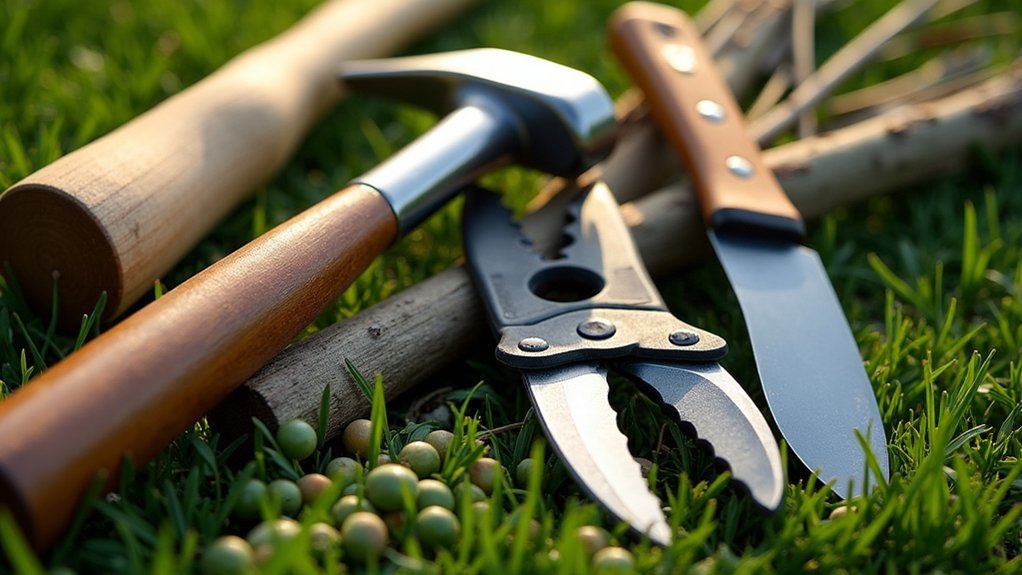
When constructing a wattle fence, having the right cutting tools at your disposal makes all the difference between a frustrating experience and a smooth, efficient process.
You’ll need sharp saws for branches over 1.5 inches in diameter to guarantee clean cuts without splintering. For smaller branches, invest in quality loppers that make efficient trims without jagged ends.
Hand shears are perfect for precise cuts on thinner materials, while branch cutters handle the thicker elements of your fence. Always cut at 45-degree angles to enhance structural integrity.
Don’t underestimate the importance of maintaining sharp, precision blades—they’ll reduce waste, improve safety, and create a more attractive finished product.
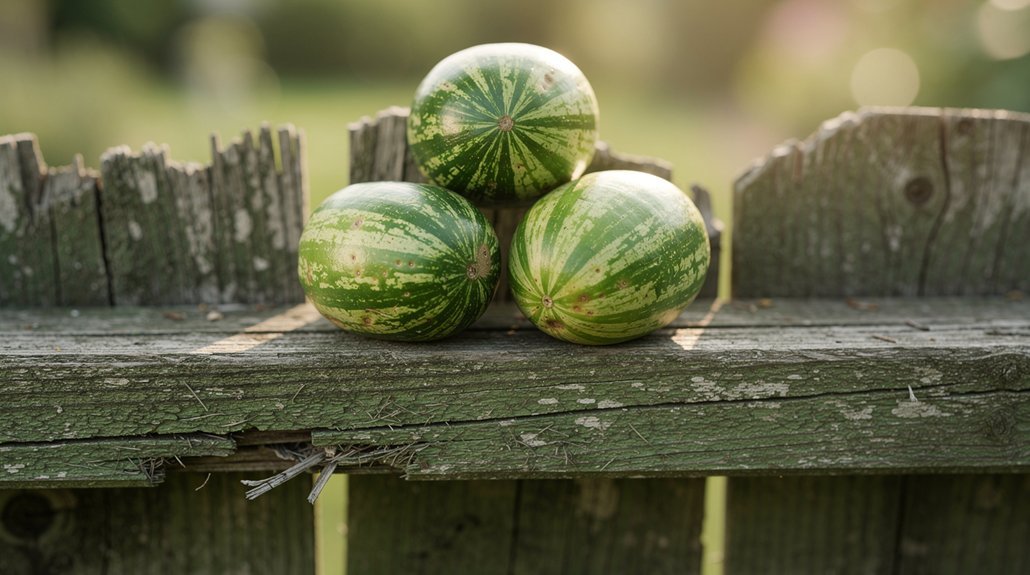
The right tools not only speed up your work but greatly improve your fence’s durability. Using green wood for your wattle material will make the weaving process significantly easier due to its natural flexibility.
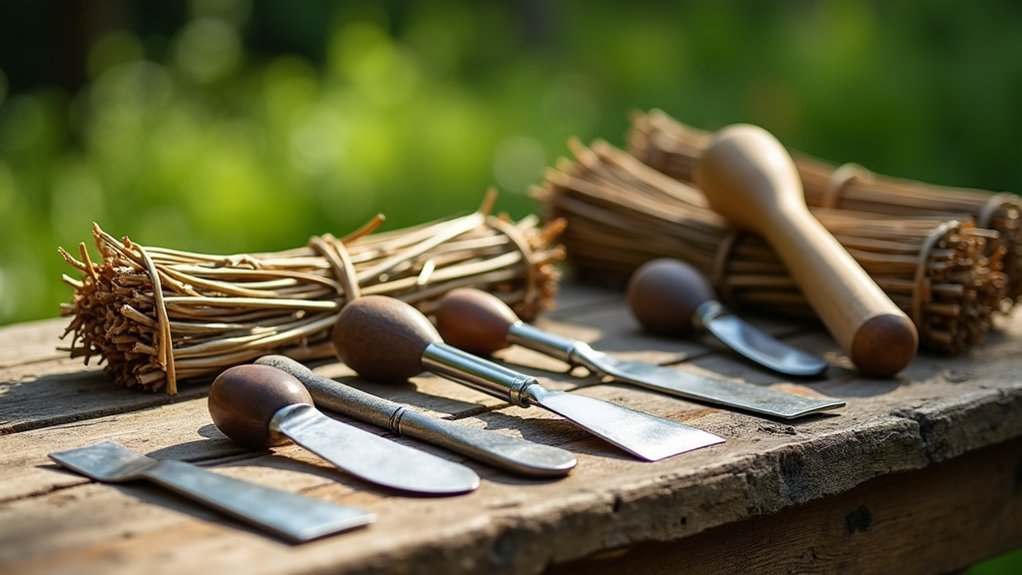
Specialized Drilling and Shaping Equipment
Selecting the right cutting tools sets the foundation for your wattle fence, but specialized drilling and shaping equipment takes your craftsmanship to the next level.
Hand braces with 1″ auger bits allow you to score stakes precisely, creating holes typically 1½” in diameter spaced 16-18″ apart.
Use a hand brace with 1″ auger bits for precise stake holes, maintaining consistent 16-18″ spacing for proper wattle structure.
You’ll achieve better results by marking your desired hole depth with tape for consistency. Ground drills create uniform holes for upright posts, ensuring a snug fit when the diameter matches or is slightly narrower than your stakes.
Don’t overlook proper shaping tools that taper stakes for easier insertion and improved fence durability.
These specialized tools provide better control, reduce labor intensity, minimize wood fiber damage, and prevent operator strain through ergonomic design – advantages you won’t get with general-purpose equipment.
When installing permanent wattle fences, T-posts driven at 3-foot intervals provide excellent structural support while offering channels for attaching vertical saplings.
Material Handling Supports: Jigs and Braces
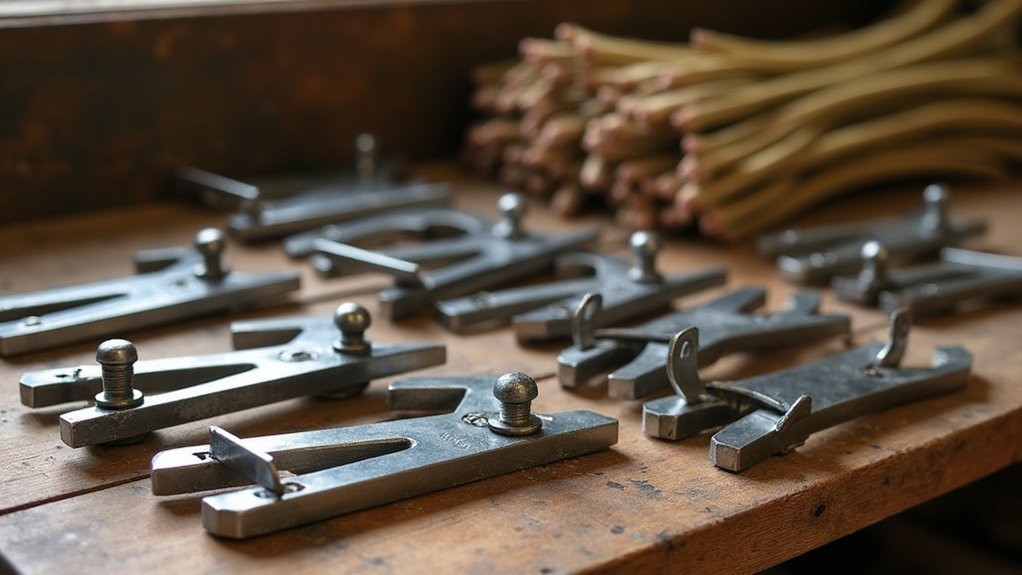
You’ll need reliable jigs to hold your wattle fence stakes in perfect alignment while you weave the horizontal branches.
These specialized supports prevent movement during construction and guarantee consistent spacing between stakes, typically 16-18 inches apart for ideal structure. When installing uprights, a crowbar and mallet provide the necessary force to secure stakes firmly into the ground for optimal stability.
For portable assembly that maximizes efficiency, combine your jigs with a shaving horse that secures branches during preparation and allows you to shape materials comfortably from a seated position.
Stabilizing Stakes Effectively
Proper stabilization of stakes forms the foundation of any durable wattle fence, requiring both appropriate materials and strategic installation techniques.
You’ll achieve superior results using hardwood stakes of 1.5-2.5 cm diameter with tapered ends, cut to 24″ for soft soils or 18″ for hard soils.
Position stakes perpendicular to the ground at 4′ on-center spacing, ensuring 2-3″ protrusion above the wattle to prevent hydraulic uplift.
For enhanced security, use augers for pre-drilling in hard soils and mallets instead of hammers to prevent stake head damage.
Consider living stakes like willow or dogwood that develop root networks over time, reinforcing soil stability.
Double-stake endpoints and use jute lashing during establishment.
Remember that proper alignment jigs with 16-18″ spacing between holes will greatly improve your installation efficiency.
Ensure you have high-quality snippers to cleanly cut your weavers, as this prevents damage and allows for easier manipulation during the weaving process.
Portable Assembly Solutions
When constructing wattle fences in various locations, portable assembly solutions become invaluable for streamlining the entire process while reducing physical strain.
You’ll find tremendous flexibility in material choices—from chestnut stakes to iron bars—allowing you to achieve either rustic charm or delicate aesthetics.
Custom jigs made from logs or scrap lumber with 16-18″ spaced holes will greatly improve your weaving efficiency. Simply nail outriggers on each side for stability.
Complement these with multi-purpose bracing systems to maintain structural integrity during construction and against environmental stresses.
Tool efficiency matters too—select appropriate hammers based on your stake materials to minimize effort. Using a lighter hammer for smaller stakes will prevent unnecessary damage while providing sufficient force for proper installation.
These portable solutions offer economic advantages, as you’ll often repurpose local materials rather than purchasing commercial alternatives.
This sustainability approach reduces costs while meeting eco-friendly objectives in your wattle fencing projects.
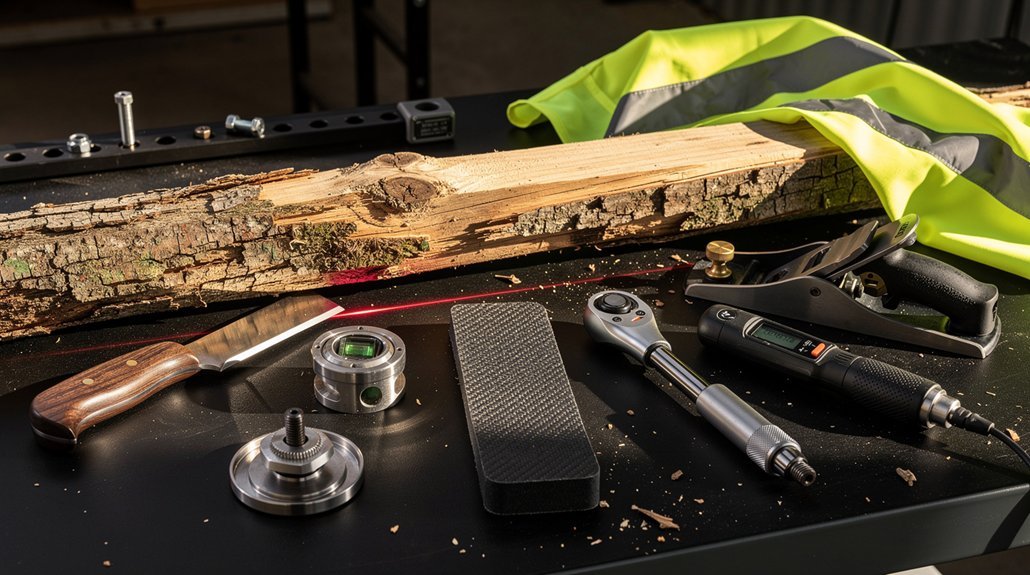
Safety Gear for Sustainable Fence Construction
Four essential safety considerations make wattle fence construction both safer and more sustainable.
When you select high-visibility materials like bright orange polyethylene fencing, you’ll create clear boundaries that protect workers and passersby alike. Choose UV-resistant, weatherproof options that maintain their brightness even after prolonged exposure to the elements. Premium safety fences are typically designed with 100ft length to provide extensive coverage for various project sizes.
High-visibility fencing creates essential safety boundaries while weather-resistant materials ensure lasting protection in all conditions.
- Heavy-duty polyethylene safety fences – Withstand harsh weather conditions and can be reused across multiple projects, reducing waste.
- Modular guard fence components – Made from eco-friendly aluminum profiles that combine strength with recyclability.
- Lightweight, visible barriers – Enable quick setup and adjustment as your project evolves, minimizing labor costs.
Complying with safety regulations isn’t just about avoiding fines—it protects your team and guarantees project sustainability.
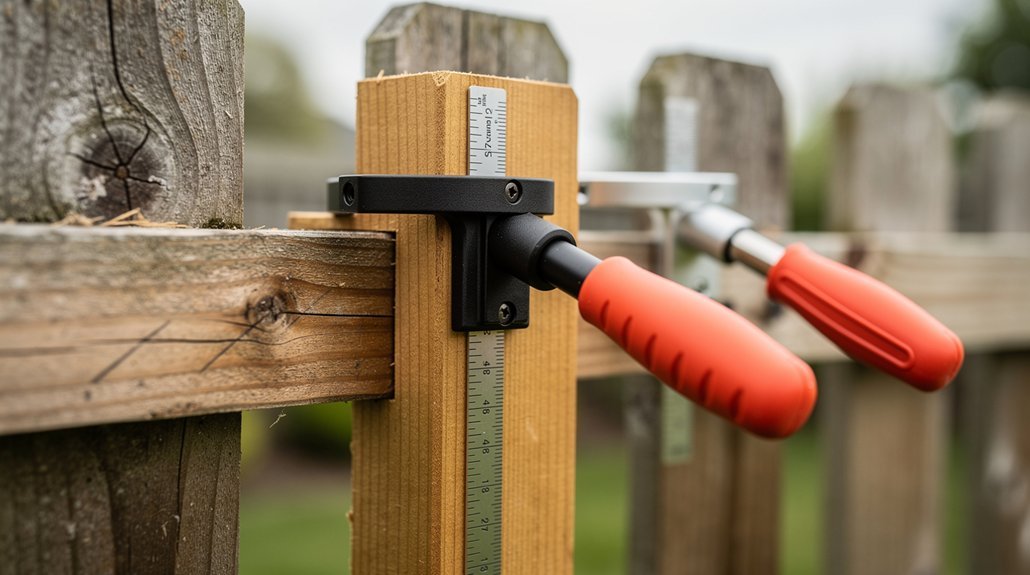
Measuring and Layout Tools for Accurate Installation
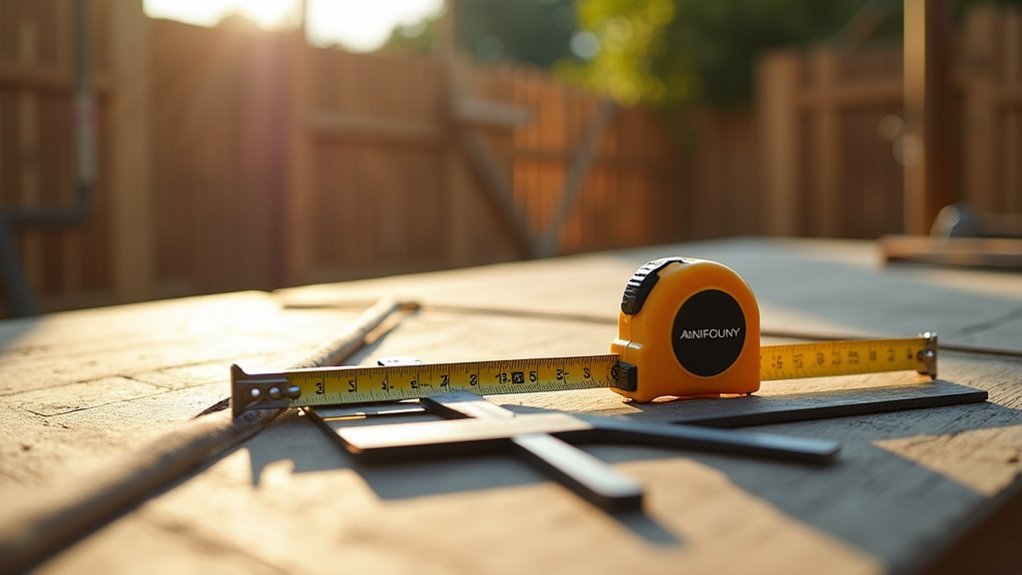
Begin your wattle fence installation by establishing perfectly straight lines with a taut string or measuring tape to guide your overall design.
You’ll need to mark stake intervals at consistent 16-18 inch (45 cm) spacing to accommodate your weaving branches without creating weak points. A level guarantees your stakes stand perfectly vertical, while pre-marking the ground prevents the frustration of uneven gaps that would compromise your fence’s structural integrity. Consider adding 3 inches of gravel to the bottom of each post hole to ensure proper drainage and extend the life of your fence posts.
Straight Lines Matter
Although wattle fencing has a rustic appearance, proper alignment remains critical for both structural integrity and visual appeal.
You’ll find that string lines and laser levels transform your ability to create straight fence runs, while a good tape measure guarantees consistent spacing between stakes.
When working on uneven ground, leveling tools become your allies in maintaining a uniform height throughout.
For perfect alignment, consider using a digital measuring system that displays positions to the nearest five thousandths of an inch for exceptional precision when setting stakes.
For perfect alignment, remember to:
- Establish a solid baseline by securing string lines between fixed points
- Use sighting techniques to verify straightness by standing at one end and looking down the fence line
- Periodically recheck your measurements during construction to catch and correct any drift before it becomes problematic
Stakes At Precise Intervals
With your straight fence line established, your next focus shifts to proper stake placement—the backbone of any wattle fence. You’ll need measuring tools to guarantee consistent intervals between stakes, typically 16-18 inches apart for standard fences. Traditional wattle construction uses peeled logs instead of 2x4s for a more authentic and natural appearance.
| Tool | Purpose | Benefit |
|---|---|---|
| Tape Measure | Marking intervals | Guarantees uniform spacing |
| Hurdle Jig | Template for placement | Speeds up layout process |
| Post Hole Digger | Creating stake holes | Maintains consistent depth |
Your stake holes should be 6 inches in diameter and deep enough to accommodate 1/3 to 1/2 of your stakes’ length. For larger fences, you’ll want to increase the spacing between stakes proportionally. Remember that your stakes should be 3-4 feet long to provide adequate stability and sufficient height for weaving your branches through.
Hand Tools vs. Power Tools in Traditional Wattling
When deciding which tools to use for your wattle fence project, you’ll face a fundamental choice between traditional hand tools and modern power equipment.
Hand tools offer precise control for clean 45-degree cuts and careful drilling, preserving wood integrity while working quietly in remote locations. Sharp tools are essential for making clean cuts that prevent damage to the branches and ensure stronger weaving.
Power tools speed up construction and handle thicker stakes but may damage delicate fibers and require electricity.
- Picture yourself making smooth, controlled cuts with a hand saw, feeling the wood yield precisely where needed without splintering.
- Imagine drilling perfect tapered holes with an auger bit, the wood curls spiraling away as you create secure joints.
- Contrast this with the efficiency of a power saw slicing through multiple stakes in minutes, trading some craftsmanship for speed.
How Quality Tools Enhance Fence Longevity and Appearance
The difference between a wattle fence that lasts five years versus fifteen often lies not in the materials themselves, but in the quality of tools used during construction.
Precision cutting implements create clean cuts that preserve bark integrity, delaying fungal invasion while ensuring uniform sizing for tight, weatherproof weaving patterns.
Your fence’s structural integrity depends on specialized tools that reduce rod splitting and maintain consistent curvature, minimizing vulnerable stress points during heavy snow or wind loads.
Rust-resistant fasteners prevent corrosion-induced weakening over time.
The aesthetics aren’t sacrificed for durability either. Bark-preserving and tension-adjustment tools achieve visually cohesive panels with uniform weave density.
Plus, specialized maintenance tools like rod extractors and moisture meters enable efficient repairs and early problem detection, extending your fence’s beautiful lifespan considerably.
The basic over-and-under pattern used in traditional wattle weaving requires tools that maintain consistent branch spacing for structural integrity.
Frequently Asked Questions
How Long Does It Take to Master Wattle Fence-Making Techniques?
You’ll learn basic wattle techniques in a few days, but mastery takes 2-3 months of consistent practice. Your weaving skills, pattern consistency, and material handling abilities will greatly improve with regular hands-on experience.
Can I Use Green Wood or Must Branches Be Seasoned?
You can use either green or seasoned wood. Green wood is more flexible for weaving but shrinks as it dries. Consider using seasoned stakes with green withes for the best balance of stability and pliability.
What’s the Average Lifespan of a Properly Constructed Wattle Fence?
A properly constructed wattle fence typically lasts 7-10 years. You’ll get more longevity if you’ve used treated wood, installed deep stakes, and maintain it regularly. Weather conditions in your area greatly impact durability.
How Do Seasonal Changes Affect Wattle Fence Construction and Maintenance?
Seasonal changes greatly impact your wattle fence. You’ll need to adapt construction timing based on soil conditions, choose materials by season, inspect after winter thaws, and apply protective coatings before harsh weather arrives.
Are There Sustainable Alternatives to Traditional Wood for Wattle Fencing?
Yes, you can use sustainable alternatives like bamboo, coconut fiber, dogwood, and jute woven fabric for wattle fencing. These eco-friendly options offer excellent durability, pest resistance, and biodegradability while reducing environmental impact.
In Summary
You’ll save countless hours and prevent frustrating mistakes by investing in proper wattle fence tools. They’ll not only make construction smoother but guarantee your fence stands the test of time. Whether you’re working traditionally with hand tools or using modern power options, the right equipment protects both you and your finished product. Choose wisely, and you’ll create a beautiful, durable wattle fence you can be proud of.
Leave a Reply