
Espaliered fruit trees transform ordinary boundaries into productive living fences that maximize your limited garden space. You’ll enjoy multiple benefits: fresh fruit at accessible heights, improved air circulation for healthier trees, and beautiful structural elements that define your landscape without sacrificing yard space. These space-saving techniques work with apples, pears, and other fruit varieties using simple training methods against walls or freestanding supports. Discover how this centuries-old gardening art can revolutionize your property’s boundaries.
Espaliered Fruit Trees: Natural Living Fence Solution
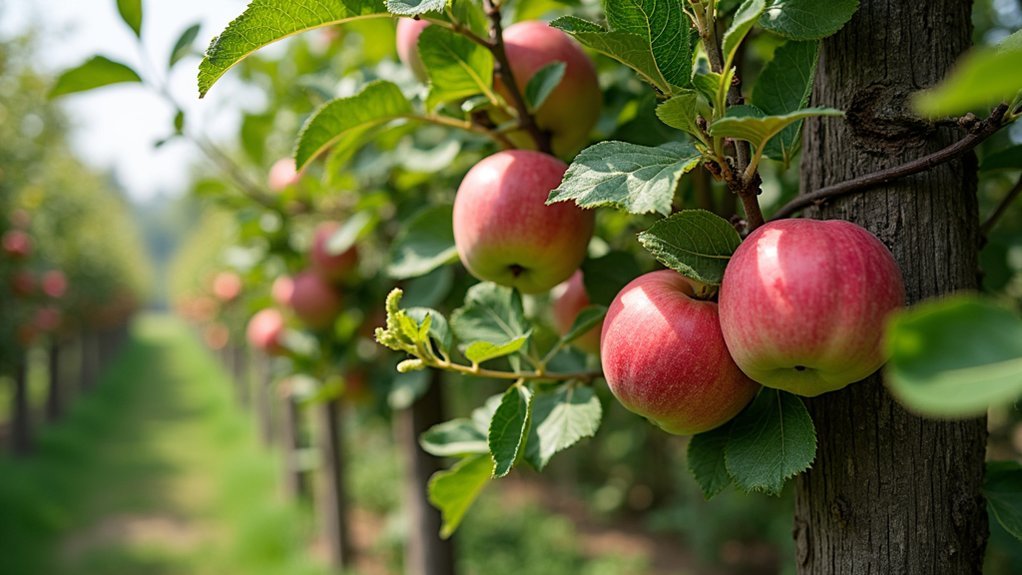
While traditional fences provide simple boundaries, espaliered fruit trees offer a multifunctional alternative that transforms ordinary barriers into productive, living sculptures.
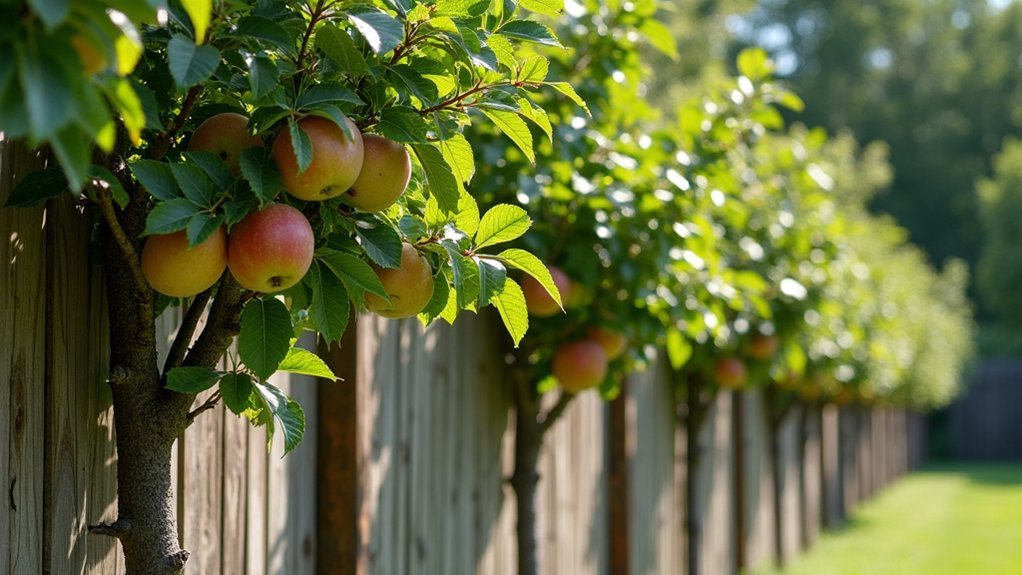
You’ll maximize your limited garden space by training these trees along walls or existing fences, creating stunning visual elements that also yield fresh fruit.
Unlike bulky standard trees, espaliered varieties provide privacy and definition without consuming valuable yard space.
They’re particularly valuable in urban settings or small gardens where you’d otherwise struggle to grow fruit trees.
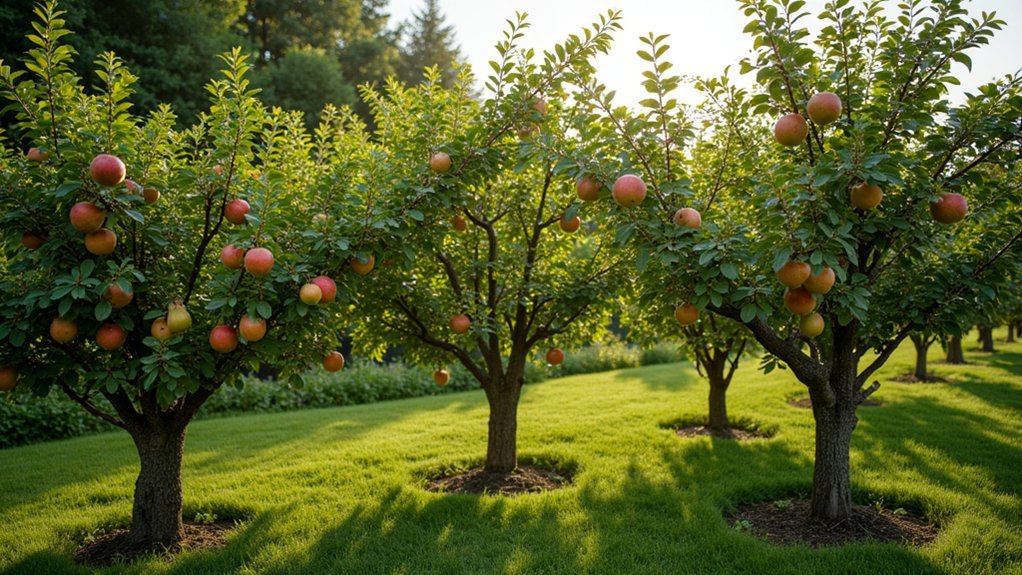
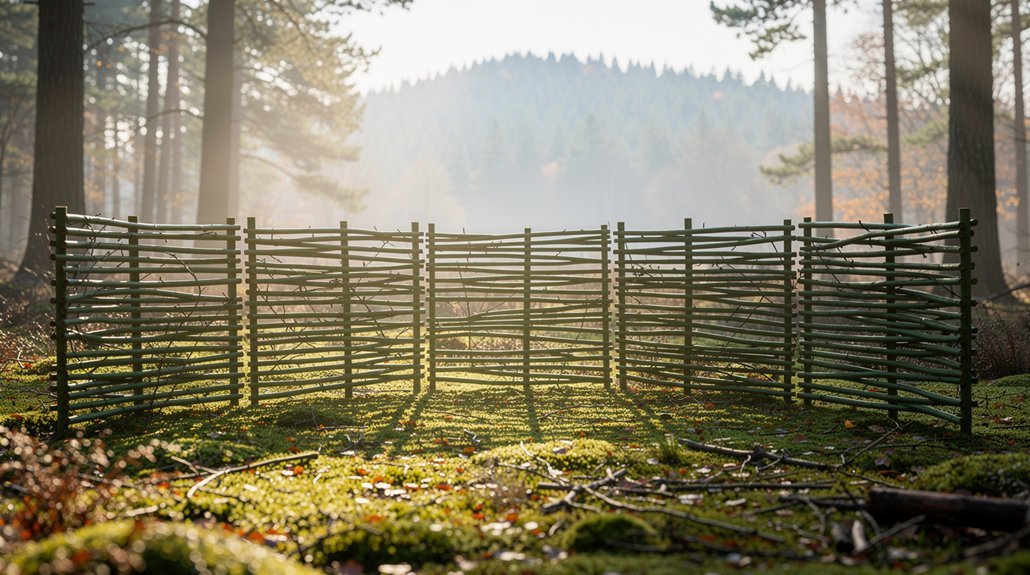
Their trained form guarantees better air circulation and sunlight exposure, contributing to improved tree health and increased fruit production. The Belgian fence design serves perfectly as a see-through screen while still allowing plenty of light and air to pass through.
For wheelchair users, these living fences offer the added benefit of accessible harvesting height, making fruit picking easier for everyone in your household.
The History and Evolution of Espalier Techniques
The art of espaliering fruit trees you’re admiring today has deep historical roots stretching back thousands of years.
Ancient Romans pioneered these techniques, training plants against structures primarily for fruit production.
During the Middle Ages, Europeans transformed espaliering into a refined art form in castle gardens. The practice flourished in the 17th century, particularly in royal gardens like Versailles, where Jean-Baptiste de La Quintinie perfected the technique.
Medieval castle gardens elevated espaliering to artistry, reaching its zenith in 17th century royal gardens under La Quintinie’s masterful touch at Versailles.
The term “espalier” itself comes from the French, derived from Italian “spalliera,” meaning “something to rest the shoulder against.”
This elegant practice spread globally, adapting to various climates and plants beyond fruit trees. The technique has been especially valuable in vineyards where grapevines have been trained for centuries using similar principles.
You’ll find espalier techniques have continuously evolved, combining practical space-saving benefits with artistic expression—creating living artwork that’s both beautiful and productive.
Choosing the Right Fruit Trees for Your Espalier Project
Selecting suitable fruit trees forms the foundation of any successful espalier project.
Apples remain the most popular choice due to their flexible growth and spur-bearing habit, with disease-resistant varieties like ‘Topaz’ excelling in humid areas.
Pears offer reliable performance even on north-facing walls, while self-fertile crabapples provide multi-season interest with minimal pollination requirements.
Consider your climate carefully—crabapples tolerate Zone 3 winters, while figs need Zone 7+ conditions.
Match the tree’s growth habit to your desired form: horizontal tiers work best with spur-bearing apples, while fan shapes accommodate stone fruits’ spreading habit.
For beginners, pears on semi-dwarf rootstock offer an ideal balance of manageability and strength.
Remember that your espalier will thrive for decades, so prioritize disease resistance and maintenance requirements that match your gardening style.
Medlar trees with their distinctive character can be trained into fan-shaped arrangements for a more relaxed, rustic appearance in your garden design.
Essential Tools and Materials for Creating Living Fences
You’ll need reliable support systems including 12-gauge wire, eyebolts, and turnbuckles to create the framework that guides your espalier’s growth.
Quality pruning shears and soft garden tape are must-haves for shaping branches and securing them to your frame without damage.
Before installation, gather site preparation tools like a drill for mounting hardware and make sure you’ve selected a sunny, well-drained location where posts can be securely set at least 2½ feet into the ground.
The proper support structure will provide the foundation for achieving visually appealing designs while maximizing fruit production in your limited garden space.
Support Systems and Hardware
Creating a successful espalier system requires proper structural support to train and maintain fruit trees in their artistic patterns.
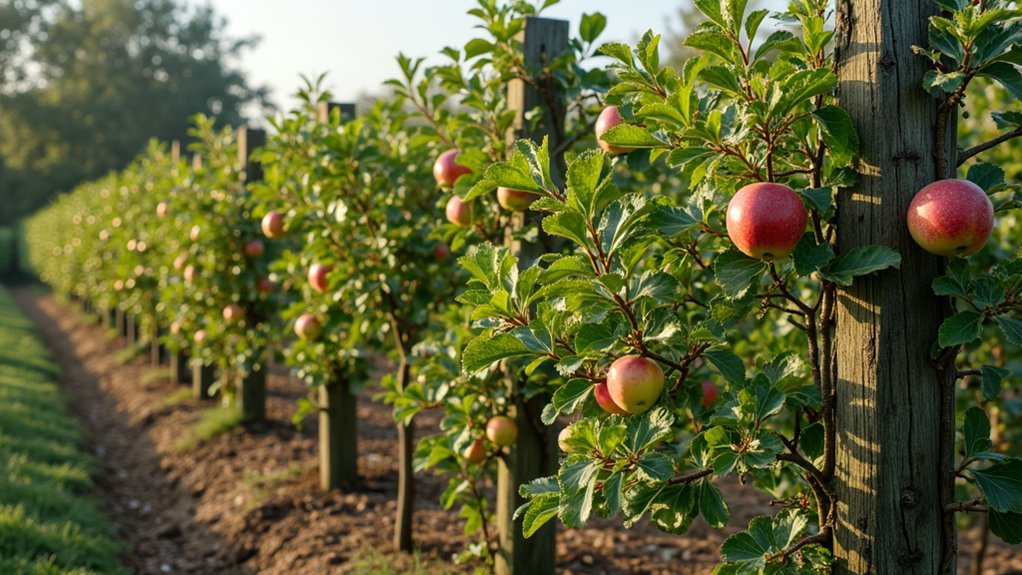
You’ll need 7-foot posts of redwood, cedar, treated pine, or metal, buried at least 2½ feet deep and spaced 8 feet apart. Set posts 2 inches from branches to allow growth and airflow.
Install eyebolts at 18, 36, and 54 inches high to support 12-gauge galvanized wire. Add turnbuckles for tension adjustment as trees mature. Secure branches with garden twine or soft ties that won’t damage bark. Measure wire length, ensuring it is two feet longer than the distance between posts for proper installation.
Choose between freestanding trellises or wall-mounted systems based on your space. Either way, guarantee your structure can bear the weight of mature fruit-laden trees.
Use proper tools—wire tensioners, post hole diggers, and levels—for accurate installation and maintenance.
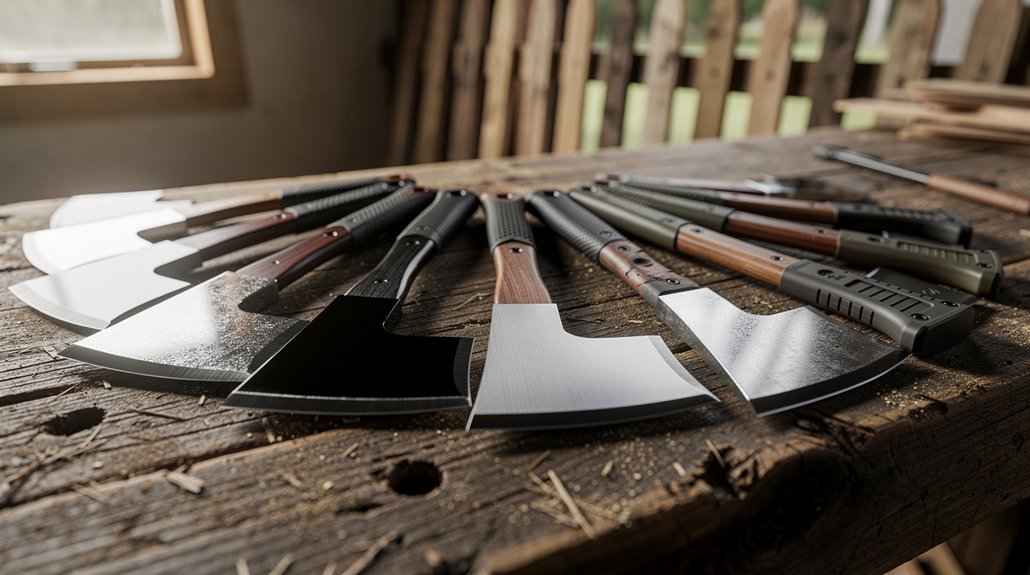
Pruning Equipment Essentials
Proper pruning equipment serves as the foundation for successful espalier projects, determining both the health of your fruit trees and the aesthetic quality of your living fence.
You’ll need high-quality bypass shears for precision cuts on branches up to ¾ inch thick—crucial for maintaining your espalier’s defined shape. Remember to look for bypass shears with bright red handles which make them easier to locate if misplaced during your pruning sessions.
For thicker branches (1-2 inches), invest in sturdy loppers with comfortable grips to reduce fatigue during extensive pruning sessions. A pruning saw becomes essential for branches exceeding 2 inches.
Consider pole pruners with extendable handles (up to 14 feet) for reaching higher sections of your espalier without ladders.
Don’t overlook sharpening tools to maintain clean cuts that heal properly.
For larger espaliers, battery-powered pruners can greatly reduce strain while increasing efficiency during seasonal maintenance.
Site Preparation Tools
Beyond having the right pruning equipment, successful espalier projects require thorough site preparation with appropriate tools.
You’ll need posthole diggers or augers to create consistent planting holes, especially in compacted soils. Complement these with hand trowels, spades, and shovels for precise planting and backfilling.
For layout planning, measuring tapes, stakes, and string lines will help you mark straight, evenly spaced rows. GPS or laser range finders can increase precision on larger sites.
Don’t forget soil preparation implements—a chisel plough or ripping attachments break compacted subsoil to depths of 12 inches, improving root penetration.
Include mulching materials like wood chips or straw to conserve moisture and suppress weeds.
Tree guards provide essential protection for young espaliered trees against environmental damage and pests.
Make sure to leave at least 12 inches of space between your support structure and any existing walls for ease of maintenance and proper air circulation.
Step-by-Step Guide to Training Your First Espalier
While many gardeners admire the elegant geometry of espaliered fruit trees, the process of creating one is surprisingly accessible with patience and the right approach. You’ll need to start with proper site preparation and tree selection, choosing varieties with dwarfing rootstock. Espaliered trees create a visually stunning vertical fruit wall that maximizes space in smaller gardens.
| Timeline | Action | Purpose | Expected Results |
|---|---|---|---|
| Year 1 | Plant 4″ from support, prune to 3-5 buds | Establish roots, encourage branching | Multiple new shoots |
| Year 2 | Select 2 symmetrical branches, train horizontally | Create framework | Balanced T-shape |
| Year 3 | Tie new growth every 10cm, prune regularly | Maintain shape | Defined structure |
| Year 4+ | Seasonal maintenance pruning | Promote fruiting | Productive living fence |
Plant your tree in a hole twice as wide as the root ball, backfill with native soil, and tie the stem loosely to the bottom wire. Cut back the top, leaving 3-5 buds above the graft union.
Popular Espalier Patterns and Their Practical Applications
Once you’ve mastered the basic technique of espaliering, you’ll want to explore the fascinating array of patterns available to match your garden’s aesthetic and practical needs.
The horizontal espalier palmate maximizes fruit production for apple and pear trees, while the multi-tiered Palmette Verrier guarantees consistent fruit distribution across vertical U-shaped levels.
Espalier patterns aren’t just decorative—they’re strategic. Horizontal palmettes maximize yields while Palmette Verrier ensures balanced fruiting across all tiers.
For compact spaces, consider the step-over design—a single pair of branches just 40cm high that creates an elegant border along paths. Narrow spaces benefit significantly from this art form that dates back to ancient Egyptian civilizations.
Fan-shaped espaliers suit tip-bearing species like quince and medlar, radiating branches outward from a central trunk.
If you’re looking for privacy or windbreaks, the Belgian fence pattern interweaves multiple trees diagonally to create a living lattice.
Each design offers unique advantages depending on your space constraints, tree species, and functional requirements.
Seasonal Maintenance for Thriving Espaliered Boundaries
Maintaining your espaliered fruit trees requires a methodical, season-by-season approach that adapts to the changing needs of these carefully trained specimens. Each season presents unique opportunities to shape, nourish, and protect your living fence.
| Season | Essential Tasks |
|---|---|
| Spring | Dormant pruning, fertilization, pest monitoring, training new growth |
| Summer | Trim new growth by ⅓–½, remove water sprouts, thin fruit clusters |
| Fall | Complete pruning by early September, remove fallen debris, reduce watering |
| Winter | Structural pruning during dormancy, apply mulch, install rodent protection |
| Year-Round | Guarantee 6+ hours sunlight, replace constricting ties, disinfect tools |
Watch for stress signals like leaf discoloration or reduced fruiting. Always adjust branch angles gradually to prevent bark splitting, and maintain consistent moisture during fruit development. This ancient training technique, dating back to medieval times, offers both decorative beauty and efficient use of limited garden space.
Overcoming Common Challenges in Espalier Fence Systems
Despite their elegance and space-saving benefits, espaliered fruit trees present several challenges that gardeners must overcome for successful long-term growth.
You’ll need to invest in quality materials—14-16 gauge wire and proper anchoring systems—that withstand weather and support maturing trees.
Maintenance requires commitment. Regular pruning and training are essential, especially in the first few years when you’re establishing the framework. Choosing spur-bearing fruit trees will simplify this maintenance process considerably compared to tip-bearing varieties.
Successful espaliers demand dedication—your diligent early pruning efforts create the foundation for future beauty.
Maintain a 4-6 inch air gap between trees and walls to prevent moisture-related diseases.
Protect your trees from excessive sun exposure to prevent fruit sunburn. Position your espalier fence thoughtfully or provide partial shade during intense summer heat.
The learning curve can be steep, but with patience and consistent attention to structural integrity and proper training techniques, you’ll create a stunning living fence that thrives for years.
Combining Fruit Varieties for Extended Harvests
You’ll maximize your espaliered fruit tree system by incorporating multi-graft planning, where several varieties share a single rootstock.
Implement succession planting strategies by selecting early, mid, and late-season cultivars that ripen at different times throughout the growing season. Planting complementary fruit varieties like peaches and nectarines together will create diverse fruit experiences while maintaining aesthetic uniformity in your living fence.
Creating a year-round harvest map will help you visualize production cycles and guarantee you’re never without fresh fruit from your elegant living fence.
Multi-Graft Tree Planning
While traditional espaliers showcase a single fruit variety, multi-graft trees represent an ingenious solution for gardeners seeking greater diversity in limited spaces.
You’ll benefit from efficient cross-pollination as compatible varieties share the same rootstock, eliminating the need for multiple trees.
When planning your multi-graft espalier, select varieties with overlapping bloom times but staggered harvests to extend your fruit production season.
Guarantee all cultivars share similar vigor to prevent one from dominating the others. Choose disease-resistant varieties suited to your climate zone.
Maintenance requires vigilant pruning to balance growth between varieties and prevent stronger cultivars from outcompeting others. This is particularly important as dominant grafts may overshadow weaker grafts if left unchecked, potentially reducing overall fruit yield.
With proper care, your multi-graft espalier can sustain 3-5 varieties, offering visual interest through varied blossoms and fruits while increasing your garden’s resilience to pests and weather challenges.
Succession Planting Strategies
Succession planting strategies take espalier cultivation to the next level by maximizing your harvest timeline throughout the growing season. By selecting fruit varieties with complementary maturation periods, you’ll enjoy fresh harvests for months rather than weeks.
When planning your espalier, combine early, mid, and late-season varieties of the same fruit type or mix different fruits with staggered ripening schedules. For example, pair early-ripening ‘Gala’ apples with mid-season ‘Honeycrisp’ and late-maturing ‘Granny Smith’ on separate cordons.
You can further extend harvests by interplanting annual vegetables beneath young espaliers while trees mature. This approach prevents idle land and provides immediate yields while your fruit trees develop toward full production.
Consider complementary pollination needs when selecting varieties, ensuring compatible bloomers share space. Keep detailed records of ripening times to refine your succession strategy each season, creating a productive living fence that delivers continuous yields.
Year-Round Harvest Maps
Crafting a year-round harvest map requires strategic planning that transforms your espalier garden from a seasonal delight into a continuous food source.
Select early, mid, and late-season varieties of each fruit type to extend your harvest window considerably.
Consider your local climate when choosing varieties—plant strawberries for spring, watermelons for summer, apples for fall, and cold-hardy pomegranates for winter harvests.
Utilize microclimates in your yard to further diversify production timing.
For ideal results, incorporate self-pollinating options like Glohaven peaches alongside varieties requiring cross-pollination.
Building a comprehensive harvest calendar should include fruits like the Benton sweet cherry for June and Santa Rosa plum for July to ensure continuous fruiting months.
Disease-resistant selections such as Sunflower pawpaw will minimize crop loss and maintain consistent yields.
Remember that a single dwarf pear tree can produce up to 150 pounds annually, while espaliered training maximizes sunlight exposure and increases overall production in your limited space.
Integrating Espaliered Fences With Existing Landscapes
To successfully incorporate espaliered fruit trees into your current landscape, you’ll need to contemplate both structural compatibility and spatial relationships. Confirm your support systems align with horizontal wires spaced 12-18 inches apart, and install posts 6-8 inches from walls to promote air circulation.
When selecting placement, consider these essential factors:
- Microclimate benefits – South-facing structures reflect heat, accelerating ripening
- Spacing requirements – Plant trees 6-8 feet apart for horizontal cordon designs
- Root zone allocation – Reserve 3-4 feet of ground width per tree
- Shadow patterns – Position structures to cast decorative shadows without depriving other plants
Match materials to your existing hardscape elements—wooden posts with wooden fences, ironwork with masonry—and verify that structures can support mature tree weight.
Frequently Asked Questions
Can Espaliered Trees Tolerate Severe Weather Events?
Yes, you’ll find espaliered trees can tolerate severe weather when properly managed. Their horizontal branching reduces wind damage, wall-placement creates protective microclimates against cold, and proper irrigation helps during drought or flooding events.
How Do Espaliered Trees Impact Property Values?
Espaliered trees can boost your property value by enhancing curb appeal with their sculptural beauty. They’re space-efficient, add unique character to your landscape, and offer functional benefits that potential buyers appreciate.
Are Certain Rootstocks Better for Espalier Training?
Yes, dwarfing rootstocks are ideal for your espalier projects. They control tree size, produce earlier fruit, require less support, and simplify maintenance. Apple and pear varieties on M-27, G-41, or OHF-87 work especially well.
Can Espaliered Trees Be Transplanted After Establishment?
Yes, you can transplant established espaliered trees, but it’s challenging. Do it during dormancy (late fall to early spring), preserve a large root ball, and prepare for 1+ year recovery with reduced fruiting.
Do Espaliered Trees Require Different Irrigation Systems?
Yes, you’ll need targeted irrigation for espaliered trees. Drip systems work best, with emitters positioned along the tree’s structure. They require precise placement to guarantee all tiers receive adequate moisture throughout the root zone.
In Summary
By establishing espaliered fruit trees as your living fence, you’ve created something truly remarkable—a boundary that’s beautiful, productive, and environmentally friendly. You’ll enjoy years of seasonal interest and fresh harvests while maximizing your space. Don’t forget to embrace the seasonal rhythm of training and pruning. With patience and consistent care, your living fence will become both a functional boundary and a stunning focal point.
Leave a Reply